Time to read: 7 min
If you want to know the general lay of the land when it comes to combat robotics and the different types of BattleBots, you can learn about that in Part One of How to Build a BattleBot Like a Pro. If you’re ready to get into the specifics of designing and building a combat robot that can compete and win in the arena, then you’re in the right place! We’re Team RoboGym, and in this article, we’re going to tell you how we built our BattleBot, Deadlift.

From Napkin Sketch to 3D Model
Although any type of robot can do well, we at RoboGym decided to design a lifter for BattleBots. We figured a defensive robot with thick armor could do well by either pushing our opponents into arena hazards or lifting them up and sticking them in positions where their wheels couldn’t touch the ground. Of course, designing a lifter robot also fit our RoboGym theme perfectly, and was too good of an opportunity to pass up (*insert flex emoji*).
Capabilities and Constraints

The design process will probably take up the majority of the time you spend crafting your robot. It usually takes several months to get from a napkin sketch to a complete CAD (Computer-Aided Design) model. When fleshing out what capabilities you’d like the robot to have, there are three critical considerations to keep in mind: weight, weight, and last but not least, weight!
250 pounds sounds like plenty of weight to integrate all the things on your combat robot wish list, but battleworthy components tend to be heavy, and those pounds add up quickly. Since any type of robot must fall within the weight limits set by the rules, there are inevitable trade-offs when allocating weight to one area of the robot or another.
Like many engineering projects, the first thing you want to do is crunch some numbers to outline the parameters for your robot. For example, how fast should your robot go to be both aggressive and controllable? How much force should your spinning robot be able to deliver to another robot? How much weight should it be able to lift in theory in order to lift another robot in reality? (Remember, there are always small differences between theory and practice.)
Asking those sorts of questions and playing with the numbers will provide a good starting point for the rest of your design.
Designing Deadlift

After years of competing at tournaments and tweaking our designs, we figured that if the robot could drive at a speed of 18mph, we could be plenty aggressive while still being able to control it fairly well. In choosing wheel size, many designs call for large wheels to give the robot the ability to drive while upside down. Because Deadlift would have a lifter arm that could be used to self-right the robot if it flipped over, we picked relatively small wheels which could be armored, then considered the max RPM to get our desired top speed. From there, we picked an appropriate electric motor and gear reduction to give us our desired RPM.
(Oh, and if you want more details about our team history and how we made our decisions designing and building Deadlift, watch our hour-long chat with ASME.)
The Lifter
For our lifting mechanism, we wanted to over-engineer how much the robot could lift. So, we chose a factor-of-safety of 2.5. That meant Deadlift would be able to pick up 625 lbs, a number sure to make most gym-goers green with envy. With that in mind, we worked backward from the torque required to lift that much weight to select an appropriate motor and gear train system. We even made the gears about 2.5 inches thick and used aerospace-grade steel to make sure they wouldn’t crack during combat.
The Systems Layout
After knowing what systems and components need to fit into the robot, the next step is setting the layout and designing the chassis around it. Where should the batteries go? Where should the wheels be located relative to the center of gravity of the robot? The process of refining the layout will take time and you should expect several iterations to get it right.
The Armor
Any robot that hopes to win needs to be able to take a hit — even offensive robots have to protect their critical components. There are many ways to armor a robot, but you’re going to have to make compromises to make weight, like in your material choices.
Steel might be tougher and stiffer than aluminum, but it’s also three times denser. In a fight, steel is more durable and will bend before breaking while aluminum breaks off in chunks. If you have the money, titanium provides great strength to weight ratio, but plastic generally only works well for some internal parts. As with the layout process, getting the weight, geometry, and overall performance of your robot’s armor right takes time and iteration.
Refining the Design
Much like the first draft of an essay, the first pass at the design of a robot will not be perfect. This is why it’s so important to have team design reviews! Ideally, team members review each other’s work throughout the design process to look for ways to improve. And the considerations aren’t only about robot performance. Other critical considerations include: designing parts to be easily manufactured, designing the robot to be easily assembled, and keeping an eye out for potential interference or tolerancing issues.
Sourcing Parts

Once the team is on the same page and excited with the design, it’s time to shop around and order your parts! Most electric components, like batteries and motors, will have already been selected in the design phase, so ordering those is straightforward.
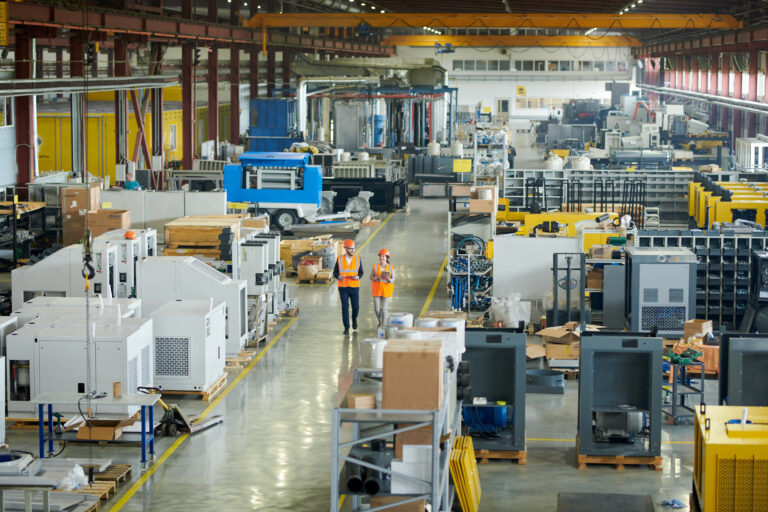
If you have access to a whole machine shop, then it’s time to get your raw materials. Other builders, like us, have only basic machining capabilities at our disposal. If that’s the case, then you have to outsource a lot of the machining. To get our parts, we shop around, comparing costs and lead times to figure out what works best. We also determine how many spares of critical parts we can realistically afford.
Last season, we were fortunate to have a sponsor, Fictiv, provide us with custom-machined parts we needed. They even had engineers review our more complex parts to give us feedback on how to simplify them for the manufacturing process. This may sound obvious, but we cannot emphasize enough how helpful a sponsor can be. And while you may not be able to find a sponsor for your robot, you can still take advantage of Fictiv’s manufacturing prowess and benefit from their free DFM feedback on your designs.
Assembly

Once you get all of your parts, it’s time to put them together. This is where all the time spent on design review really pays off. An extra couple of hours looking for errors on the computer model can save days (and avoid headaches) in assembly.
And while the chassis is being assembled, keep in mind that all of the electrical components need to be wired to each other and the batteries. Figuring out the appropriate wire gauges and how to efficiently route the wires, then soldering it all together is another large task. The more you can plan ahead in the design phase, the less frustration during wiring and assembly. Trust us, we learned this lesson the hard way through experience.
But no matter how careful you are, inevitably something won’t line up quite right or you’ll discover a tolerance issue during assembly. So, having access to some basic equipment, such as a small milling machine or a lathe, is critical to be able to fix parts with design errors. In all our years building robots, team RoboGym has never had a single build that didn’t require modifications or tweaks.
Lights, Camera, Action!

We’re almost ready for the arena. Now that the robot is assembled and wired up, it’s time to make sure it works before shipping it to the competition. That means checking that all aspects of the robot function correctly — from testing how well it drives to making sure the weapon works as intended. For example, with Deadlift, we tested the lifting mechanism by strapping a heavy box onto the mechanism to make sure everything was in working order.
Some things, however, can only be proven in the heat of battle. How well can your robot actually take a hit? Will it push around opponents as expected?
Just keep in mind that every battle is a learning opportunity. In victory or defeat, you’ll see what worked as planned and what needs improvement for the next fight — and that’s what the sport is really all about. Well, that and the adrenaline rush of squaring off against another robot designed to annihilate your own!
We hope this article has given you an idea of what it takes to build your own robot and compete in combat robotics. Although the path is long and can be frustrating, it’s mostly rewarding and fun. There’s nothing quite like this sport, so go build your own BattleBot, and we’ll see you in the arena!