Time to read: 7 min
For almost 5 years, James Olander worked as Senior Systems Engineer for Lockheed Martin, a large aerospace company, leveraging his degrees in Aerospace and Space Systems Engineering to develop innovative satellite technology and launch vehicles.
But to be a small piece of a massive organization like Lockheed Martin, no matter how great the company or the work, has certain limitations. So eventually, James found himself working at TechShop in the Bay Area, surrounded by people who were quite literally building their own dreams.
After years working hunched over a laptop computer, James was inspired to start building a product he’d been envisioning and knew could solve a widespread problem: an innovative and ergonomic laptop stand called Roost.
The moment that shifted Roost from hobby to career? Showing a prototype to Pebble CEO Eric Migicovsky with Eric’s response, “You’ve got to put this thing on Kickstarter.”
A few months later Roost was up on Kickstarter, with $189,983 pledged by 2,448 backers and since then he’s sold over 10,000 units.
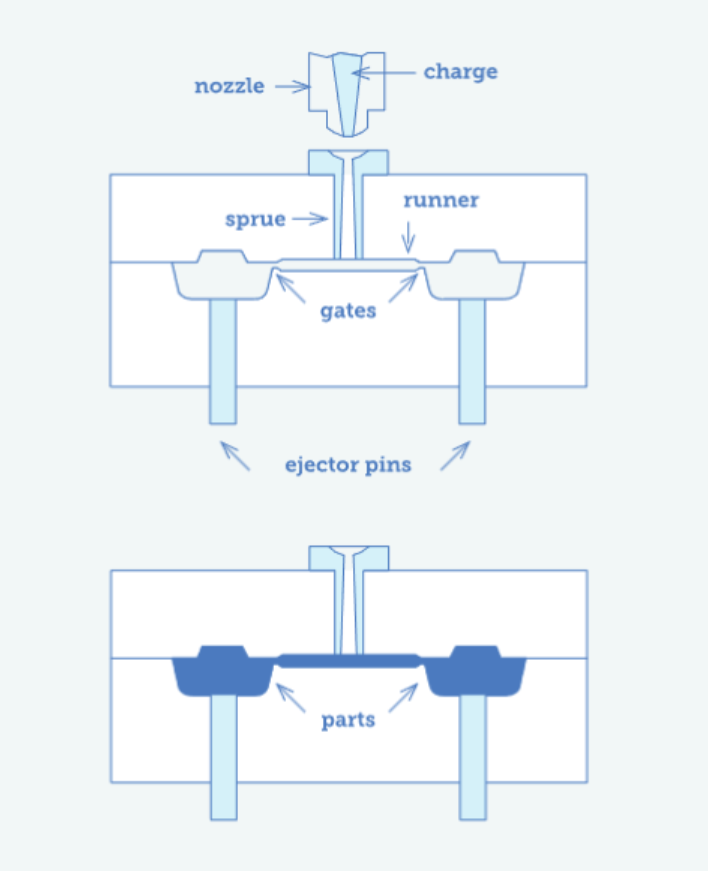
Now James is working on V2 of Roost. The biggest change in the development of the second version is the introduction of injection molds to increase production volume. With the first Roost stand, both the prototypes and production units were machined with laser cutters and the same materials, so there was no difference between the two; if the prototype broke, then the production unit would break.
With injection molding, it’s an entirely different process. You need to understand the structural elements of your prototype, done with different materials and tools and then through testing and analysis predict the structural features of your final injection molded part.
This is where James’ aerospace background goes to work. Using very intentional and detailed analysis, he’s able to assess the structural elements of his prototypes created with plastics, and then extrapolate those results to understand how an injection molded part will perform.
In this Hardware Spotlight, James shares the elements of his process that leverages his aerospace engineering background, allowing him to design a product with high durability and without guess work.
Understand the Critical Components of Your Design
Before you do anything else, you have to understand the most critical components of your part design. As in, which structural elements are most important to the mechanical integrity of your product? “In aerospace if you launch a vehicle, you can’t go fix it,” James says. “It’s 10,000 miles in the air by the time you realize something’s wrong! So you better know, at least on paper, and have tested to an understood level the strength of it.”
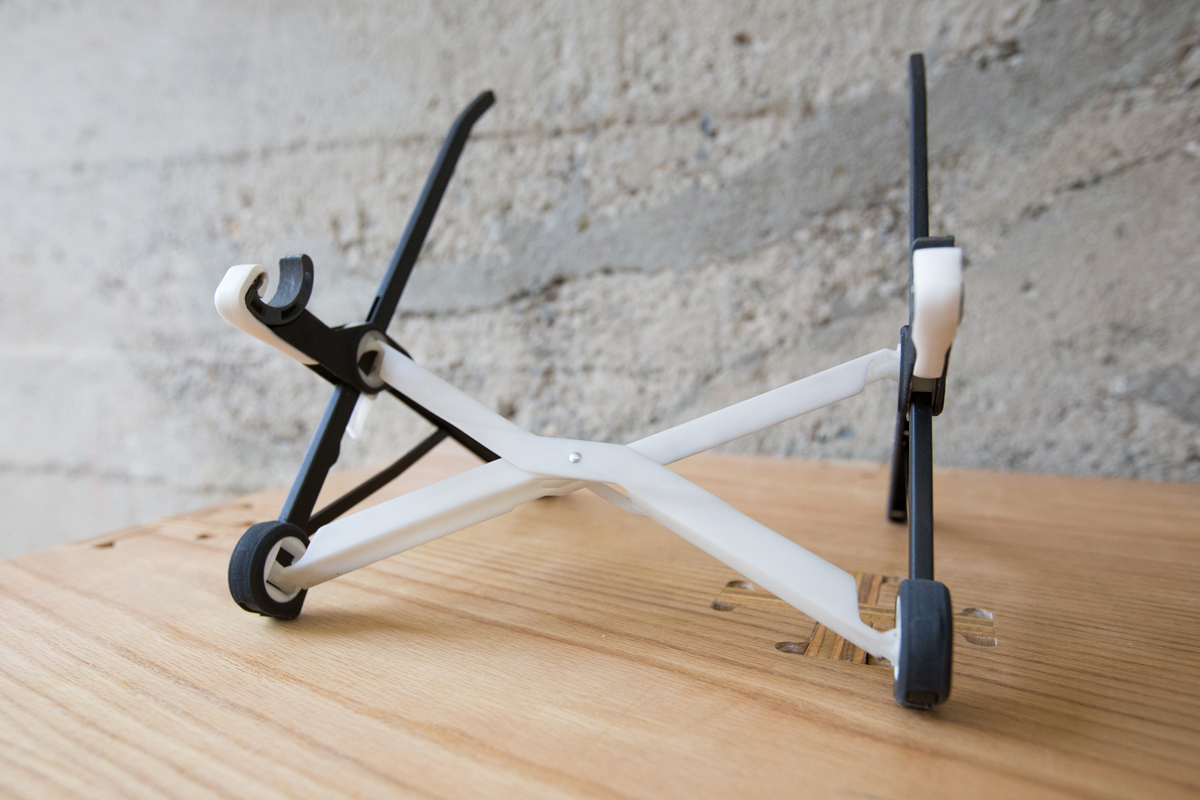
For Roost, the most critical design components are strength and stiffness. The Roost stand is designed to be extremely strong and stable, for a lifetime of heavy usage. So that’s where James placed his focus.
I don’t know how I could properly build anything without knowing the mechanical properties of the materials I’m working with
To understand the physical properties he needed to analyze, James leveraged his background. “In aerospace engineering, you design in one of two ways: you optimize for stiffness or you optimize for strength,” James says. “So there are two physical properties to analyze. There’s a measure of stiffness that’s called modulus and there’s the measure of when a material will break, called tensile strength. Then you look at these properties per unit weight — so you look at specific modulus and you look at specific strength. Optimize these with material geometry to get the best part at lowest weight.”
Once you know the most critical components of your design and what you’re optimizing for in regards to structural integrity, you need to find the materials that maximize those properties.
Know Your Materials
In order to find the right materials, you need to understand the mechanical properties of the materials available. “I often ask for material property sheets from various manufacturers and they usually respond with, ‘why do you need that?” James shares. “That always leaves me confounded! Because to me, I don’t know how I could properly build anything without knowing the mechanical properties of the materials I’m working with.”
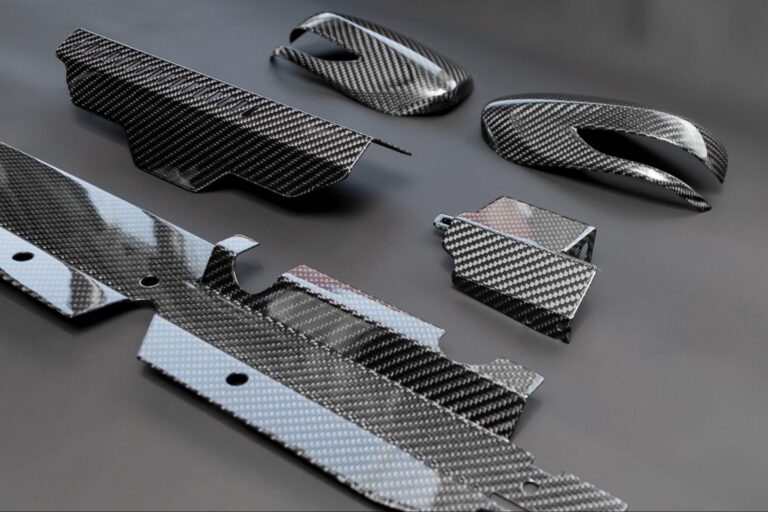
For the final production material, James is using glass-filled nylon, which replaces the carbon fiber used for the first Roost product and has very high stiffness. “Stiffness is really the most important component to optimize for since you don’t want your laptop to wobble at all on the stand,” James says. “So I chose a glass-filled material, which is used in car parts and will provide that critical stiffness.”
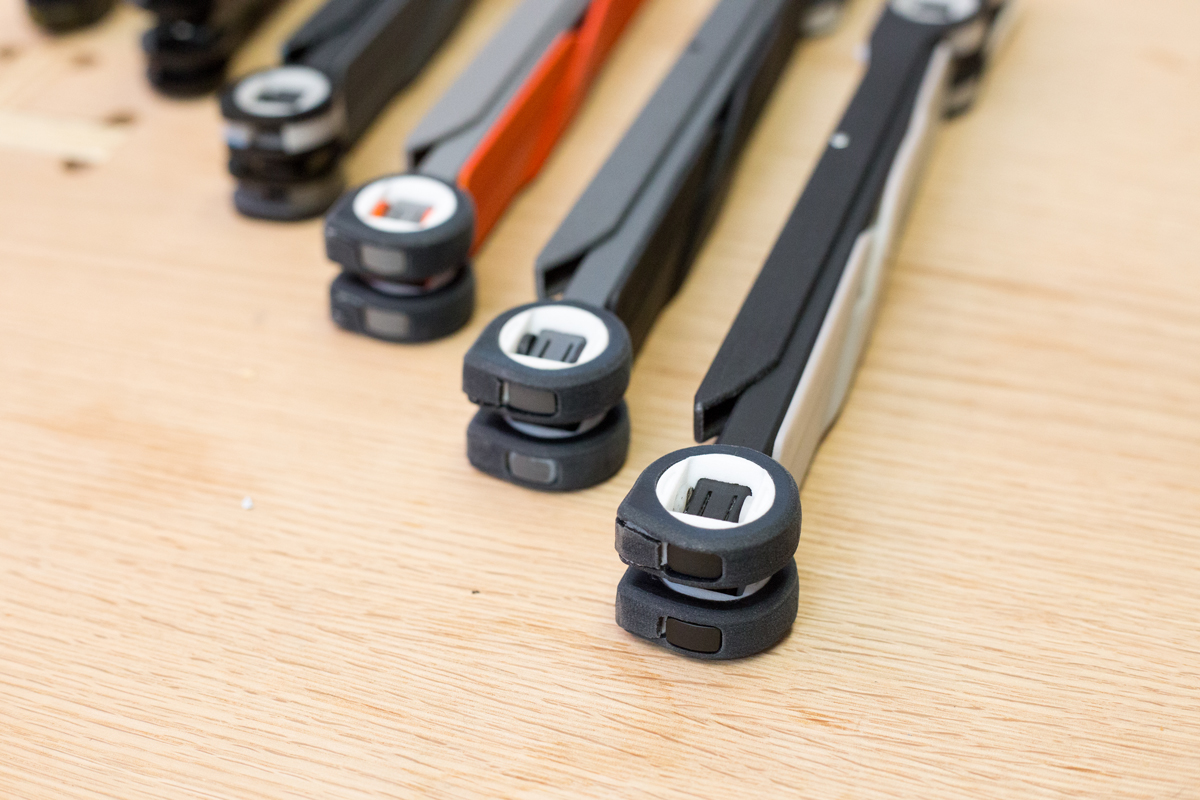
Of course glass-filled nylon is not the material James used to iterate with for all his prototypes. So the main challenge for James in finding the right material to work with for his prototypes was to find something that would compare in stiffness to the glass-filled material. “I finally found a 3D printing material called Bluestone that’s actually very brittle,” James shares. “It doesn’t have very high strength, but it does have very high stiffness. Since the stiffness compares with that of the injection molded material and it doesn’t break under an un-abusive load, then with production material of the same stiffness and four times the strength, the structure will work in final production.”
With Roost, I can actually build it and break it so I know for sure where it will break instead of just theorizing
Another new material James uses in this second version of Roost is silicone on the pivoting grip mechanism that latches to the laptop. “Silicon is interesting because it’s an A and a B component where you mix it together and a chemical reaction happens such that the final shape is permanent,” James notes. “Plastic, on the other hand, is in a constant, albeit slow, state of deforming.”
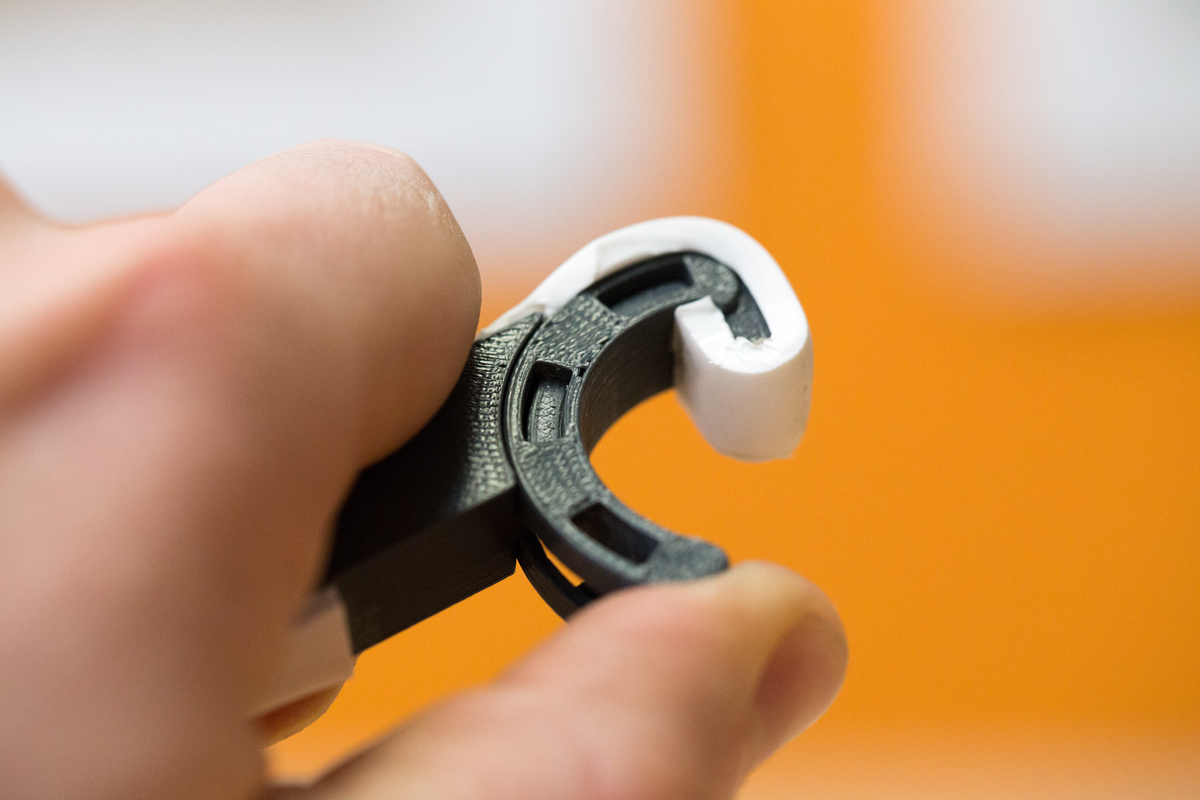
This is the kind of detailed analysis James uses in his process. He understands the properties of the material he’s working with, optimizing for one of the two critical elements in his design: strength and stiffness. This allows him to predict, through rigorous comparison and testing, what the final injection molded unit will be like before it’s produced.
Validate Your Mechanical Design
The advantage James had in designing Roost versus a satellite is he could understand the mechanical theory behind the design, but also physically test it before sending it off into the universe.
“With Roost, I can actually build it and break it so I know for sure where it will break instead of just theorizing,” James says. “Understanding your mechanical structure on paper and in CAD is one thing, but it’s just as critical, if you can, to test your theories with physical prototypes.”
Never assume you’re going to have it designed right on the computer
That said, James is a CAD wizard and he recognizes it’s a great tool to reduce the manual labor of your development process. “With this second version of Roost, I’ve been able to leverage the parametric model I’d already made to create tweaks in the geometry for me,” James shares. “Before it was really manual; I was going in and making all the little changes myself. Now I can just change one number and it recreates the whole thing.”
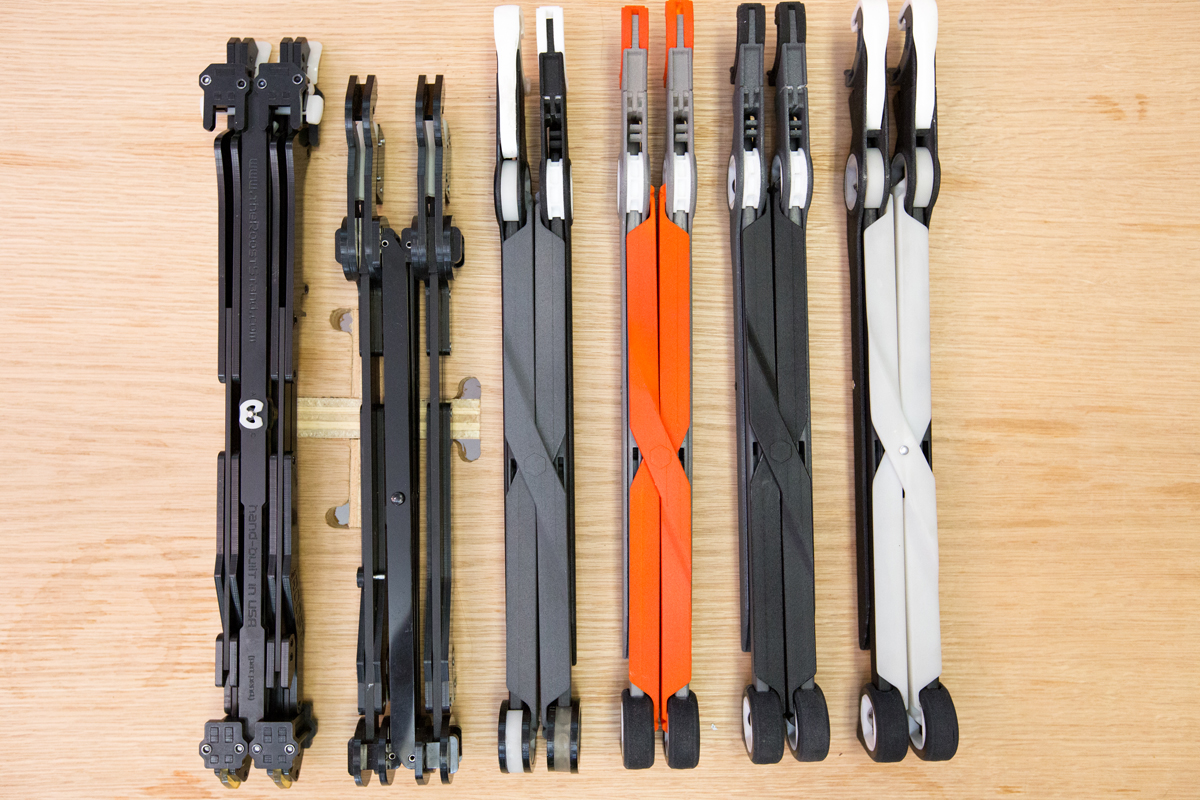
But translating that theoretical geometry into a real product is still another thing entirely. “Never assume you’re going to have it designed right on the computer, no way,” James emphasizes. “For a long time I was 3D printing different shapes out of different materials and judging, ‘well, if the injection molding material is going to be four times stronger but the same stiffness, and this one broke at 10 pounds that means it should hold up to about 40 pounds when molded.’ There were tons of these comparisons.”
So while it may seem clear on paper how to optimize for stiffness and then compare the relative strength of a 3D printed material versus an injection molded one, there was a lot of testing involved in James’ process. He tested multiple materials with different properties and price points under different amounts of weight to understand with confidence which material was best.
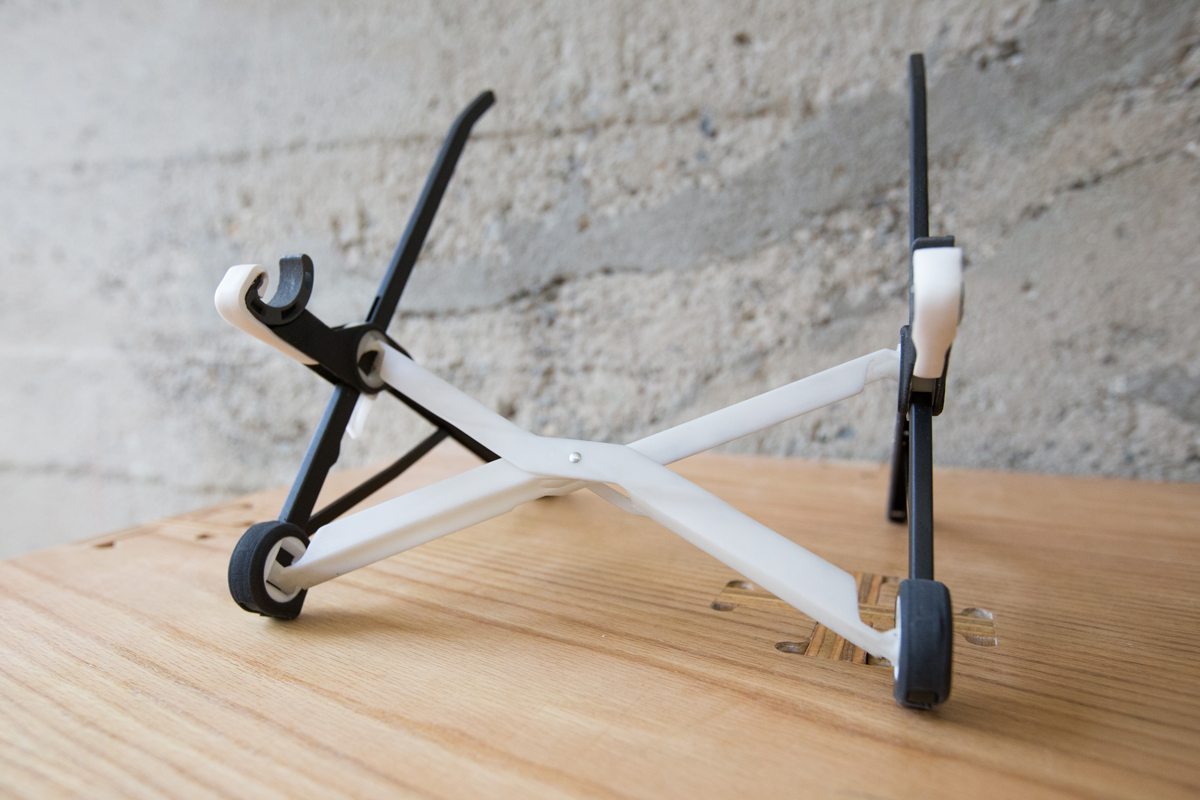
Then to bolster his predicted analysis of the final production parts, James plans to use a statistical analysis of fits on the first 25 injection molded units to validate the tolerances. “I’ll build a few parts with tolerances above and beyond what you would usually want for an injection mold because you get shrinkage,” James say. This will help to understand, for example, the tolerances needed for one of the components which is a perfect circle. “Perfect circles are not a good idea in injection molds, but it can be done,” James adds. “You just have to spend a lot of time tweaking the tool.”
Leverage material data sheets, CAD, and engineering theories, but don’t underestimate the importance of physically testing those materials, designs and theories.
The process James used to develop Roost is part theory and part hands-on engineering. He is absolutely detail-oriented when it comes to assessing the properties of his materials and the most important components of his design, but he’s also very hands-on when it comes to validating the mechanics of those designs.
Because sometimes theory fails you. For example, the first material James used to create multiple iterations of Roost V2 was not, in hindsight, the best material. He overlooked a few critical features, made some calculation errors and the properties weren’t comparable to the final production strength required.
The point is, be detailed in your theory and just as detailed in your validation of that theory; preparation is critical but mistakes are inevitable. Even for aerospace engineers.


