Time to read: 4 min
As an engineer, you’ve made many 2D drawings, because drawings are still essential to the manufacturing process. Given advances in design tool technology, you may also have wondered: “Why am I creating this drawing? Why aren’t we using CAD?”
Good questions! Computer aided design (CAD) and computer aided manufacturing (CAM) are amazing tools but they can’t do everything a 2D drawing can do.
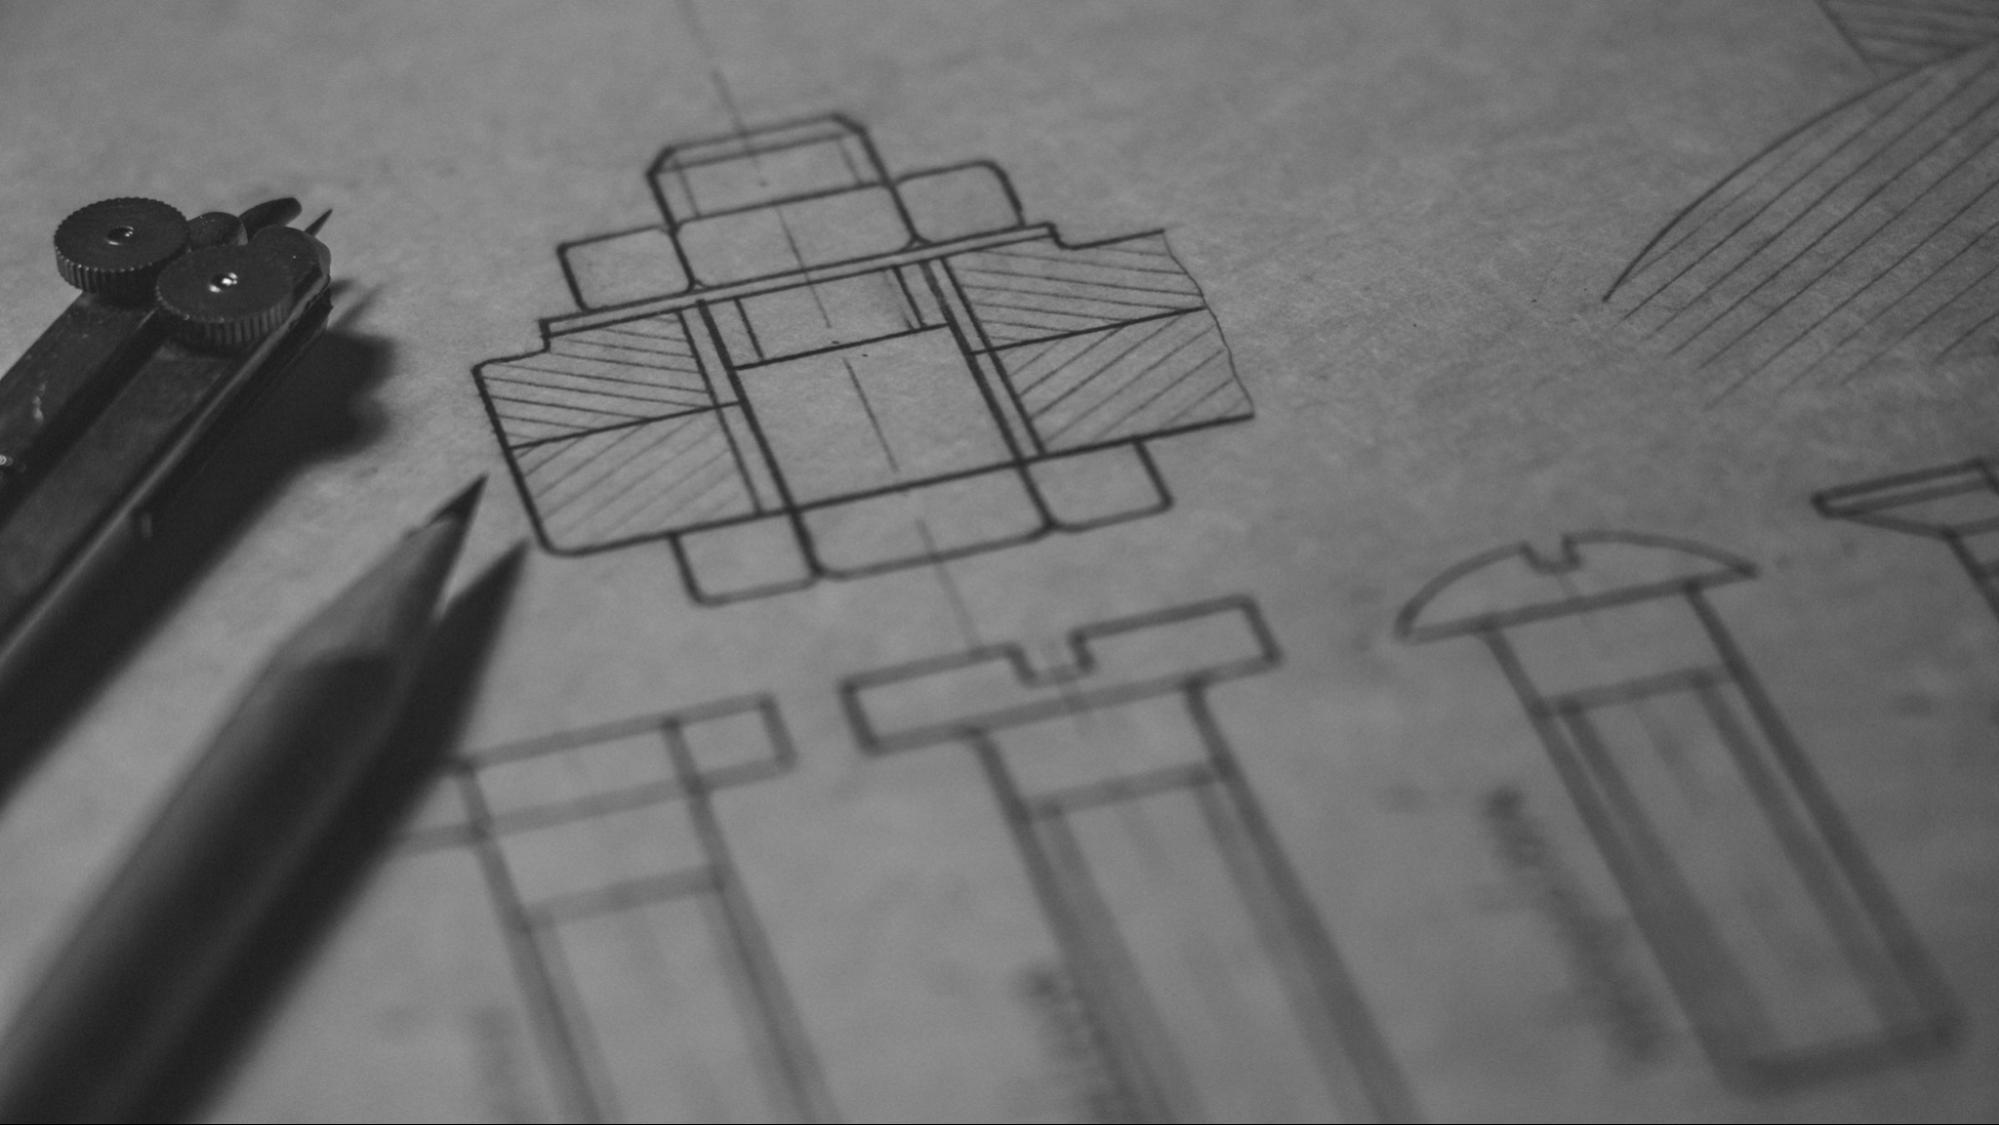
Getting rid of 2D Drawings is a Bad Idea
With the addition of features like Model Based Definition, it may seem like CAD can do it all. Not only can you design your parts in 3D and assemble them, but you can also define tolerances and apply GD&T to your model. Using CAM, the process of generating the G-code to run your CNC machining program is straightforward, with no drawing necessary. Seems like you could send this directly to the manufacturer, and eliminate the need for printed drawings altogether, right?
Wrong. Here are the 5 reasons you still need a 2D drawing.
1. Model based definition is not universally adopted
Model based definition is a cool concept, and there’s no doubt that it’s becoming more and more common. However, this technology needs to be adopted by both ends of the process in order to be effective. In this case, one end is the engineer who is designing the part and defining the tolerances on the model itself. On the other end is the manufacturer, who receives the design and makes the part. However, in order for the manufacturer to take advantage of this model based design, they need the right software to access the model and its annotations. Referring to the annotations on a 3D model rather than a 2D drawing also needs to be incorporated into the workflow, and this is a sticking point. Even with the right software, you will still need to always have a computer accessible and ready to display the CAD. Although you may not love creating engineering drawings, manufacturers still need them!
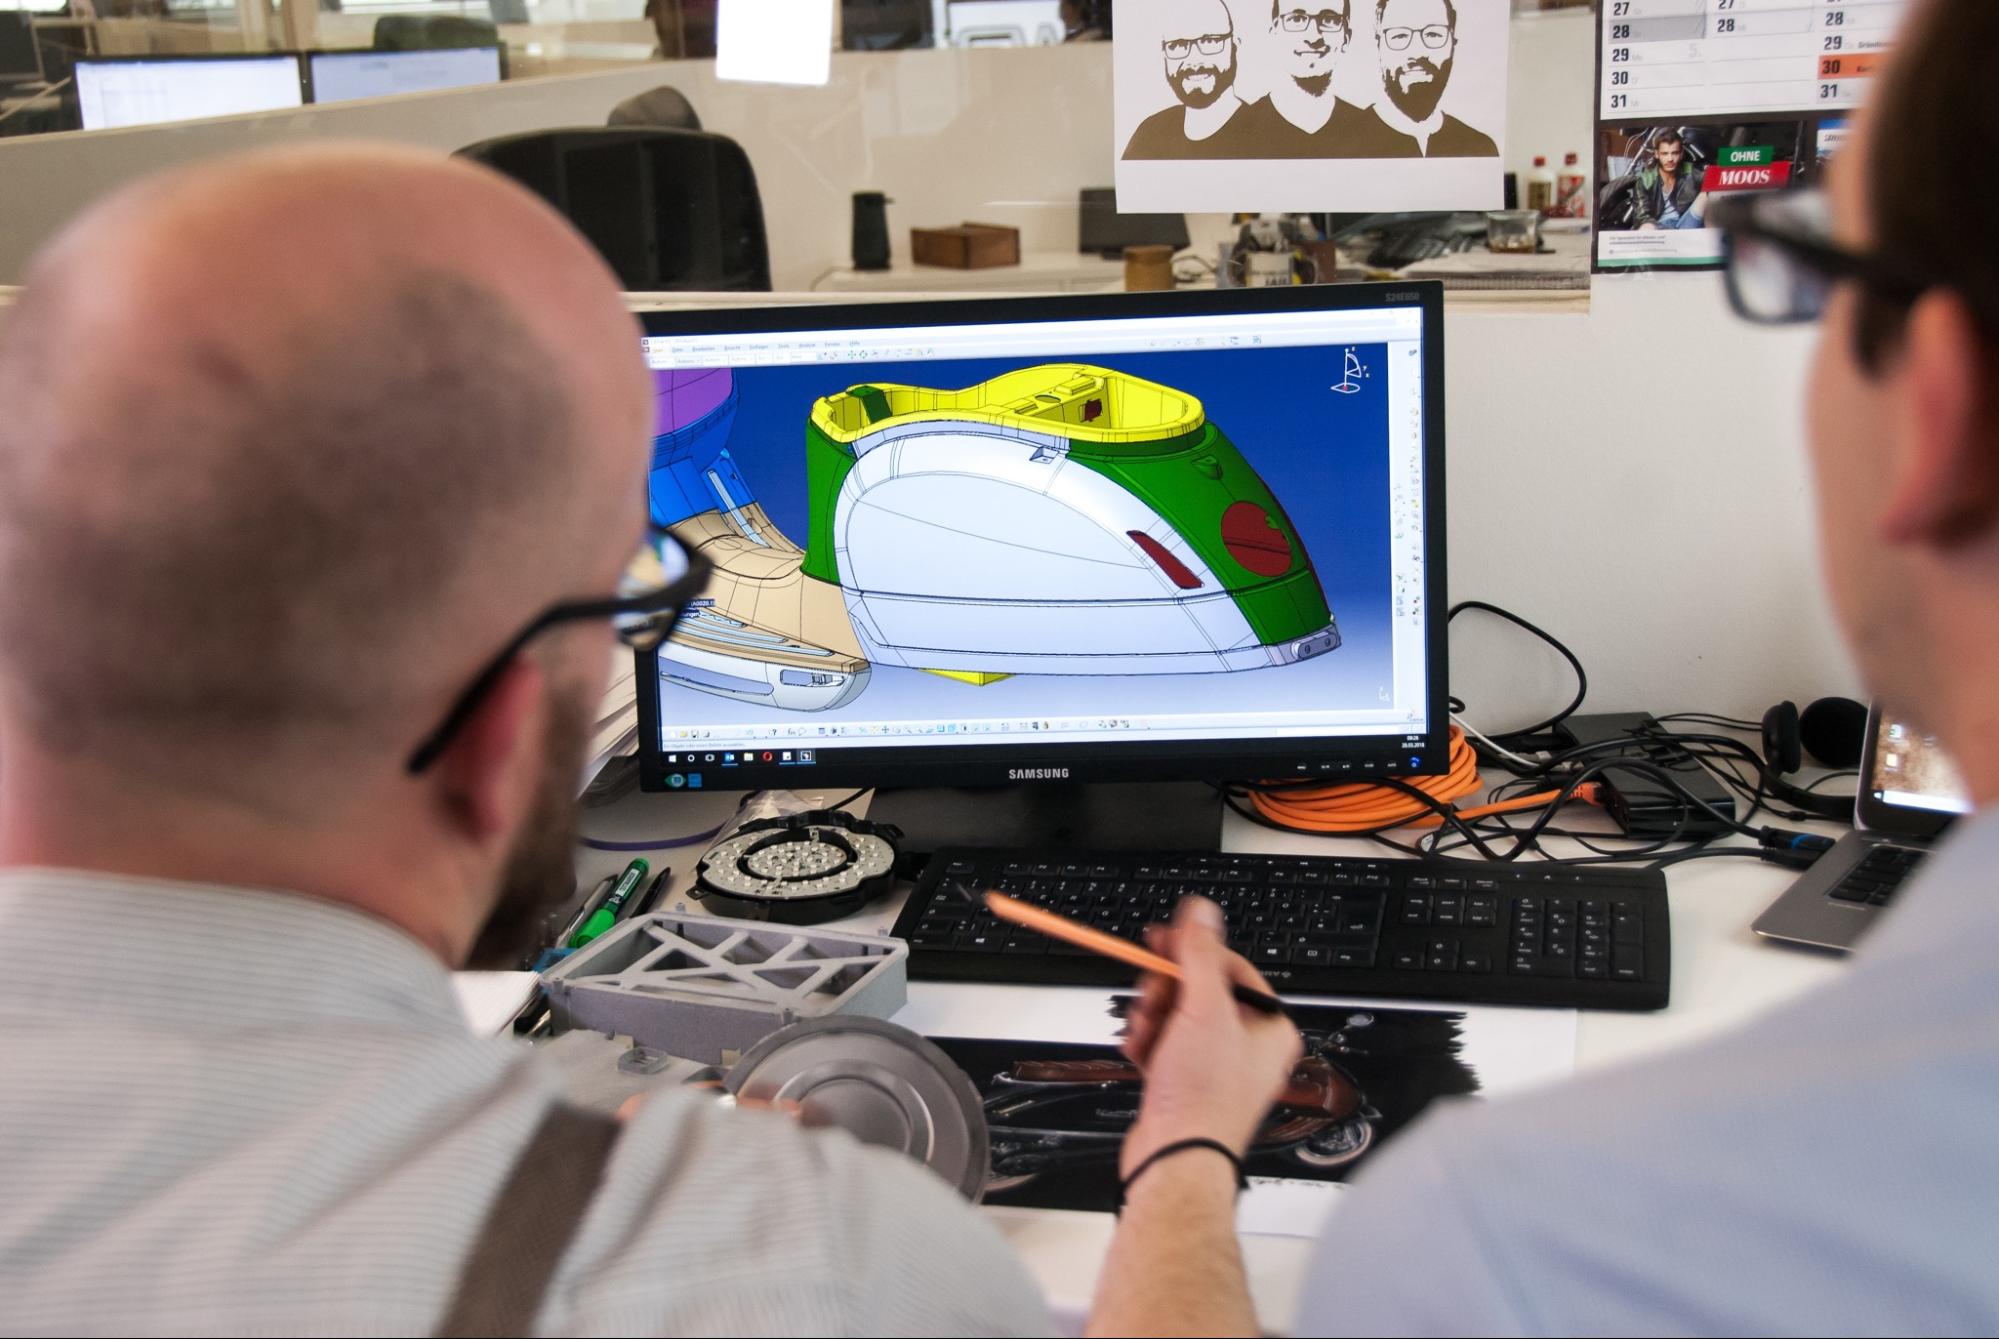
2. Printed 2D drawings are portable and easy to share
Operators and shop managers don’t walk around with computers staring at CAD models. They use printed pieces of paper to identify critical tolerances, outline the steps for assembling or inspecting a part, and identify points of measurement and inspection. These pieces of paper are easy to carry, hang up on a wall or bulletin board, and mark up on the fly.
It’s often simpler to look at a printed drawing that you have on hand rather than pulling up the model on a computer. If you haven’t implemented model based definition, you’ll have to measure individual dimensions on the CAD model, which is a tedious and temporary solution. On the shop floor of a factory, you won’t always have a computer to look at the CAD. And there’s still no good way to print out a 3D model with all of the annotations and notes — maybe that’ll be the next big thing in 3D printing!
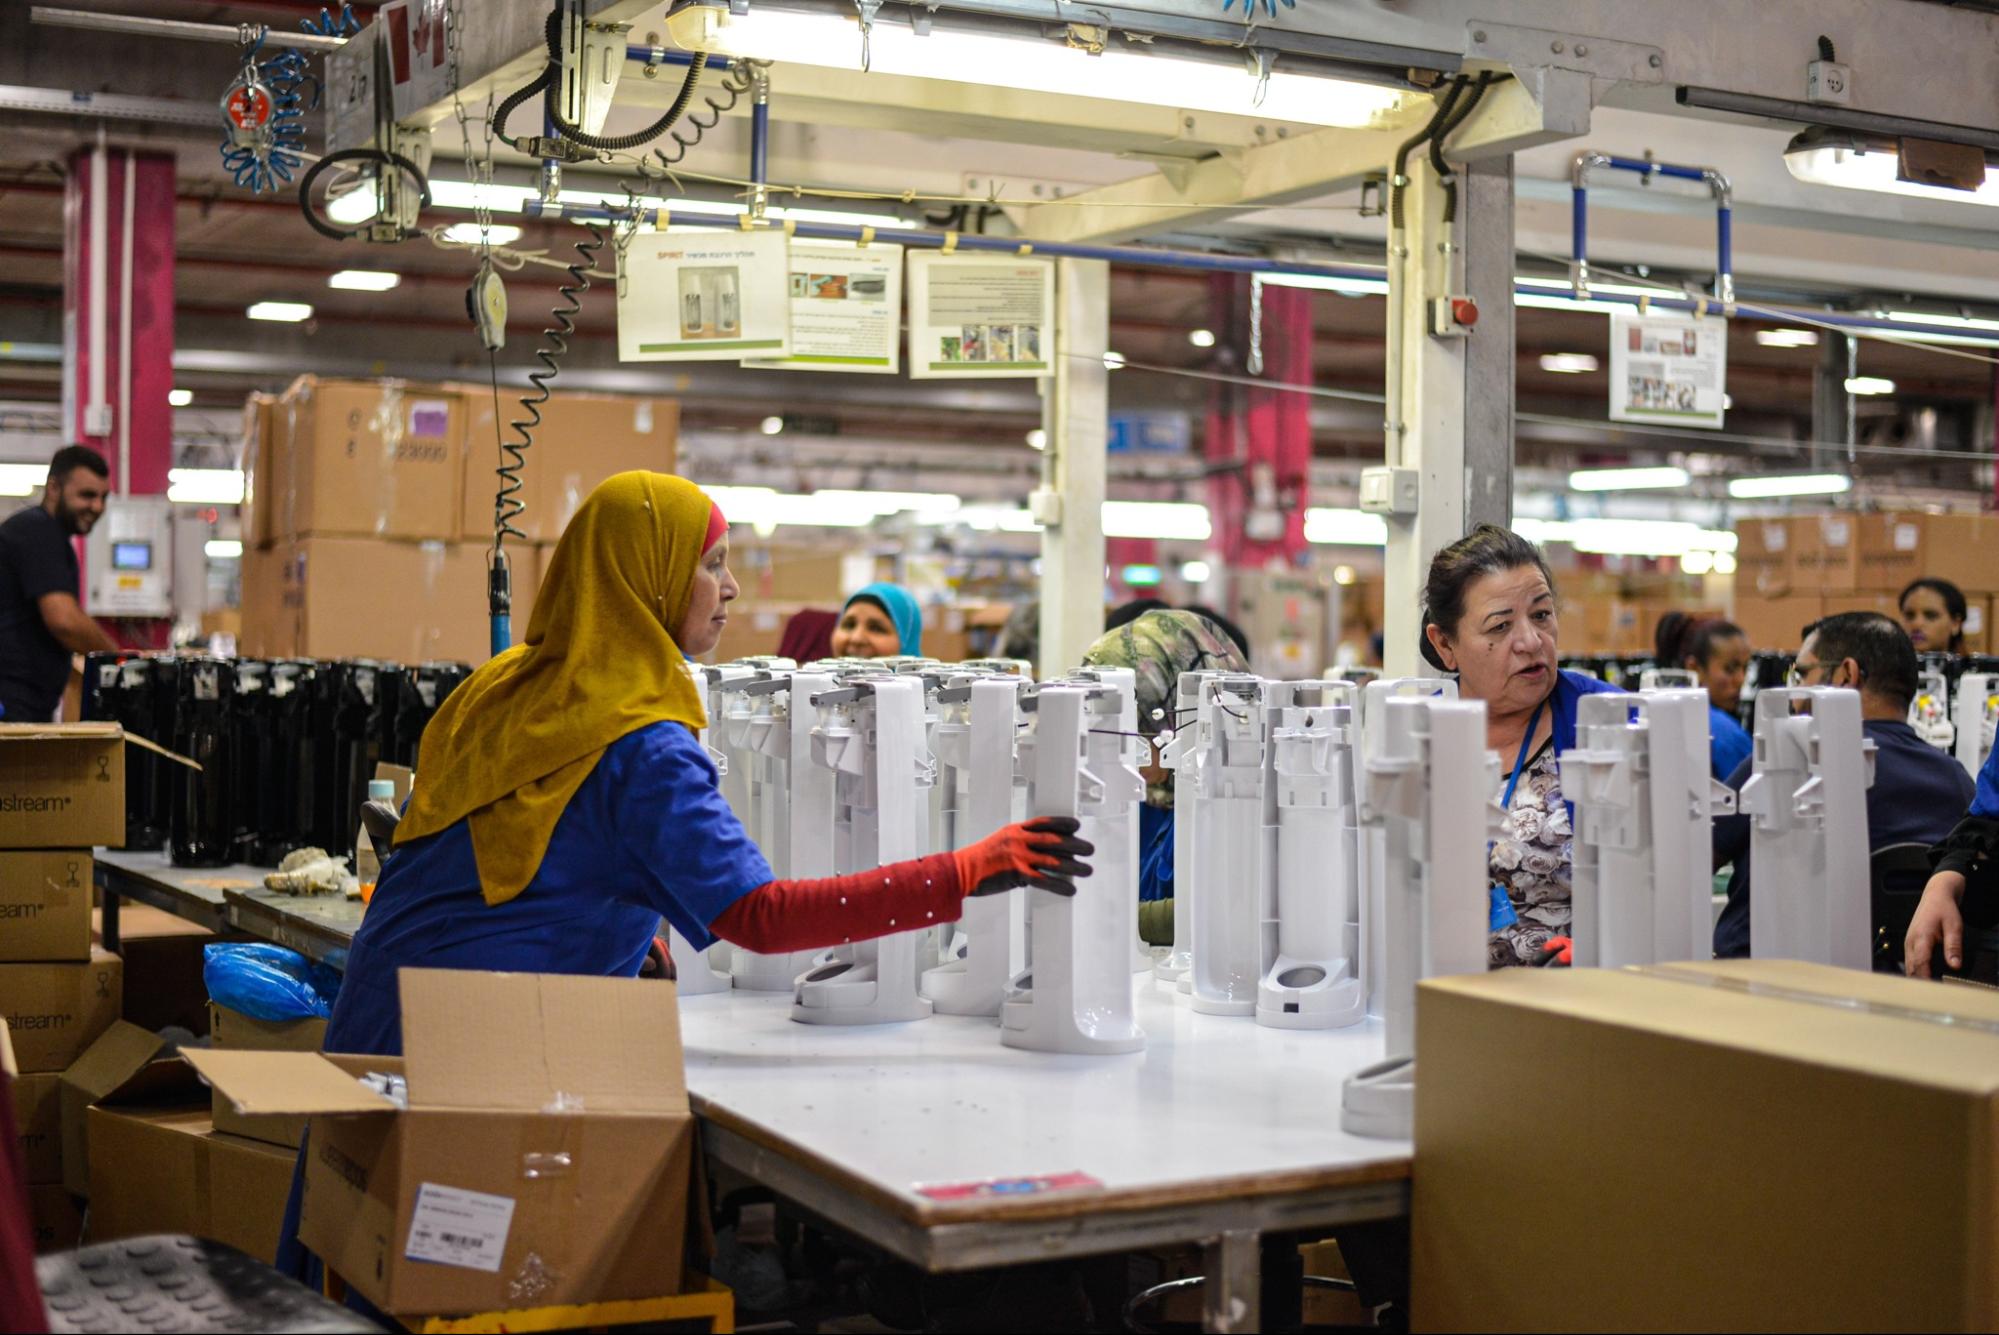
3. It’s easier to make notes on a 2D drawing
I love the feeling of putting a pen or pencil to paper, and believe it’s the most intuitive way to capture an idea. Imagine that you’re looking at the production line, discussing an issue. You’re bouncing ideas around with another engineer, and suddenly you catch a brainwave. Are you going to find a computer and CAD up your idea? Or do you want to sketch it out on a 2D drawing you already have in hand, while the idea is fresh in your mind? In the moment of inspiration, a 2D drawing is a great way to communicate new ideas and take notes.
4. 2D drawings provide a concise view of the info you need
Good drawings communicate what is acceptable and why that matters. Because all geometry is stored in the CAD model, you don’t need to show every single dimension on a drawing. When you only include the critical dimensions, you can make a comprehensive, concise, and clean engineering drawing. The viewer knows that everything you included is critical and deserves attention.
2D engineering drawings provide an easy reference of the tolerances that need to be met on critical dimensions. They also communicate how individual parts come together to make up assemblies and provide important inspection points. Your drawings are an important reference document for quality control.
2D drawings are still the best way to communicate certain aspects of your design. For example, tapped holes should always be identified, along with the tap size and depth. Finishing information is another important note to call out. You should also include critical dimensions and tolerances, especially those that interface with another part in an assembly.
5. Words are (sometimes) better than models
Sometimes words are just necessary because they are the only way to tell the whole story. 2D drawings with the dimensions, GD&T, title block, and notes, tell the story of the part or assembly. Everything you need to know is right there on the page. Even graphic novels need words; dialogue, labels, and sounds are necessary to move the story along. 2D drawings have developed to hold all the information you need to manufacture a part, helping you move the story from idea to reality.
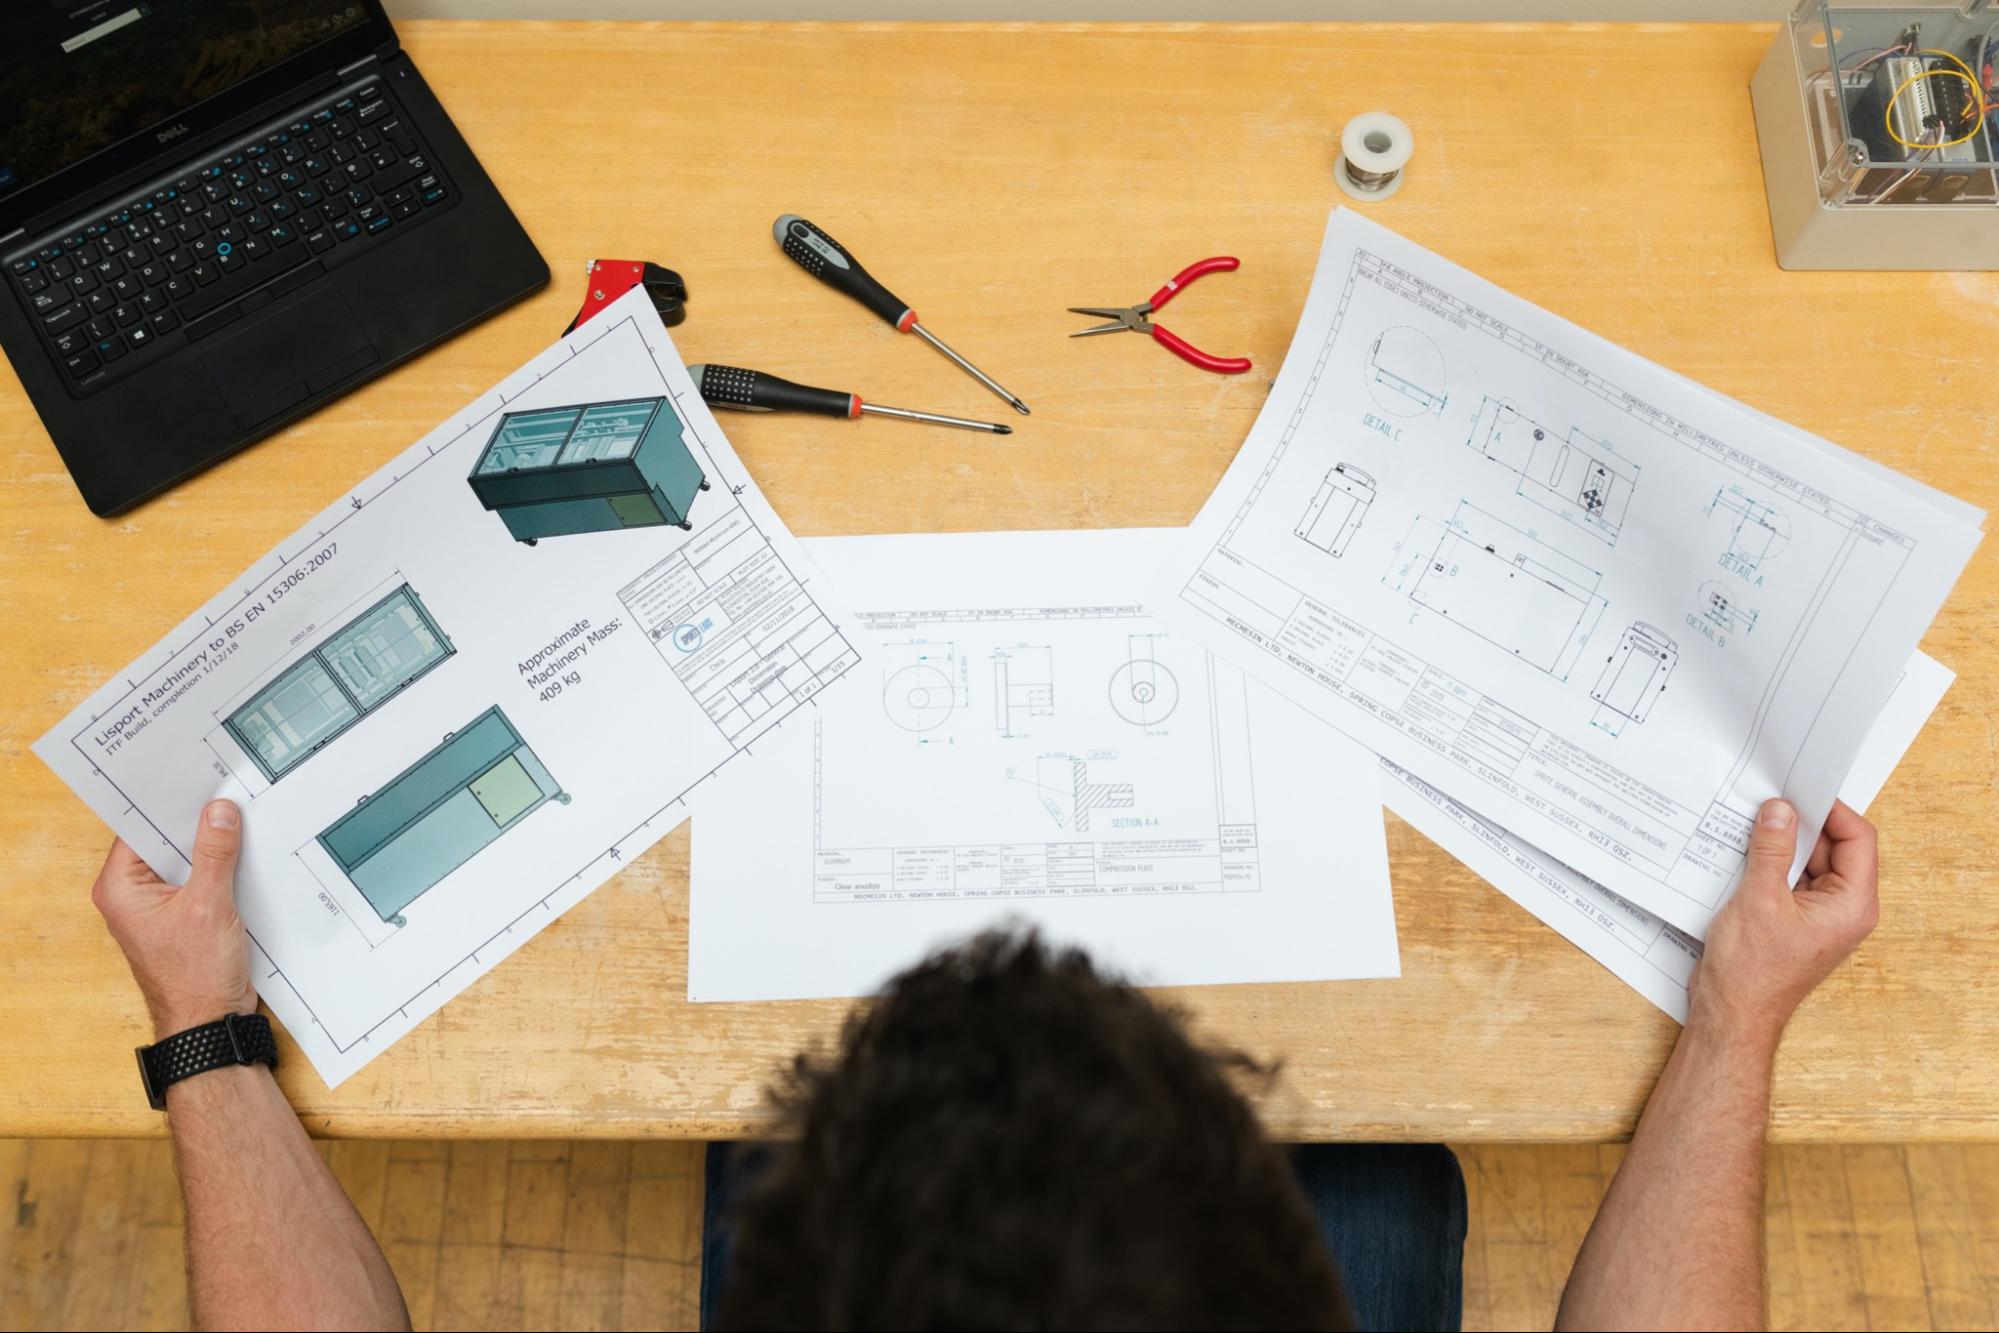
Even with all of these great reasons to keep 2D engineering drawings around, CAD is now an integral part of the design process. I think most of us engineers are happy about that; it can be tedious to create 2D drawings. But their usefulness means that 2D drawings are here to stay and you don’t need to spend all day creating them. Make the process more efficient by only including the necessary information! It’ll save you time and make things easier on your manufacturer.
Want an Easier Option?
Don’t love making 2D drawings? Fictiv can help with that! Sign up to upload a part and automatically generate a 2D drawing from your model.
