Time to read: 5 min
Depending on your visual model needs, you can choose from different finishing options for 3D printed parts. To make life easier, Fictiv always recommends printing parts that need any type of finishing work in a high resolution material, like VeroWhite or VeroBlack.
People often try to cut costs by printing in a low resolution, hard, FDM material, but they neglect to factor in additional finishing time for low resolution parts (like sanding and cleaning) and the sub-par finish quality. Labor costs tend to be greater than printing costs, so work smarter, not harder!
You’ll find that regardless of what type of paint job you choose, the advantages of starting with Vero outweigh any initial printing costs. In this article, we’ll go over some of the available finishing options, looking at the labor time and visual outcome for each.
VeroWhite/VeroBlack
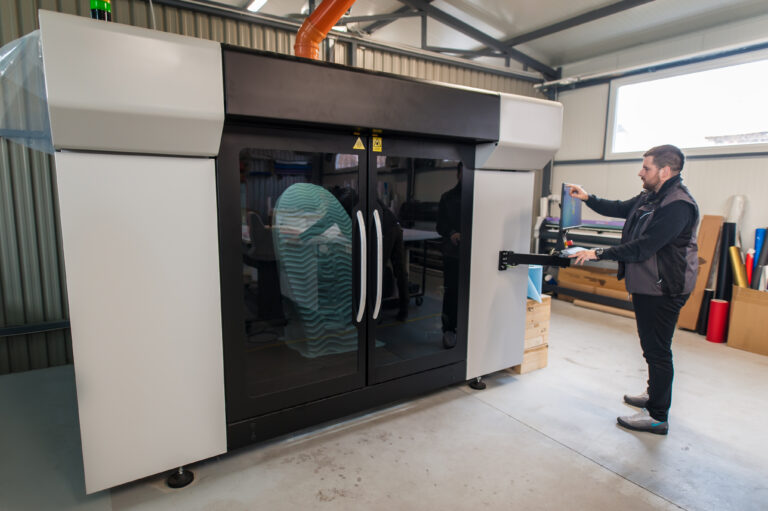
This is the standard print you’ll get right off of a PolyJet machine. The material is capable of 16-micron resolutions (that’s half a human hair!) and is going to capture all the critical details of your design.
You’ll notice that the VeroBlack looks like it’s a lower resolution, but really, the black material just highlights the build lines more than VeroWhite does. Both of these materials make great standalone visual models, or a base for finishing and painting.
Labor Time: 0 minutes

Dyed VeroWhite
Dyed VeroWhite is a great way to achieve a really dark black. When you compare this to the printed VeroBlack part, you’ll notice it has a less glossy look, which conceals the build lines.
The interesting thing to note here is also the change in the feel of the product. Instead of feeling like plastic, the surface has a slightly rough, cloth-like feel after dyeing.
This option is perfect if you can’t get access to VeroBlack material but need a quick-drying option for a black color. It’s also an excellent option when you want to protect tolerances. While paint will add tiny layers of thickness to the surface of a part, dye actually ingrains into the material, and its impact on tolerances is negligible.
Labor time: 10 minutes + 10 minutes dry time

Dyed VeroWhite + Clearcoat
Dyed VeroWhite with a clear coat will add a shine to the otherwise very matte, black finish of dyed parts.
While adding clear coat is sometimes used to add a protective layer to paint job, dye is soaked into the actual material, so there is no risk of chipping or fading. Clearcoat should really only be used on dyed parts if you need a shine or gloss.
Labor time: 10 minutes + 20 minutes dry time per clearcoat layer

Painted VeroWhite
Compared to dyeing, this method looks more like a traditional spray-painted part. It’s a quick method and comes out looking a bit more glossy than a dyed part. This method is best reserved for quick finishes, where you have no time to sand but absolutely need color.
While this will achieve your color needs, the paint won’t last very long. Without a medium to stick to (like primer), the paint will smudge and chip off the VeroWhite material easily. Additionally, the build lines will be highlighted by this process and you’ll get some pooling of the paint.
Labor time: 5 minutes + 1 hour dry time between paint coats

Primed + Painted VeroWhite
Primer’s main job is to act as a surface to which the paint and plastic can stick. As mentioned previously, paint doesn’t do a good job of sticking to a plastic surface, so adding primer before painting is going to add durability to your paint job.
This is best used when you need a paint job that’s going to withstand some use and abuse but doesn’t need a high quality finish. This is great method for most user testing, where the part looks visually like your product, but is still unrefined enough to evoke honest feedback from surveys.
Labor time: 15 minutes + 30 minutes dry time between primer coats and 1 hour dry time between paint coats

Sanded + Primed + Painted VeroWhite
When you get to the point where you are ready for photo shoots, crowdfunding campaigns, and closing investments, this is the finish you want. Naturally, this will take the most time, but the results are fantastic.
The sanding will smooth out any of the small build lines, the primer adds a medium for the paint to stick to, and with a proper paint job, the part will come out looking very smooth. You can add a clear coat layer, if you’d like, to give it a nice shine. Be careful here if you have tight tolerances, though, because all those layers of primer and paint can add some thickness.
Labor time: 3 hours + 30 minutes dry time between primer coats and 1 hour dry time between paint coats

If you’re doing finishing work yourself, here are a few quick tips to reference for the perfect paint job:
- For light colors, use a gray primer base.
- For dark colors, use a black primer base to get more depth.
- Use an acrylic-based paint, and not water-based. Acrylic-based paint is slightly heavier and adds more body, which is more forgiving to print defects/build lines.
- Sand the part beginning with 80 grit sandpaper to get rid of initial build lines. Then move up to 180 grit sandpaper for a medium pass. Finally, finish it off with a 400 grit sandpaper for smooth finish.
- Don’t forget to do a wet-sand with 400 grit sandpaper between each coat of primer and paint.
- For spray paint, keep the can approximately one foot away from the part at all times. Then carefully and quickly pass over the part completely and let paint fall onto the part. The key here is many quick strokes, versus long, heavy paint strokes. You want to prevent the paint from pooling!
Main Takeaways
For your early stage demos, you don’t need to spend a lot of money or time building out a great-looking model. Often, a low effort paint job will suffice and keep you and your team moving along.
Once you’re ready for that final visual model, a little sandpaper and paint will go a long way! Check out the Fictiv Capabilities Guide for more info.