Time to read: 8 min
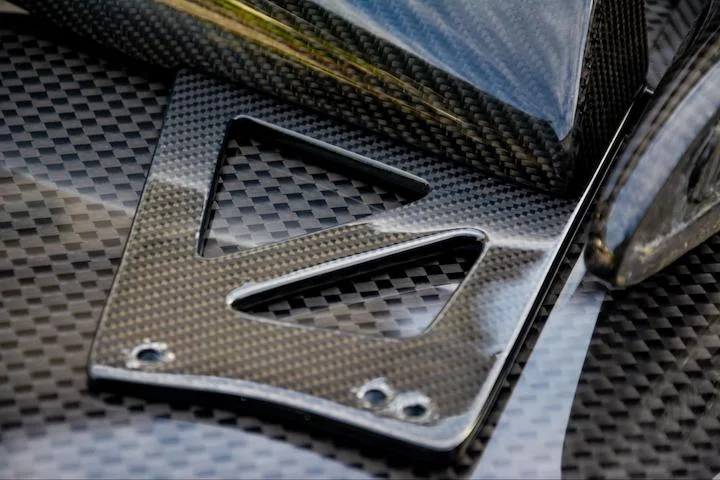
Carbon fiber has an excellent strength-to-weight ratio and can achieve high stiffness levels with thin walls. It’s especially effective for aerospace, robotics, and sports equipment. Additionally, it can be relatively easy to create complex prototypes or one-off parts with carbon fiber, provided the right tools and techniques are used. This article will cover the basics of carbon fiber and provide instructions on the techniques best suited for carbon fiber part prototyping.
Carbon Fiber Prototyping Overview
Carbon fiber fabrics for prototyping are classified using three parameters: their weight, tow size and weave pattern.
Weights
Carbon fiber fabrics come in various weights (the weight of the fabric per square meter). The higher the weight, the thicker the fabric. Lighter weights are more easily draped over complex shapes and are generally less expensive. Carbon fiber fabric is particularly useful for prototyping because it easily molds to complex geometries, and is strong, lightweight and simple enough to utilize for many design iterations.
Tows
The filaments in carbon fiber fabric are very thin—thinner than a typical strand of human hair. These filaments are bunched into a tow, which is the grouped strands that make up the visible pattern on a carbon fiber fabric. Tow sizes are related to the number of strands within it. For example, a 3K tow has 3,000 individual strands. The larger the tow number, the wider and thicker the bundle.
Tows are typically woven into fabrics that take on various patterns. These patterns help retain strength in multiple directions, as carbon fiber filaments only have strength when loaded in tension (therefore strong in multiple directions). The individual fibers in these fabrics are kept in place with an epoxy resin, a type of thermosetting plastic that dries hard.
Weave Styles
Listed below are two of the most common types of carbon fiber weave styles:
- Plain Weave: This simple weave takes on a checkerboard pattern, weaving the tows in a one-to-one pattern. It’s also less prone to coming apart due to fraying and is generally less flexible when compared to twill weave. This weave is better suited for large, flat panels.
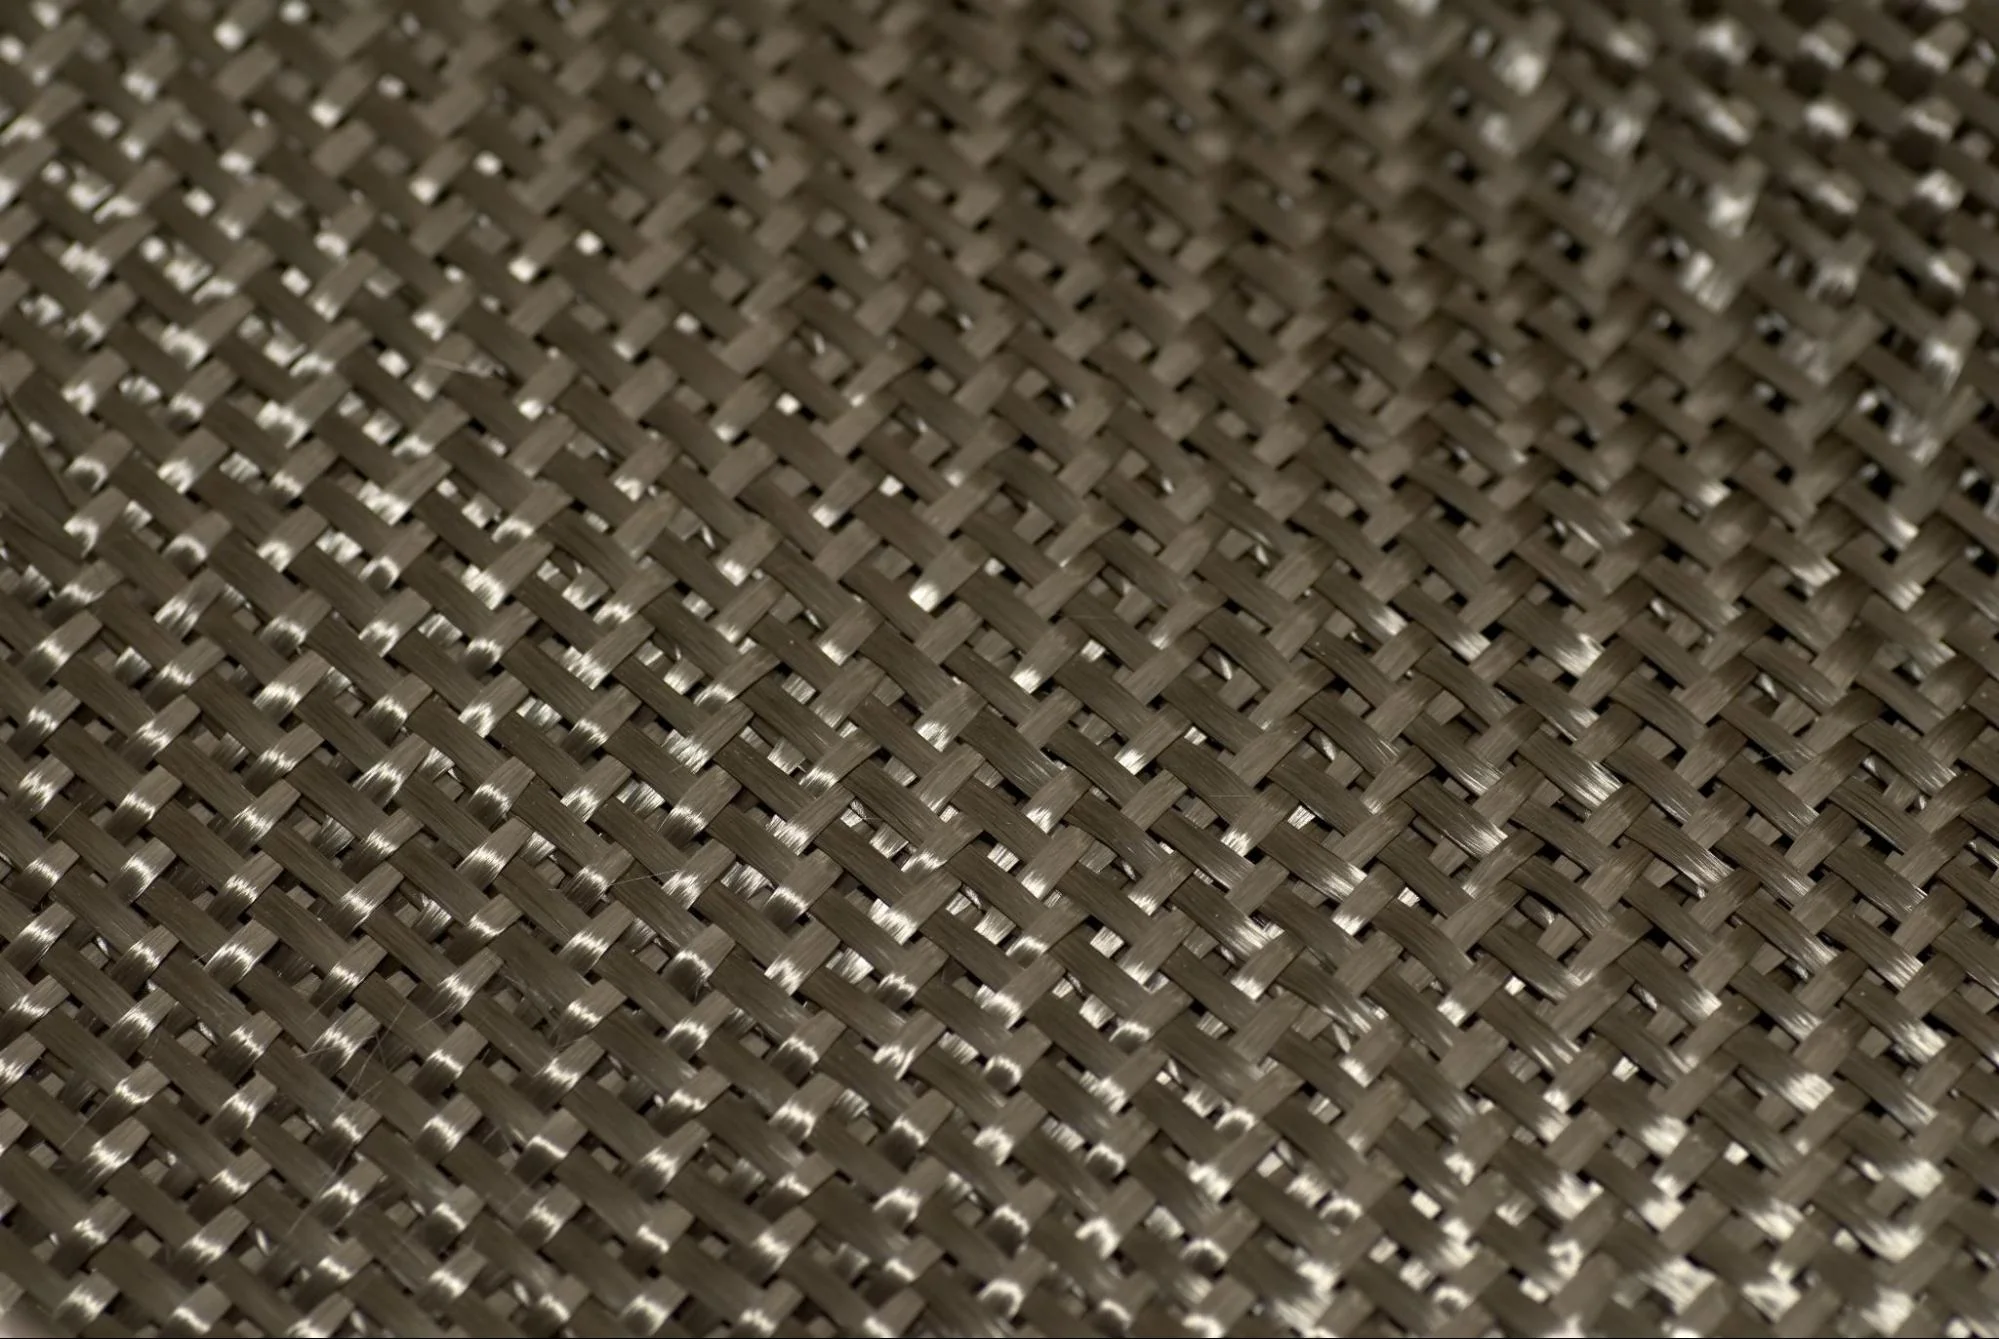
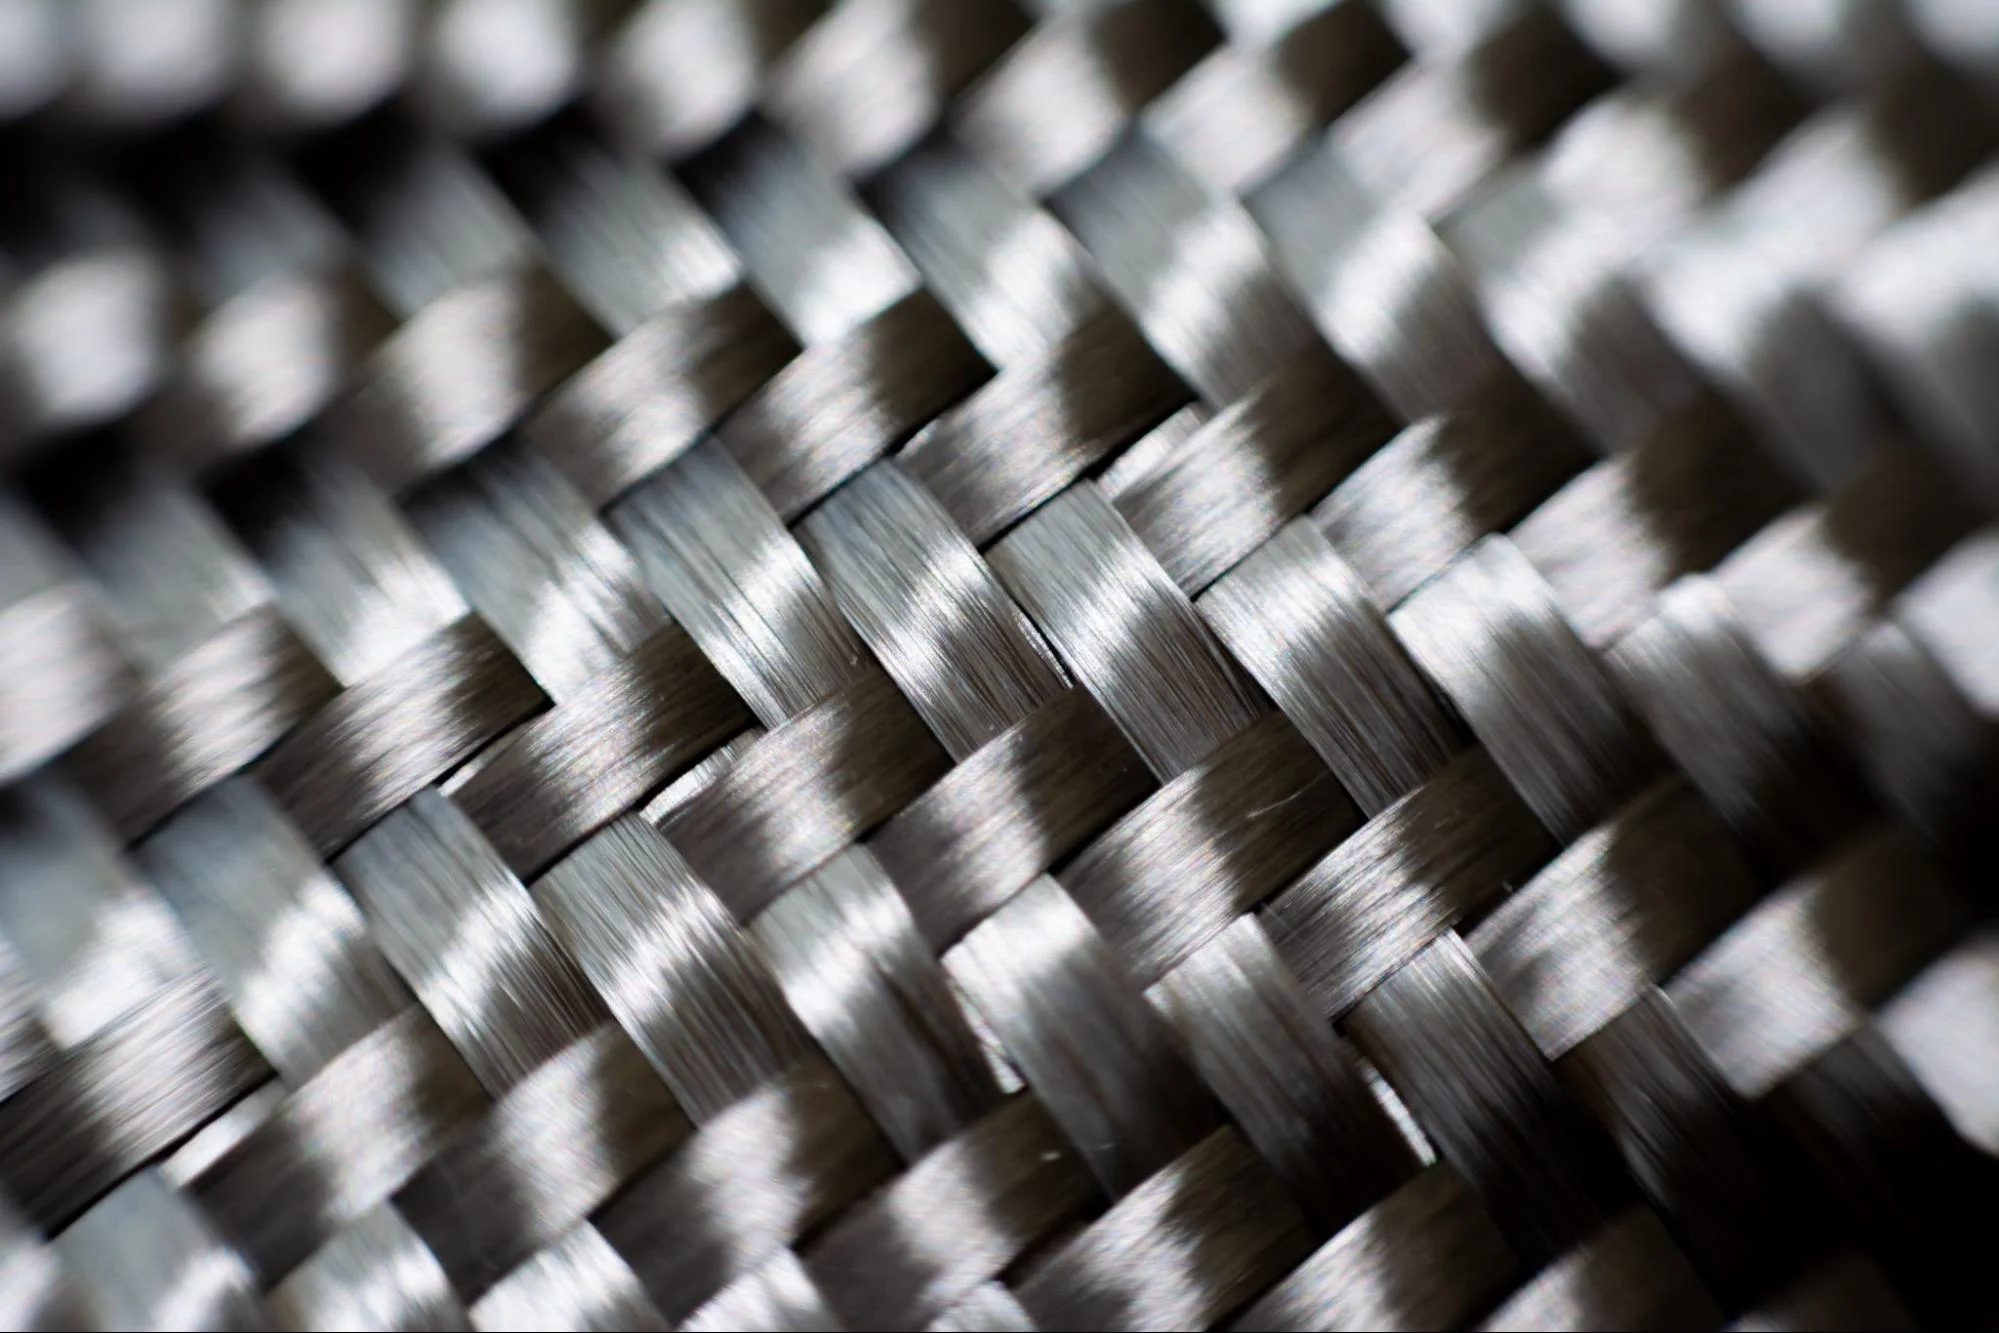
- Twill Weave: This weave takes on a diagonal pattern in which a tow is woven over in a two-to-two or a four-to-four pattern. The image below shows a two-to-two twill pattern. This pattern is more flexible than a plain weave and can be more easily draped over complex compound curves. However, it is more prone to coming apart at the edges.
Types of Resin to Use for Prototyping
Carbon fiber must be combined with an epoxy resin to form the fabric into the shape of the part. These epoxy resins come in many grades and are typically differentiated by their setting times. The shorter the set time, the quicker the resin will harden. Longer set times are preferred for complex parts, and quicker set times are better suited to simple designs.
The amount of epoxy required for a wet layup is related to the weight of the carbon fiber fabric. A 50% resin and 50% carbon fiber ratio is usually recommended. However, this can change depending on the part geometry, type of carbon fiber fabric, and processing technique. The resin must be properly weighed according to the provided ratio (on the manufacturer’s data sheet or instructions) and thoroughly mixed; poorly mixed resin can result in wet spots on the part after curing.
The epoxy setting is an exothermic reaction. Keep this in mind when using thin-walled 3D printed parts as a form, as the heat might warp the plastic, especially while the part is under load due to the application of a vacuum.
Popular Carbon Fiber Processing Techniques for Prototyping
Choosing the most effective and economical processing method is important when creating carbon fiber parts for specialized one-off components or prototypes. In general, wet layup is the most accessible. To improve the results, create a vacuum around the wet layup.
Read on for the most popular carbon fiber processing techniques and how to use them:
1. Preparation: Key Materials Needed
Before getting started, make sure all the required materials and tools are available. Below is the list that we recommend, but always refer to the manufacturer’s technical data sheet or instructions.
- Epoxy and hardener
- Brush for applying resin
- Release agent
- Digital scale
- Mixing cups
- Mixing sticks
- Carbon fiber fabric
- Composite shears
For vacuum bagging, additional materials and tools are required. Below is the list that we recommend, but always refer to the manufacturer’s technical data sheet or instructions.
- Vacuum pump and regulator
- Vacuum bag sheeting
- Breather fabric
- Through bag connector
- Peel ply
- Vacuum bag sealant tape
2. Using Molds and Cores
Apart from thin, flat panels, most carbon fiber components require a core or mold on which to lay the carbon fiber. Cores generally refer to lightweight materials enclosed by carbon fiber, including polystyrene, Nomex® honeycomb, or 3D-printed plastic can be cores.
Molds are used as tools to create multiples of the same part. Molds can be made from aluminum, 3D-printed plastic, and even wood. To get the best finish, molds generally need to be sanded and polished. Before any resin is applied to a mold, it must be coated in several layers of mold-release wax, as many as five, to ensure the part can be released when cured.
3. Carbon Fiber Processing Techniques
The carbon fiber can be applied once the molds or cores are ready and treated with the relevant release agent. It’s better to stick to simpler techniques for most prototyping and one-off parts; two of the most common are listed below:
Wet Layup
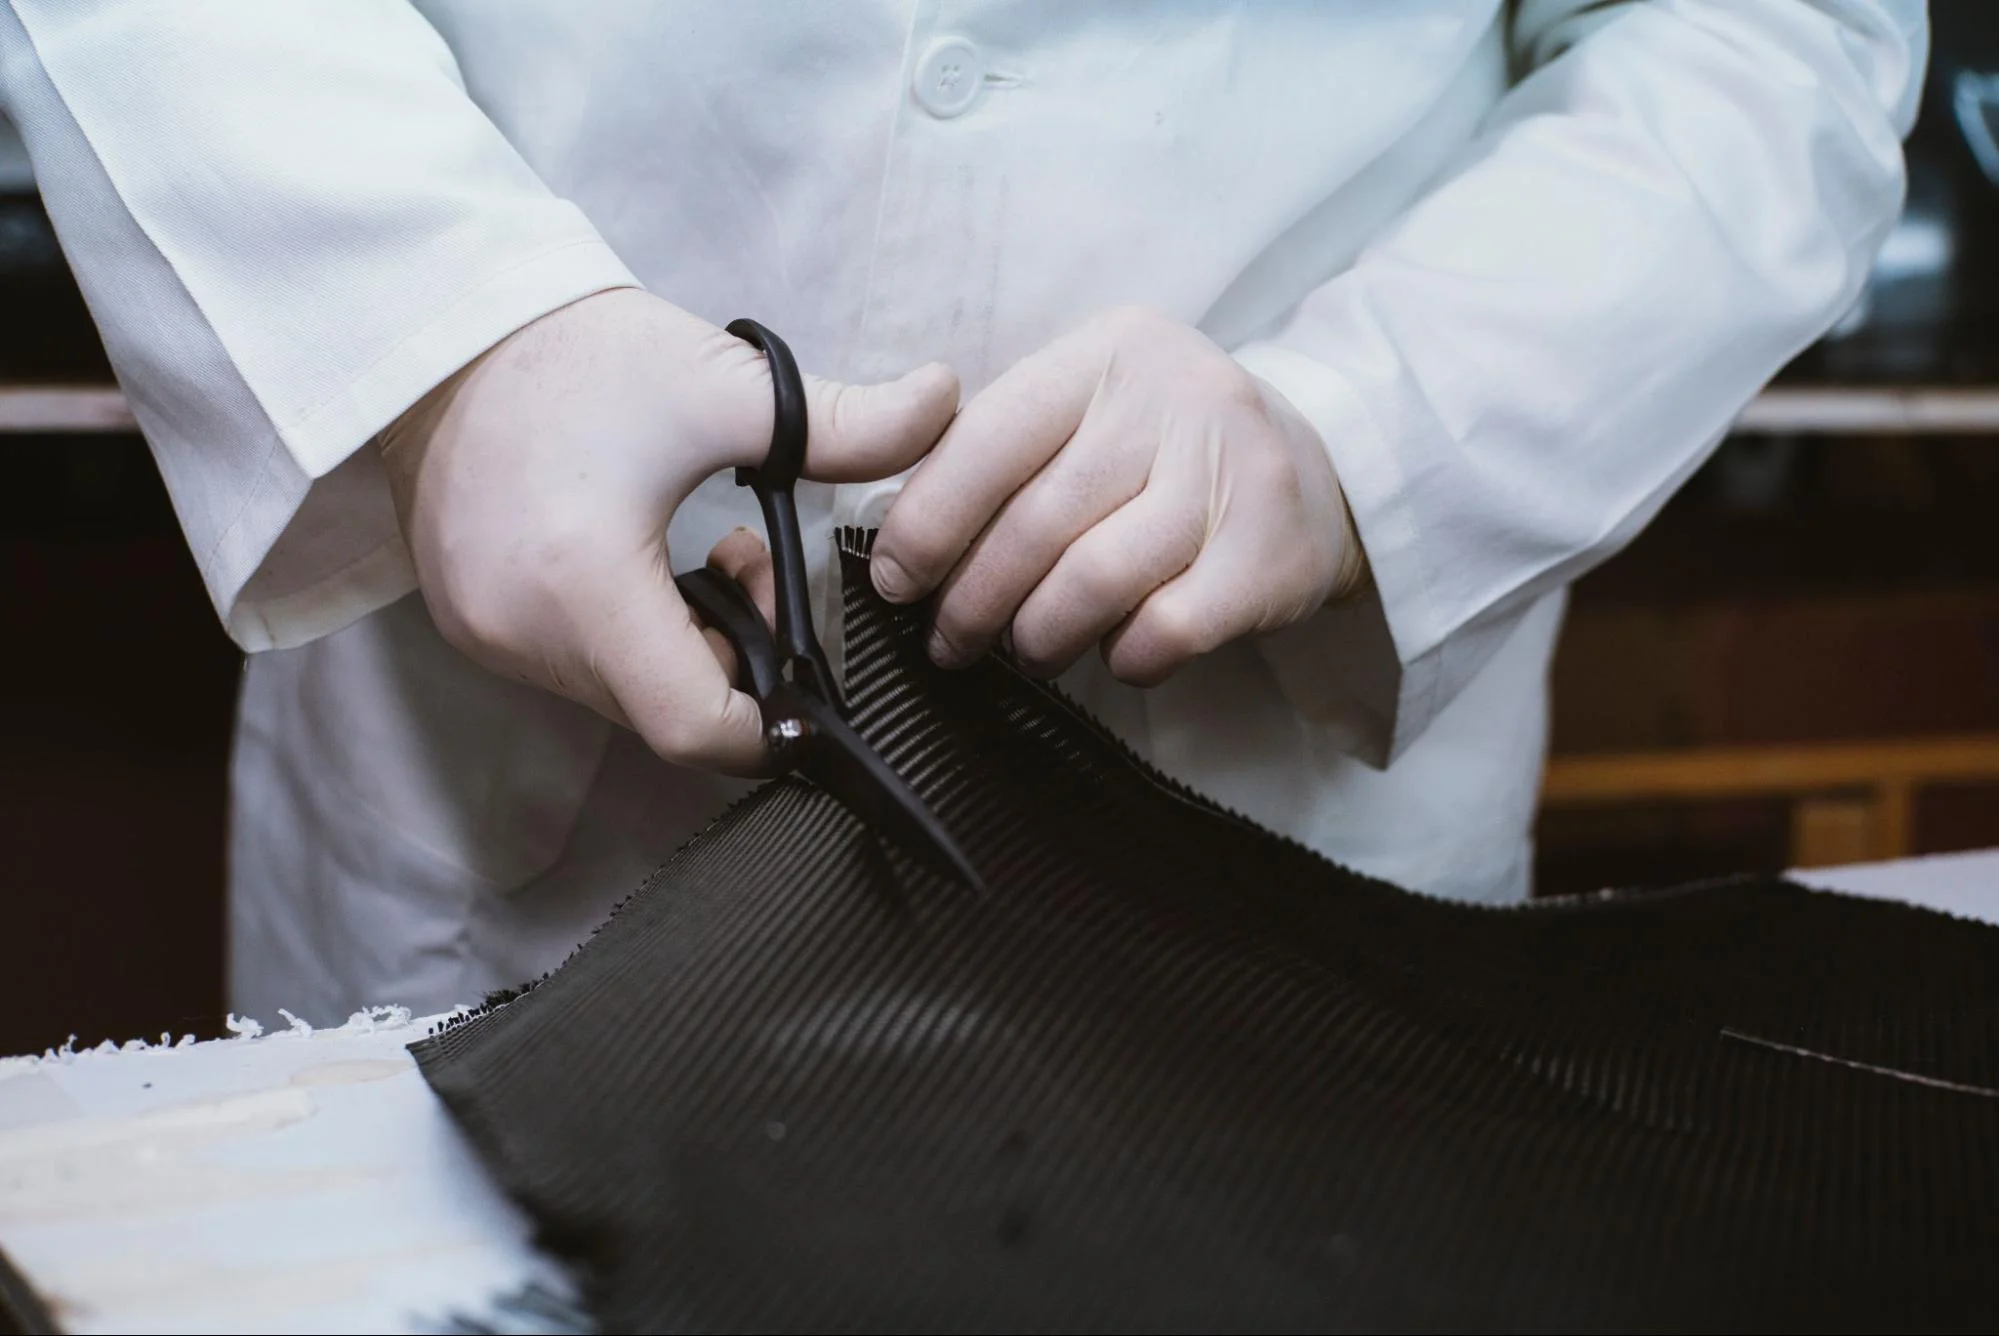
Wet layup refers to draping carbon fiber fabric over a core or mold. Here’s how to use this technique: First, cut the carbon fiber into sections. A single tow can be pulled out of the fabric to cut a straight line to guide your cut.
Using a brush, the mold or core is first coated with a layer of epoxy; then, the fabric is draped over and wetted with more epoxy. The idea is to completely wet the fabric; any dry spots can create internal weak points. Be careful not to pull too much on the fabric with the brush when applying the resin, as this can cause the fabric to wrinkle or come apart. It’s best to stipple the resin onto the fabric. Multiple layers of carbon fiber can be placed over each other to create a stronger part, while more resin is added. Cutting smaller sections can help when wrapping complex features. Cutting into triangles can also help as this shape conforms more easily to compound curves.
Once complete, the part is left to cure, typically for 24 hours. This technique is the most accessible and does not require expensive equipment. However, the results are not always aesthetic and may need significant repairs and multiple sanding and polishing cycles.
Vacuum Bag
The vacuum bag process follows the same initial process as wet layup. After layup is complete, the entire part (mold included) is placed into a vacuum bag. Next, the vacuum is pulled to apply external atmospheric pressure to the entire part, forcing resin throughout the composite, and eliminating any dry spots. Air is also drawn out of the part during the vacuum process. Follow the step-by-step instructions in the next section for more detail.
Pro-Tip: Check out this cool video to see the vacuum bag carbon fiber prototype process in action, using a Fictiv 3D printed part!
Step-by-step instructions in utilizing the vacuum bag:
Prepare the vacuum bag by sticking sheets of vacuum bagging plastic into an envelope in which one end is initially open. The plastic is stuck together with vacuum bag adhesive tape. This creates a very good seal and does not allow air in, but be careful not to crease the bag when sticking it to the tape. Add a through-bag connector to connect the vacuum hose to the bag.
Next, place the peel ply over the carbon fiber part. The peel ply is porous and allows air and resin to pass through into the breather fabric. The surface created with peel ply is uniform and textured, making it an ideal bonding surface. Place the breather cloth over the peel ply. This cloth allows for uniform airflow throughout the vacuuming process and absorbs any excess resin.
All the air is removed from the bag, and the atmospheric pressure outside forces the carbon fiber against the core or mold. It also forces resin into all the nooks and crannies of the part, eliminating dry spots.
If the part also has an internal volume lined with carbon fiber, you will want the bag to press on the internal volume. To do this, place a bag inside the part. There are tubes of vacuum bag plastic available for this exact purpose. Place the main bag over the outside of the part. These bags must connect with adhesive tape at their opening seam so that the vacuum can be applied to both bags. Do not completely close off the internal bag. Once a vacuum is pulled, the internal bag presses against the inside of the part while the external bag presses on the outside of the part.
When pulling a vacuum, take it slow. The vacuum bag is only plastic and can easily rip or tear if caught on a sharp corner or protruding feature. Make sure to keep an eye on the bag, and if required, stop the vacuum, readjust, and reapply the vacuum. The wrinkles in the bag will transfer onto the wet resin. This will show up once the part has been set. If aesthetics are important, make sure the bag is applied so that there are no wrinkles in the important areas. The vacuum is maintained throughout the curing process, typically 24 hours.
4. Finishing the Part
To achieve professional-looking carbon fiber prototypes, it’s important to perform post-processing on the part. The mold’s quality and the fabric’s application can make a large difference in the amount of post-processing required; the smoother the mold and the neater the application, the less post-processing required. Wet abrasive paper and polishing compounds are the most important tools needed to remove any imperfections from the surface of the part to create a glossy finish, exposing the weave of the carbon fiber fabric. Usually, start with a heavier sandpaper grit, and work incrementally to finer and finer grades. Then, apply a polishing compound as the last step. A final coating of epoxy can also create a smooth, professional finish.
Tips for Designing Parts for Carbon Fiber
When designing for carbon fiber part prototyping, following some basic DFM (Design for Manufacturing) guidelines is important. For example, fine, sharp features can be difficult to reproduce, so ensure there are sufficient radii on the part to allow the fabric to follow the contour easily. To learn more about all the available manufacturing options for prototypes, contact a Fictiv expert today.


