Time to read: 4 min
Scaling up a new product from the prototype or low-volume production stage into a high-volume manufacturing environment can be one of the most exciting and stressful stages of the hardware development life cycle. The decisions made during this transition will have significant implications for all aspects of a product, from tooling and manufacturing process control to packaging and user documentation.
Issues that arise during the production stage of a high-volume product may be prohibitively expensive to resolve, and so developing a solid plan before ramping up is critical.
Here’s a quick review of 10 points to ensure your transition to high volume manufacturing proceeds as smoothly as possible.
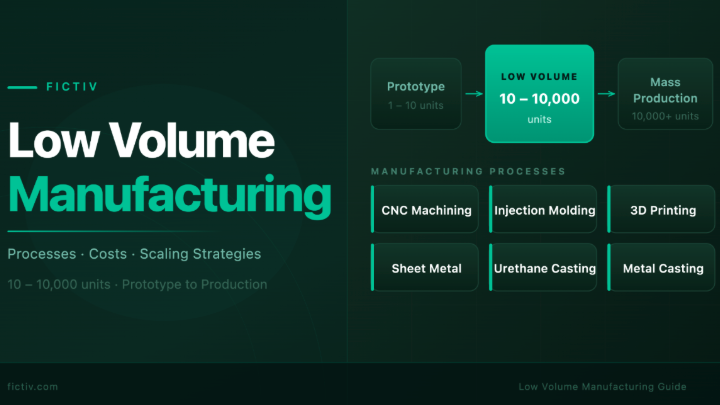
1. Understand Your Production Quantities
Suppliers will generally require you to provide an estimated annual units quantity for first-run production, so your plan for transitioning into high volumes should include estimates for first, second, and third year units.
Accurate estimates will inform your decisions with regards to manufacturing method and the vendor(s) chosen for production.
2. Research Your Options
Accurate estimates will inform your decisions with regards to manufacturing method and the vendor(s) chosen for production.
Each method has unique advantages and disadvantages, and the best choice will depend on your particular application.
3. Be Sure Your Product is Designed for High-Volume Manufacturing
For injection molded components, be sure that your 3D models are designed specifically for moldability.
This includes designing in proper draft angles which allow parts to be easily removed from the tool after the plastic cools.
You’ll also need to ensure that you have designed plastic components with uniform wall thicknesses. Regions with thicker walls will cool at a slower rate than regions with thinner walls, which will cause the final part to warp or cause sink marks, which may have an adverse affect on the aesthetics or functionality of the component.
Keep in mind that certain types of injection molded part features like undercuts or side-action features add complexity to the mold tool and as such will add cost to your project.
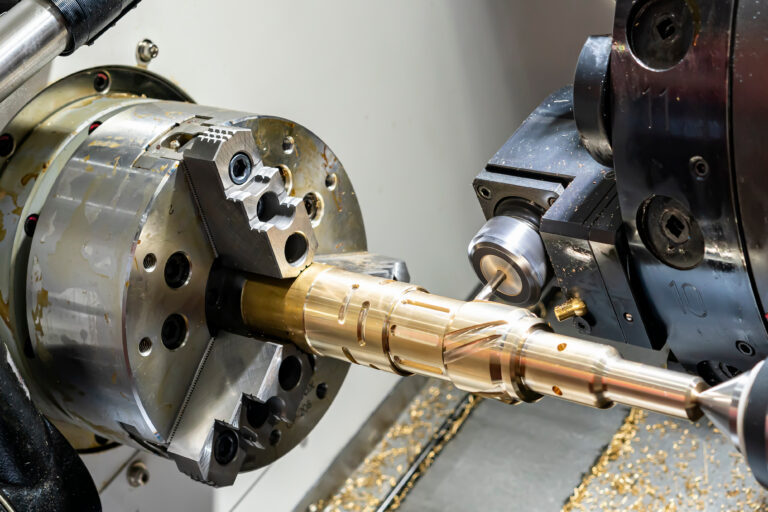
4. Educate Yourself on the Manufacturing Processes Involved
Once you’ve narrowed down the manufacturing method that will be used to create your component, ensure that you or a representative from your team understands the method in some detail.
Get acquainted with the typical manufacturing tolerances, process limitations, and industry jargon. This will allow you to have more valuable conversations with vendors about your product and allow you to ask the right questions about specific part features, materials, and manufacturing processes involved.
5. Prepare to Engage Vendors with Prototypes and Existing Data
Nothing helps a vendor understand your product more quickly than existing prototypes. Vendors may immediately be able to identify potential manufacturing problems with your design, or suggest improvements, simply by having a prototype in-hand during an initial meeting.
6. Speak with Several Manufacturing Vendors About Your Product
If possible, consult with multiple vendors to get an idea of fair pricing and gather as much feedback about your design as possible.
Many vendors will suggest improvements to your design that may help you make components easier to manufacture. Gather valuable information from your vendors’ expertise and choose to work with a reputable manufacturer.
7. Build and Test Final Prototypes to Prevent Costly Tooling or Process Changes
As you transition into production quantities, you should have full confidence in the design of your product.
Create final prototypes that represent the form and function of the final design as it will be when manufactured at high volumes. In some cases for plastic components, vendors may be able to provide high-quality prototypes using methods such as room temperature vulcanized molding (often referred to as RTV or silicone molding) that will closely represent the final production part. RTV molds can often be used for up to about 100 castings, and so may even be a good choice for short-run production parts.
Changes to your hardware after tooling has been ordered or manufacturing processes have been established will be incredibly more expensive than changes made during the design and prototyping stages.
8. Include Your Industrial Design Resources in Discussions about Tooling
Keep in mind that high-volume manufacturing methods may have an affect on the final appearance of your components, and so plan accordingly during the prototype phase.
For injection-molded parts, witness lines at the mold split and ejector pin locations will impact part aesthetics and may require slight modifications to the contours or external features.
Also, as mentioned earlier, sections where wall thicknesses are greater, such as areas where ribs or bosses are used, may have sink-marks. Ask your vendor about surface finishes that can be applied to the mold to disguise these issues.
9. Understand the Concept of “Steel Safe” Design
When specifying tolerances and dimensioning features on injection molded components, remember the idea “maximize steel, minimize plastic.” It’s possible to make walls thicker, take away holes, and add features like bosses or ribs to a plastic design by modifying an existing mold, but it’s impossible to make walls thinner, add holes, or take away raised features without creating a new tool.
The last thing you want to happen is for your production parts to be delivered with enough geometrical variance—due to warping, shrinkage, or part-to-part variance—that your design falls out of spec. Avoid this costly pitfall by specifying your design so that any potential dimensional changes would involve adding extra material.
10. Implement Business Processes For High Volumes of Product
Ramping up from prototype or short-run production into high-volume manufacturing may require changes to your existing business processes to ensure things continue to run smoothly.
Research and implement methods that will streamline your internal business processes, including order processing, assembly, shipping, and accounting, before ramping up to full production.
This will give you time to make adjustments to suit your particular business and prevent bottlenecks that can adversely impact lead time to your customer.
Taking the leap to full-scale production is a significant milestone for any hardware development team. By testing functional prototypes, educating yourself about the manufacturing processes involved, and creating a flexible plan for moving forward, you’ll be positioned to make confident decisions that will maximize your opportunity for success.