Before we get to business today, here’s a little trivia:
The Lazer Tag product line was brought to us by Worlds of Wonder (the original WoW), a toy company founded by former Atari employees. This hot hardware startup hailed from Fremont, California and got its start making “the world’s first animated talking toy,” Teddy Ruxpin. It also pulled off a $180 million IPO in June 1986, shortly before introducing Lazer Tag.
However, the good times didn’t last too long: after a series of unfortunate events, WoW went bankrupt just 2 years later in 1988. There’s a lesson somewhere in there for all of us: enjoy the spoils of your fortune while you can, because you never know when it’s gonna go south!
Thereafter, Tiger Electronics (now a Hasbro subsidiary, hence the NERF branding) licensed the technology from former WoW founders, and manufactured the taggers until 2000. You can’t buy these things in stores anymore, but we scoured every dusty corner of the internet (“cough”amazon”cough”) until we found a pair, so we can bring you, our dear readers, this teardown.
Enjoy!
External Components
There are 8 external components we’re diggin’ into:
- Laser emitter
- Receiver dome / hit indicator
- Trigger & shield activation button
- Weapon rail
- Accessory rail
- Strength gauge & ammo indicator
- Strength switch, power/game type switch
- Ammo core release
- Ammo core (clip)
1. Laser emitter
The laser emitter is actually just an Infrared Red (IR) LED behind a polycarbonate lens:

2. Receiver dome/hit indicator
The receiver dome has 4 red LEDs and 4 IR receivers (so you can get hit from all directions). Here’s a picture of the outside:

And the inside:

3. Trigger & shield activation button
Behind the large buttons, there are keypad switches similar to those found on the Nintendo controllers we tore down before. When you push on the silicone rubber pad, a conductive pill makes a short circuit between the two copper contact areas on the PCB.
This type of switch has a soft, bouncing click feel. They also take repeated abuse much better than dome switches or tact switches.
Here’s a look at one of these switches on a PCB:

After dissecting the switch, you can see the silicone rubber cover, conductive pill, and the copper pads:

4. Weapon rail
The weapon rail is used to attach the Shot Blast accessory, which features two infrared emitters (double the fire power!), as well as a video game attachment for solo play. It needs quite a few pads (8) to allow for all of these functions.


5. Accessory rail
The accessory rail is used to attach a pinpoint sight accessory, which is simply a crosshairs graphic on plastic. However, when the sight is attached to the Phoenix LTX’s accessory rail, it gets powered and a green light will reflect onto the crosshairs.
There appears to be 6 pads on the accessory rail PCB. However, when you look closely, the 3 pads on each side are connected with thin copper traces. So the 6 pads are effectively only 2 conductors.
Since it’s only for powering the LED, this makes sense: you only need 2 pads for power and ground. They did this to make the accessory rail PCB look more cohesive with the weapon rail.

6. Strength gauge & ammo indicator
There are 5 LEDs for each indicator:

These are rectangular LEDs, exposed directly to the outside to eliminate the need for another light guide. A plastic bracket hides the PCB behind the LEDs.

It’s also kind of interesting to note that the plastic bracket for the LEDs is orange plastic, but painted blue.
So.. either the family mold for orange parts had some leftover space, or the part was molded in orange originally and then the designers didn’t like the assembled result, so they just painted it over. Even the biggest companies scramble to find last minute solutions. 🙂
7. Strength switch, power/game type switch
Here’s a neat slider switch with a plastic cover:


8. Ammo core release
The ammo core release is one of the coolest parts of the gun. It’s triggered by thumb switches on both sides of the tagger, and then the inner mechanism, which is the cool part, involves two internal springs to pop out the “clip.”
Here are the thumb switches:

And here’s the mechanism:


So tactically satisfying!
9. Magazine
The is just a big light guide. Here’s what it looks like on the outside:

And on the inside:

Internal Components
Next up, the internal components:
- Rumble Pack
- Speaker
- PCBA
- Wiring
1. Hidden treasure: the Rumble Pack
The Rumble Pack makes the “recoil” tactile feedback happen. In essence, it’s a gearbox that uses a small motor’s rotational output to drive a metal weight linearly. This weight rebounds to its original position rapidly thanks to a large, strong spring, and this back and forth motion makes it feel like a recoil.
After pulling it out of the gearbox, we find all the fun mechanisms hiding:

With the inner mechanism exposed, we also find a gear train + a rack & pinion mechanism:

2. Speaker
The speaker is actually quite large and makes some impressively loud pew-pew sounds.

It looks to be a waterproof speaker since the diaphragm is polypropylene plastic (as opposed to paper, usually black). Considering this is an indoor/outdoor action toy, water resistance is definitely a plus.
3. PCBA
On the PCBA we see IR receivers as well as a ton of through-hole soldered components. This is a very manual and slow process, not used as much today — modern electronics do as much SMT (surface mount technology) as they can since it’s much faster.
In general, it’s a really dense board, as you can see there are no ICs (integrated circuits). This thing is showing its age!


4. Wiring
The wires are routed through pairs of molded plastic posts — some of them are heat staked together at the top to keep the wires in place:

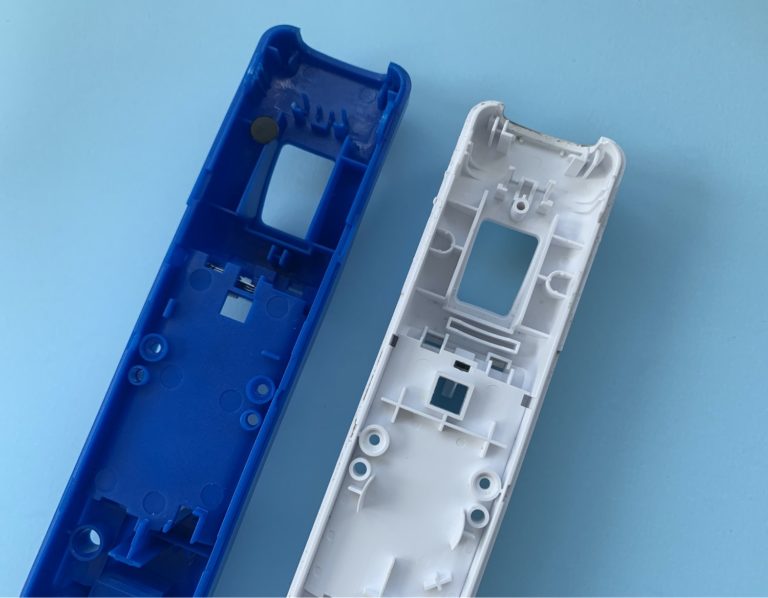
General comments about construction
There are lots of screws in this thing, all self-tapping except the two that hold the battery door. All peripherals are connected to the main PCBA via through-hole soldering, which is a very manual process and common in electronics assembly from a slightly, well, older era.
There are so many peripherals, it’s quite a tangled mess when we opened this up…


So there it is! In all its old, yet awesome glory.
All you San Franciscans will be thrilled to hear you can actually order this on Amazon Prime Now, and be playing Lazer Tag before happy hour. You’re welcome.