Welcome to Part 2 of our Netatmo Weather Station Teardown.
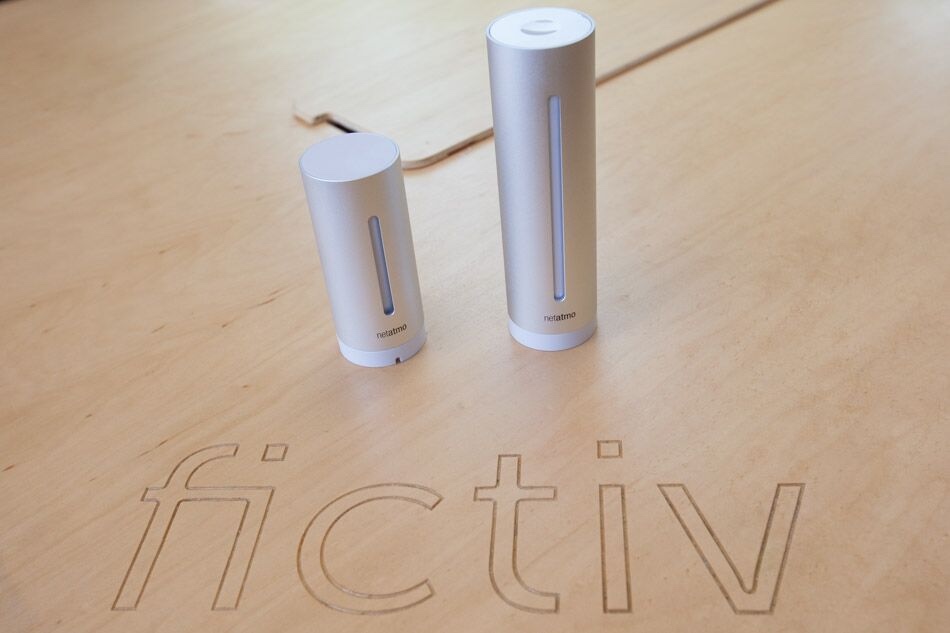
Alison Thurber from Mindtribe continues to be my lab partner, despite this embarrassing scene at Fictiv during our last teardown. We call this “Frunday.” What exactly is so fun about planking?

Indoor Module
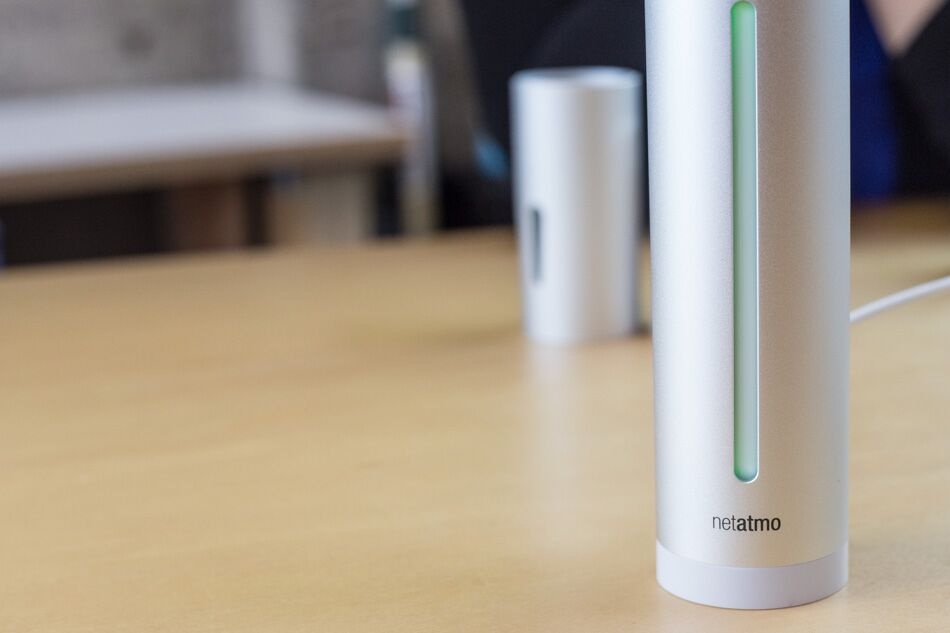
The Netatmo Weather Station’s Indoor Module is taller than the Outdoor Module. In addition to measuring temperature, humidity, and air quality (CO2), it also measures noise level and pressure. Do all these extra features need 30% more space? Let’s find out!
At first glance, the Indoor module doesn’t appear to have any exposed fasteners. However, we found that its bottom cover plate twists off, allowing us to remove three screws and take off the bottom cap. The six small holes are for programming and testing after the product has been mostly assembled.
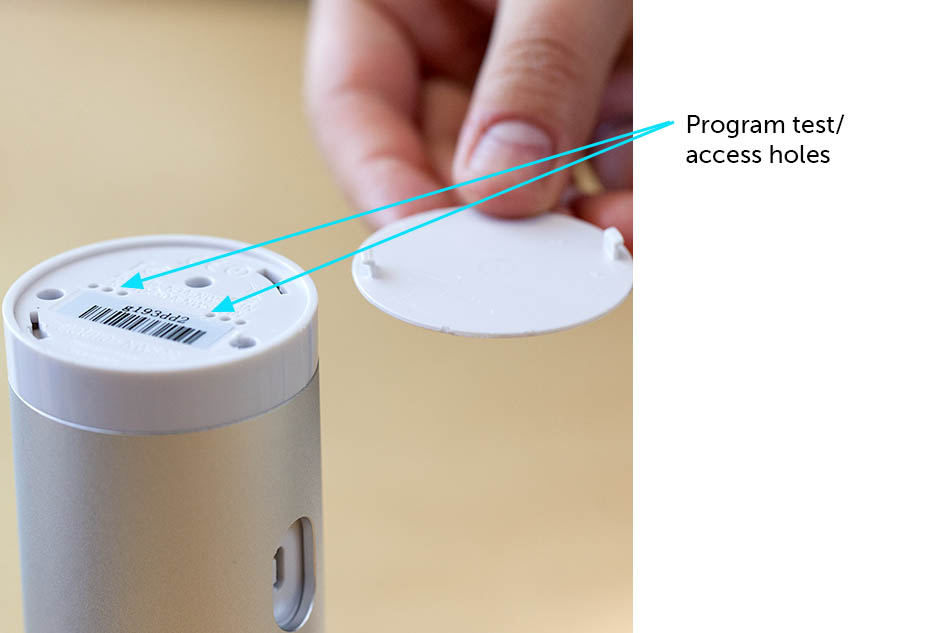
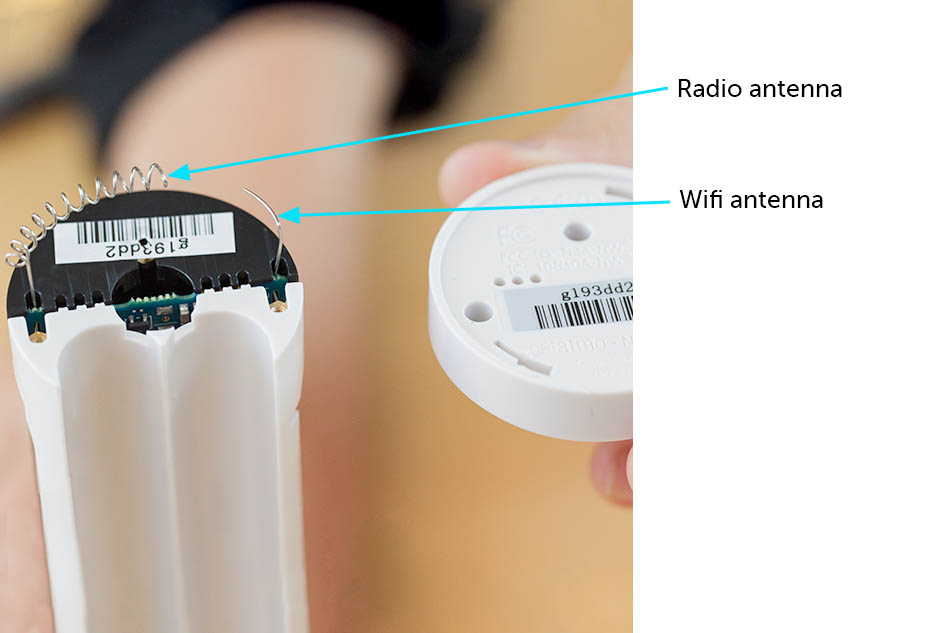
After the bottom cap comes off, we see the same coil radio antenna as the one found on the Outdoor Module. There is also another, less elaborate antenna (blink, and you’ll miss it) for WiFi.
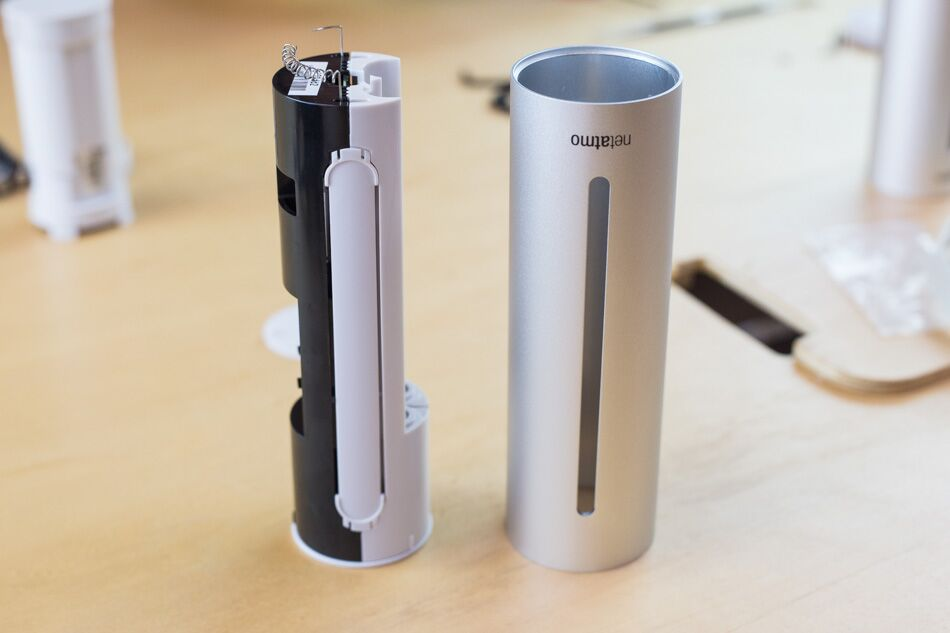
The cnc machining aluminum shell slides off the internal subassembly easily. It’s is essentially the same as that found on the Outdoor Module, just stretched axially. We even find the same post-machined alignment notches.

The slot-shaped part is a light “shade.” It’s just resting on the black & white parts; no fastening features. The aluminum shell keeps it in place when assembled.
The light shade is just really thin and opaque ABS.
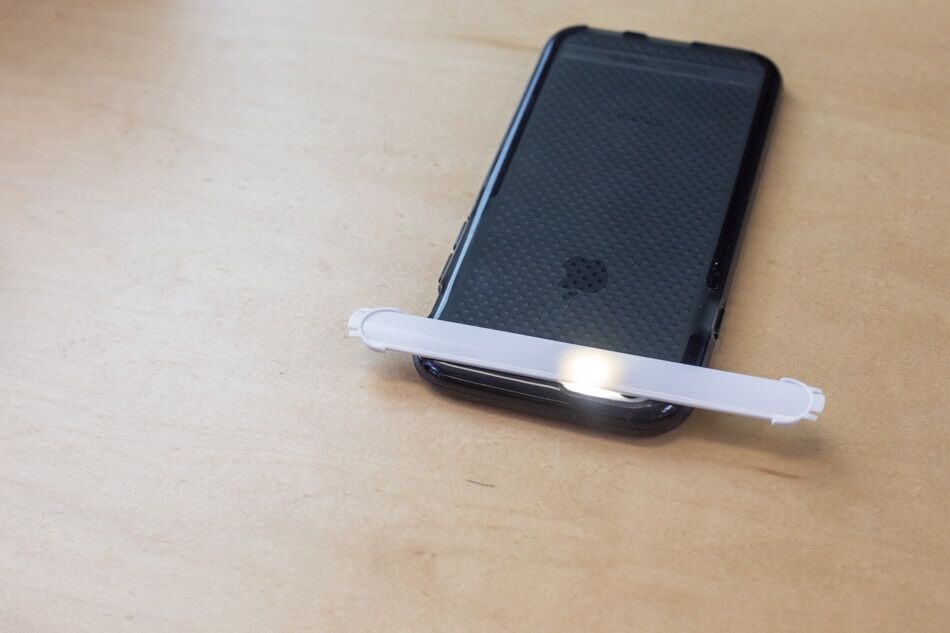
Underneath the light shade, there’s a sophisticated light diffuser that does all the hard work. The light source comes from two side-mounted LEDs.
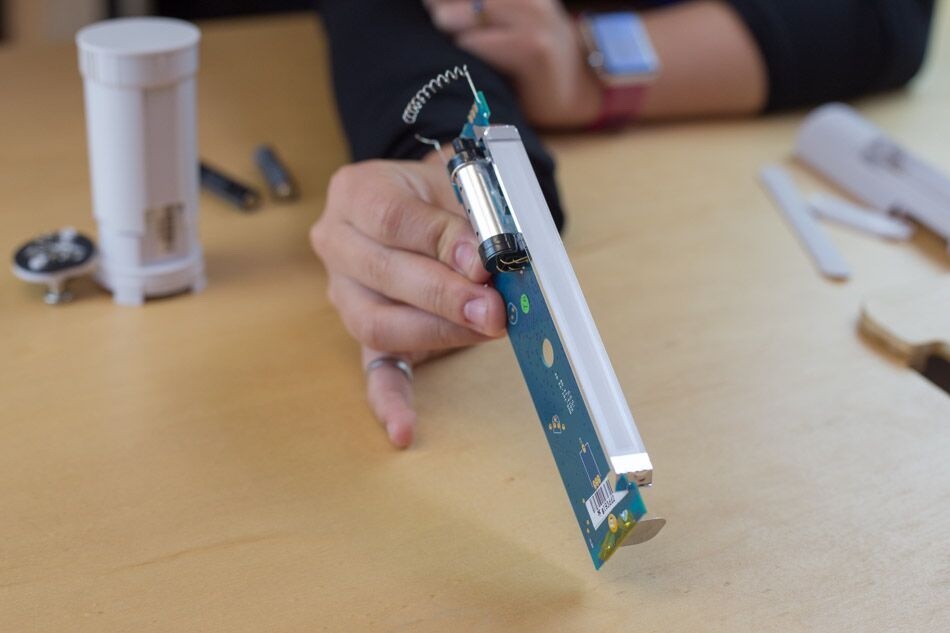

It’s hard to see from this photo, but there are tiny little holes etched throughout the panel. This increases total internal reflection and makes the light spread evenly throughout the length of the panel—no easy feat! If you’re interested in learning more about the optical science behind this, I recommend this paper.
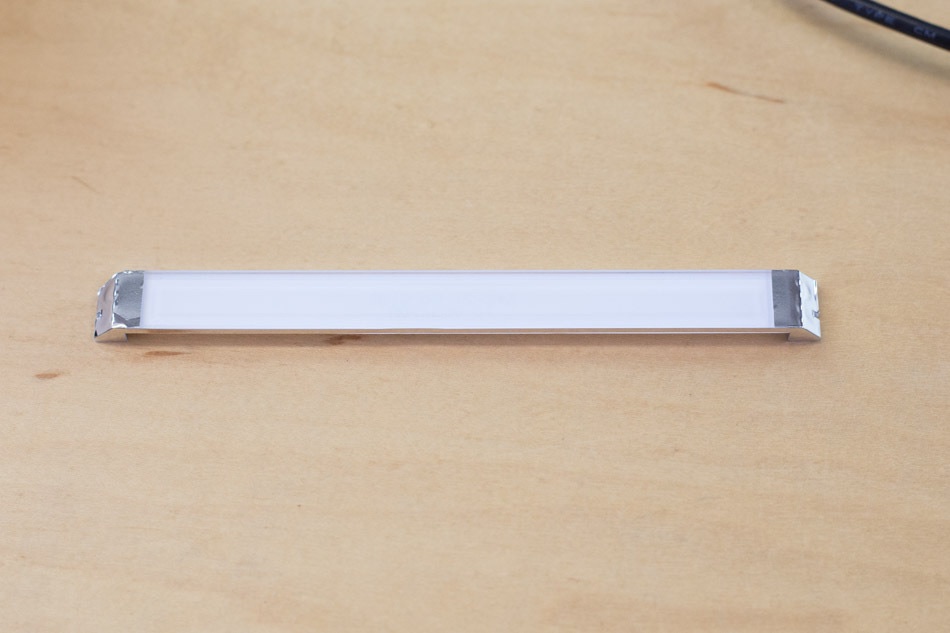
The two chamfered faces and reflective adhesive wraps bend the LED light source 90 degrees towards the middle of the panel.

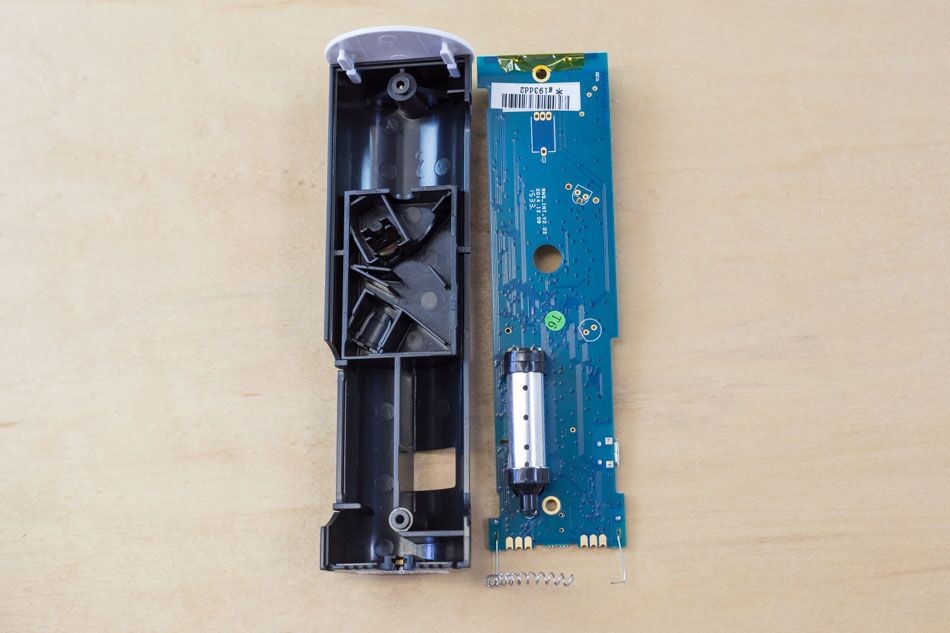
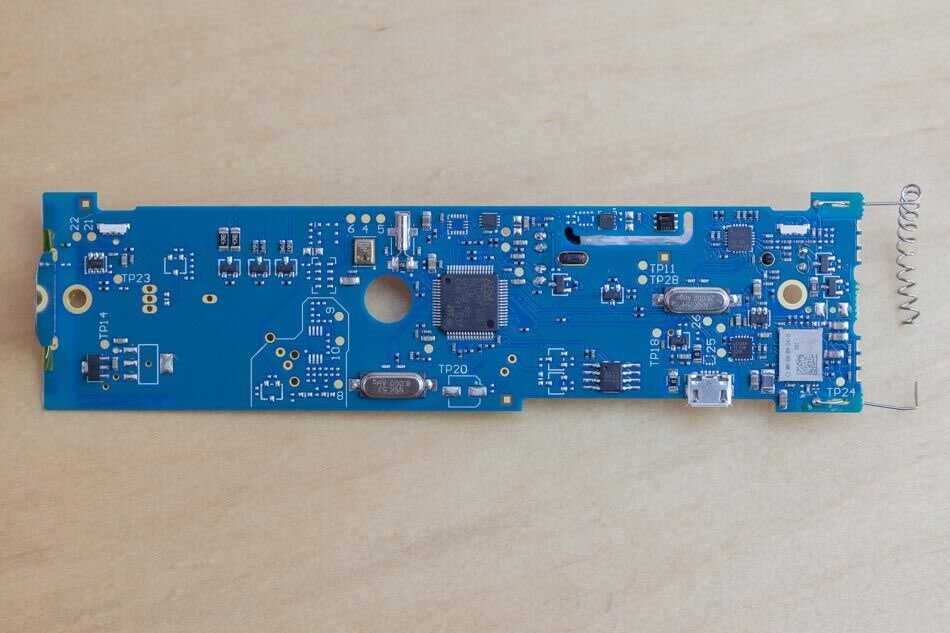
Let’s take a look at the main PCBA. It’s a lot more sparse than the Outdoor Module’s. Here, we see the exact same temperature & humidity sensor and TI C110L radio. The microcontroller is a STM32F103 chip. Things that are new to the Indoor Module PCBA are a Spansion flash memory chip, a microphone (for noise level detection), and a USI WM-BN-BM-04 WiFi module.
On the bottom side of the board, we find this gigantic cylinder. It’s likely the air quality sensor. We know it mostly measures CO2.
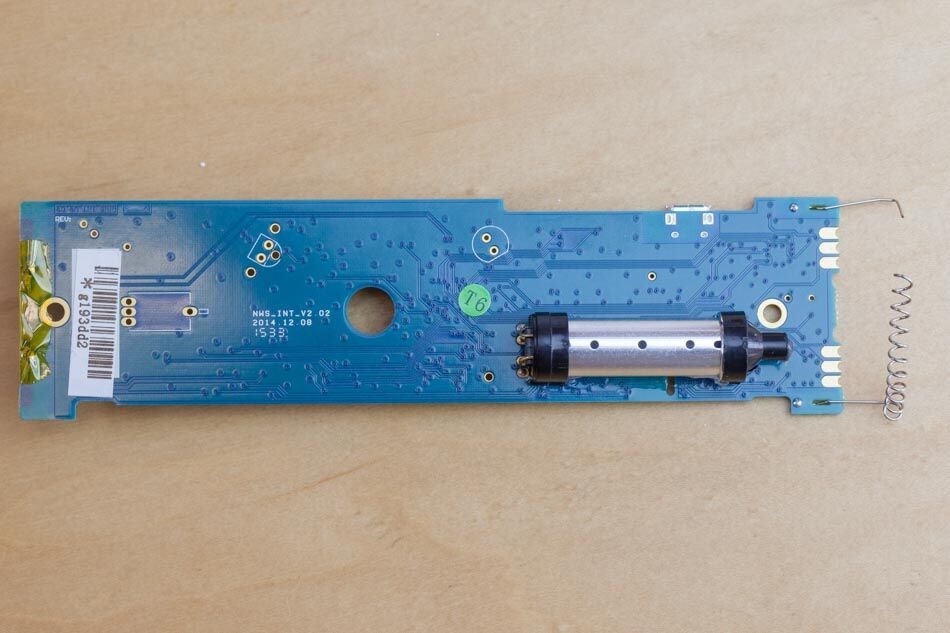
Lastly, there is a sheet metal tab sticking out of the PCBA, for capacitive touch sensing. When someone touches the top of the Indoor Module, the LEDs come on to tell you whether the CO2 level is good or bad.
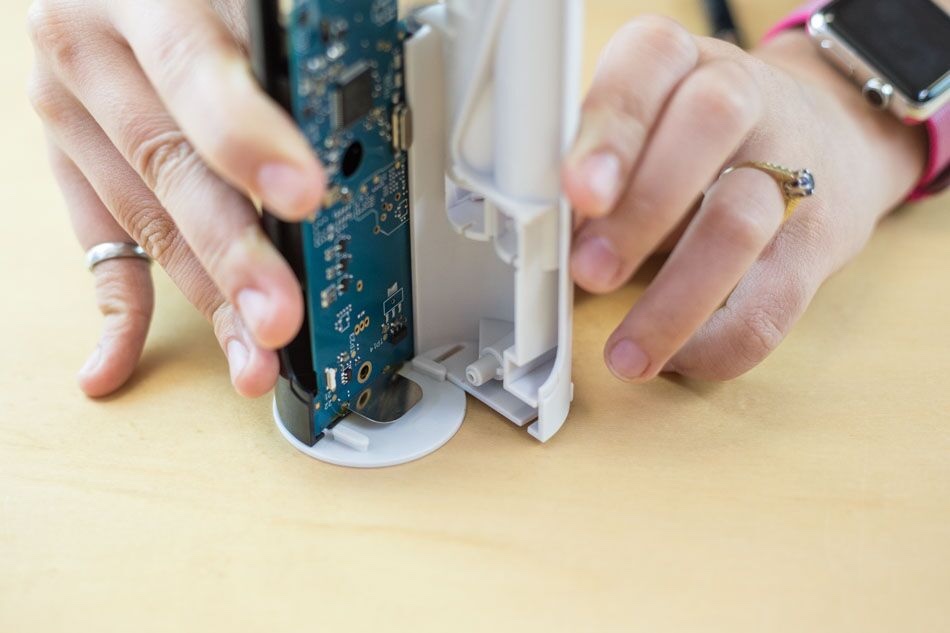

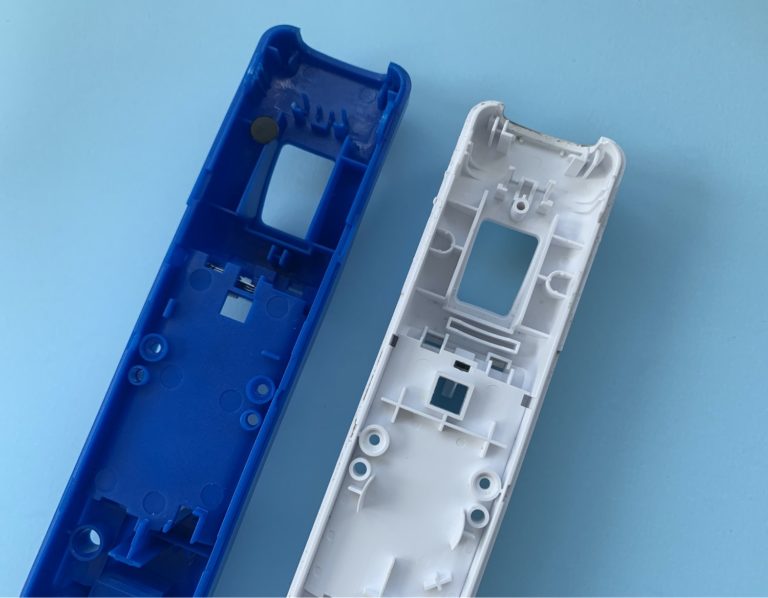
The black and white shells that hold the PCBA aren’t even held together with snap fits! We peeled away the serial number sticker so you can see the hex huts captured in the plastic slots. The three screws I removed to get inside fasten to these. Again, it’s interesting that Netatmo engineers decided not to use self-threading screws.
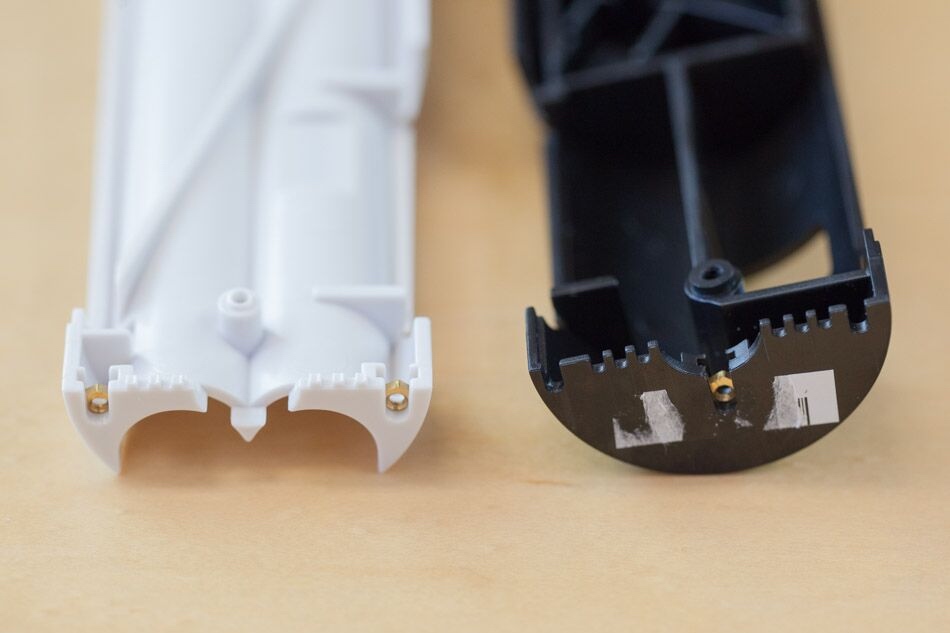
Lastly, it was interesting to us that the plastic parts have features that seem useless. The plastic parts might be used in another product, or it’s an older version that Netatmo hasn’t bothered to retire. Good cost-saving strategy!
Next week, we’ll tear down the Netatmo Welcome indoor home security camera to see if this part is used there.
