After we tore down the Netatmo Weather Station, we just had to know whether the internal plastic parts are shared with another Netatmo product line. So, this week we got the Netatmo Welcome indoor security camera, which definitely looks like the Weather Station’s sibling.

Look at how this thing pierces through your soul. Do you feel welcome yet? Do you?
All jokes aside, the gold color anodized cnc aluminum shell is very handsome!

Again, no exposed screws on this thing at all. However, since we already did the weather station modules, we knew exactly how to approach Welcome.
A simple twist got the top cover plate off and exposed three screws. There’s an inner cap that comes off after we remove all three screws.


The internal subassembly slides out without much effort. There is a bottom cap that holds the two halves of the internal assembly together with cantilever clips.

The mechanical design of Welcome very much shares the same DNA as the Weather Station Indoor Module. Why change what works?

The black half of the internal subassembly holds the video camera component.

The camera subassembly is secured to the black plastic frame with just two Philips head screws.

The lens itself is also attached to the sensor flex board with two screws, but they’re Torx, which says, “don’t screw with me!” In addition, the lens has a 130-degree field of view.

Here’s a closer look at the CMOS sensor. It’s entirely possible that the camera subassembly is off the shelf.

There’s an IR-cut removable filter behind the lens. A lot of security cameras feature this option: when there is a lot of visible light, the IR filter is turned on to block IR light. In the dark, the IR filter is turned off, and the camera records in black and white mode.

The black frame looks like one piece, but the slot area actually has an IR-transparent screen. This is to allow the motion sensor’s IR beam to pass through.

The hole at the lower end of the IR screen allows the microphone to record sound.

Now, let’s look at the board. There’s a gigantic heat sink sticking to it. We see the familiar WiFi and radio antennae, the same as those found on the weather station modules. The WiFi connectivity is necessary for transmitting data to the cloud (and subsequently the app), while the radio is for communicating with additional motion sensor accessories called “tags”.

The heat sink is CNC machined from a block of aluminum. There is a thermal pad between it as well as the processor, to help conduct heat away. Processing video is hard, hot work!

Without the heat sink, we can see all the electronics goodies on this very dense board’s top side.
- Allwinner Technology quad-core processor
- Taimag HA-223 power over ethernet magnetics module
- SK Hynix MLC NAND flash memory chips
- TI CC110L RF transceiver (the power of volume purchasing!)
- AXP221 power management IC
- good ol’ Ethernet port
- microUSB port

On the bottom side, we see a microSD card slot and an elastomer microphone shroud that’s just hot-glued on. Hey, whatever works…


Last but not least, there’s another PCBA, soldered perpendicular to the main board. The main component on here is a high powered IR LED to boost the Welcome’s night vision.

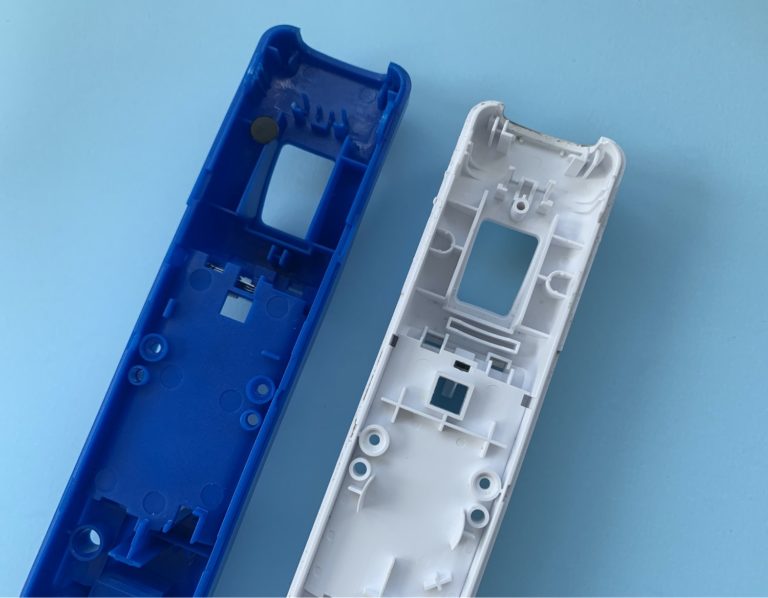
Here’s the other half of the inner plastic frame. I’m a bit disappointed that we didn’t find many common plastic components—that would be a great way to reduce engineering work and unique part inventory.

Overall, the Welcome security camera’s mechanical architecture shares a lot of similarities with the Netatmo Weather Station modules. This is the beauty of product lines! The mechanical design is straightforward and no-frills; therefore, this product should be extremely fast to assemble and rework, if needed.