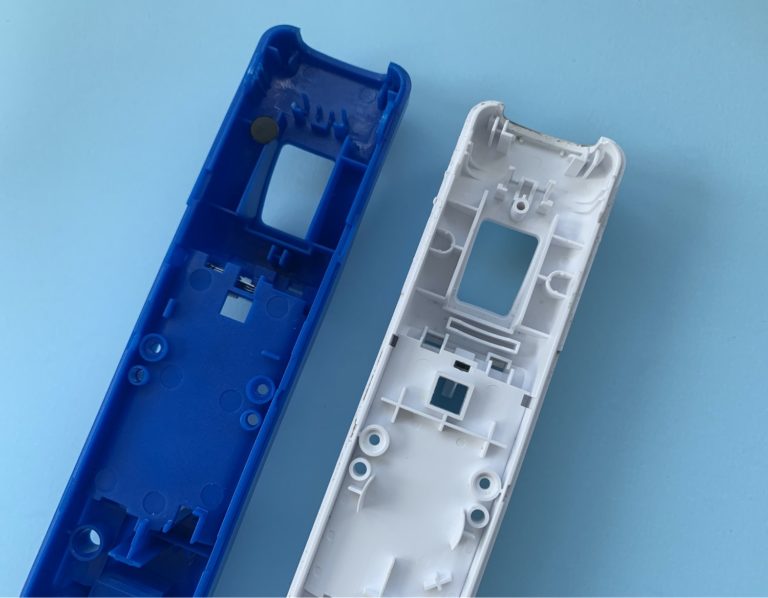
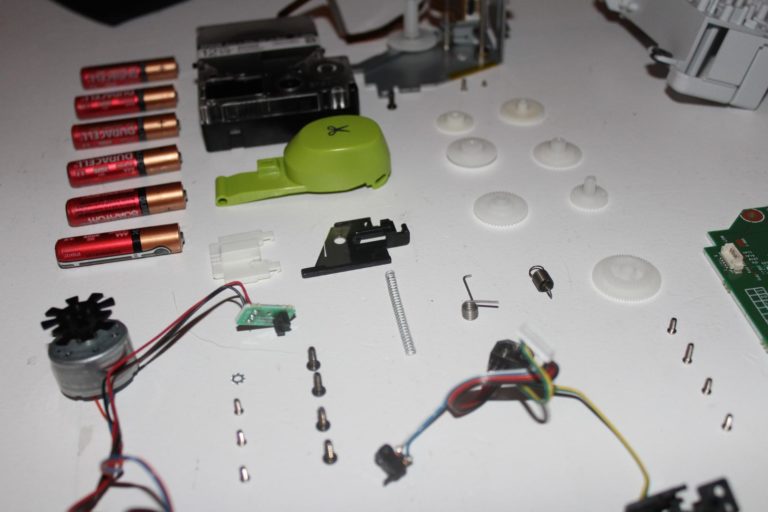
In Part 1 of this teardown, we ventured inside 3 of Nintendo’s first controllers: the NES, Super Nintendo, and (our favorite) the N64. Now we’re making our way towards the present with Part 2, looking at the Gamecube, Wii Mote and finally the latest Wii U Gamepad.
(Honorable mentions go out to the Virtual Boy controller and the Power Glove, which didn’t make it into this teardown as some of Nintendo’s more… eccentric ideas.)
At the end of Part 1, we saw huge leaps on both the design and engineering fronts from the Super Nintendo controller to the N64 so let’s see how these next 3 controllers stack up.
Gamecube Controller
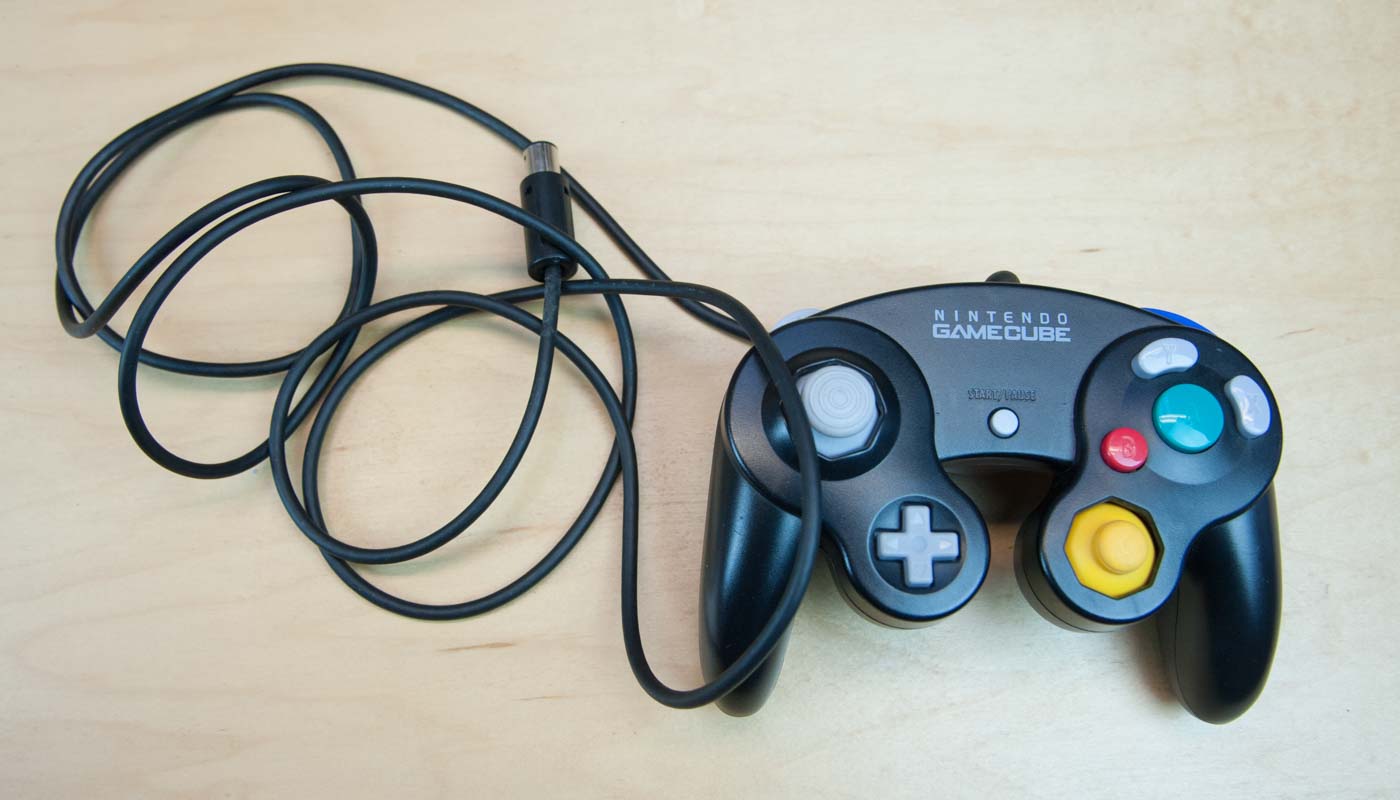
With the Gamecube controller, Nintendo has shifted to a two-prong ergonomic design with “wing grips.” This controller also has 2 joy sticks instead of just the 1 we found in the N64, as well as 11 other buttons.
Also, where the N64 introduced an external Rumble Pak add-on, the Gamecube controller now has a built-in rumble motor.
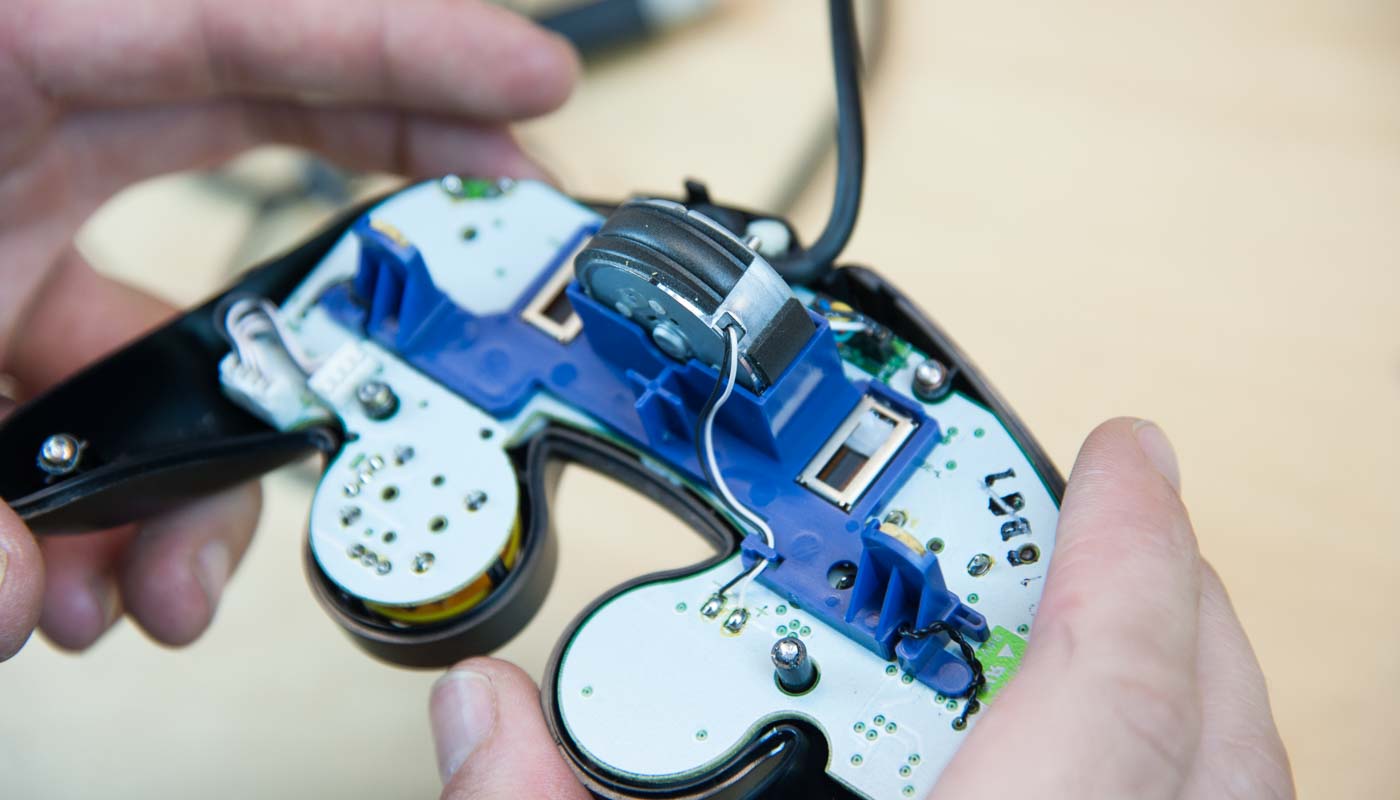
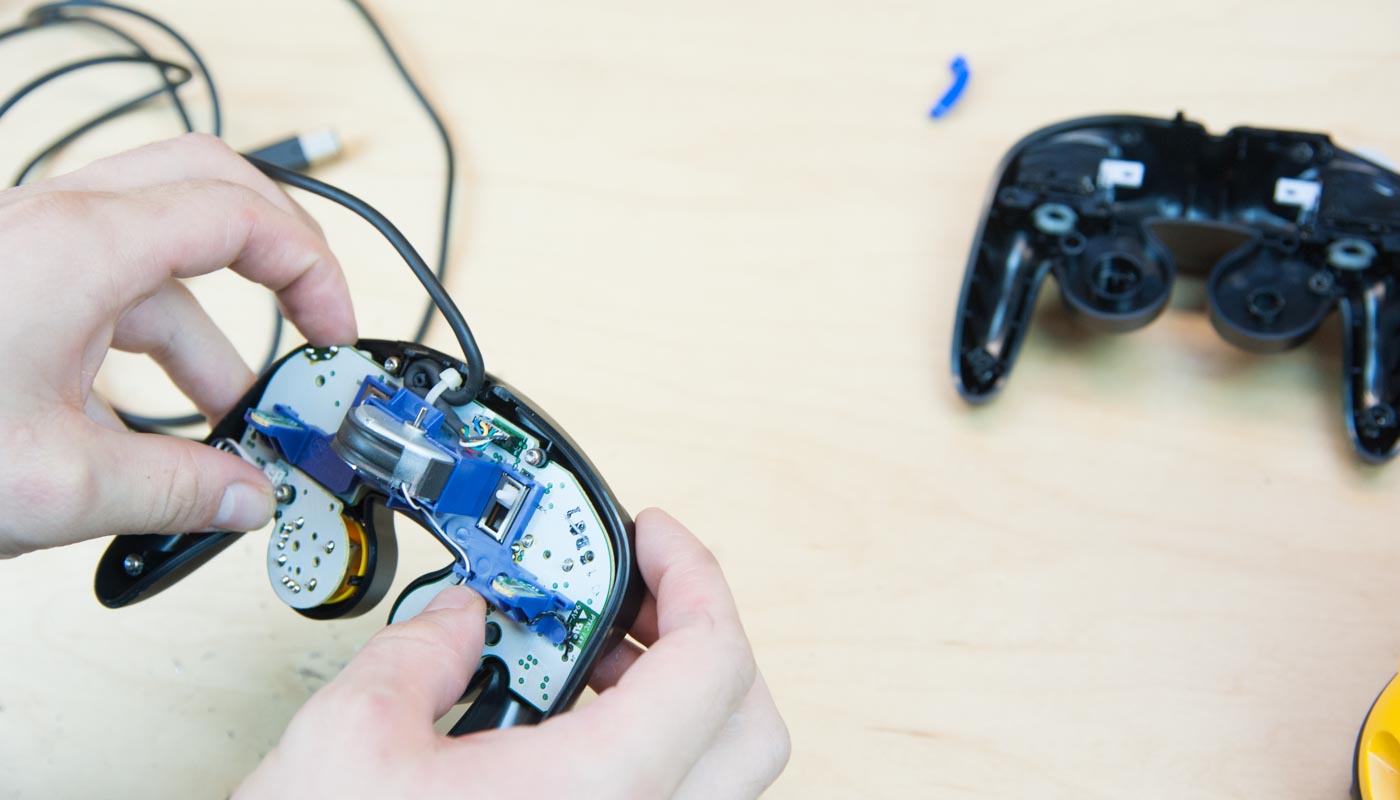
Opening up the controller, we find 2 potentiometers and 2 vertical breakout boards, which connect to the left and right bumpers. In the center is the haptic feedback motor (read: vibration).
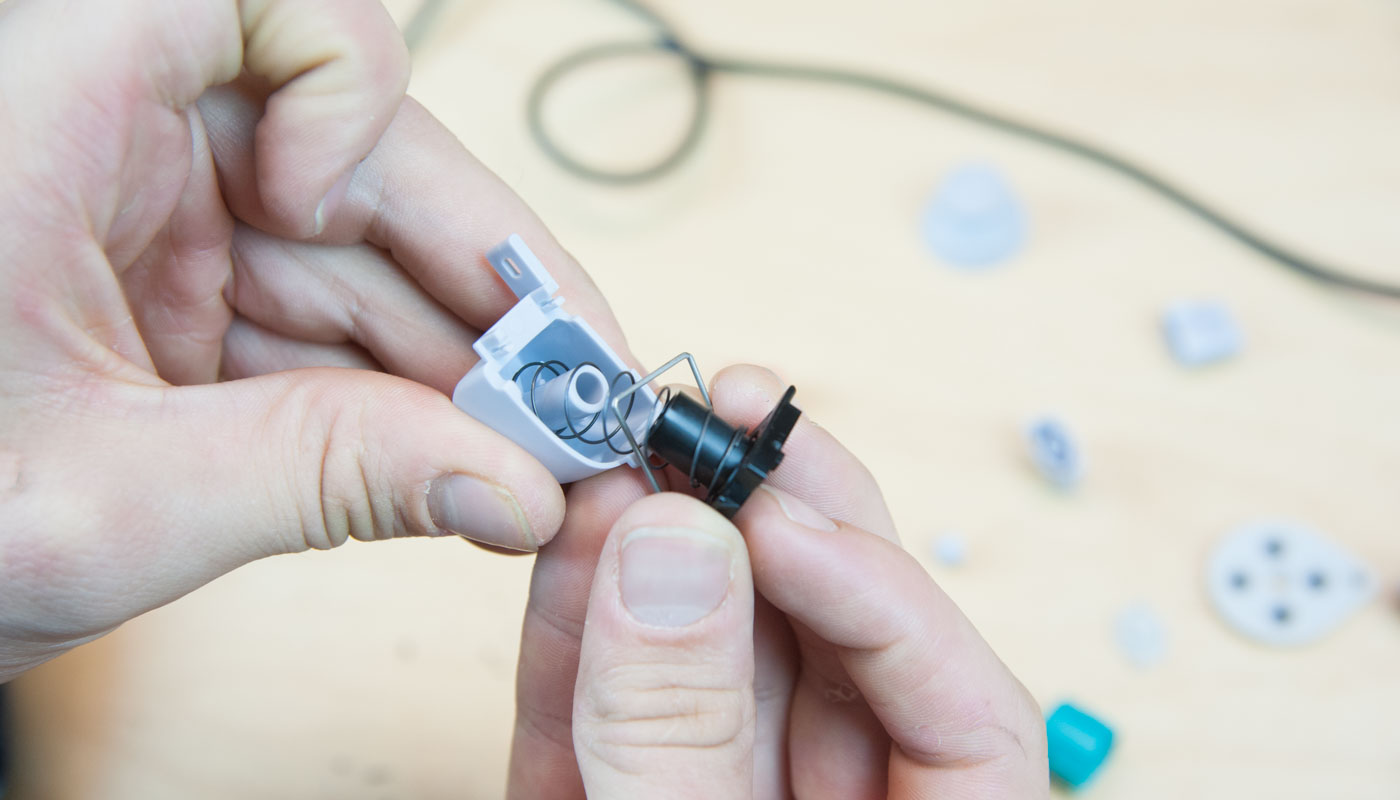
When the bumpers are pressed, the potentiometers measure not only which bumper was pressed, but also the acceleration of the press. The result is an experience of pressure sensitivity that creates a much more granular input than a simple I/O button. The bumpers themselves also have big springs inside, wrapped around a large boss which allows the grey plastic piece to retract every time while the black piece remains stationary. Simple but effective!
Taking a closer look at the main PCB, we see that everything has been miniaturized.
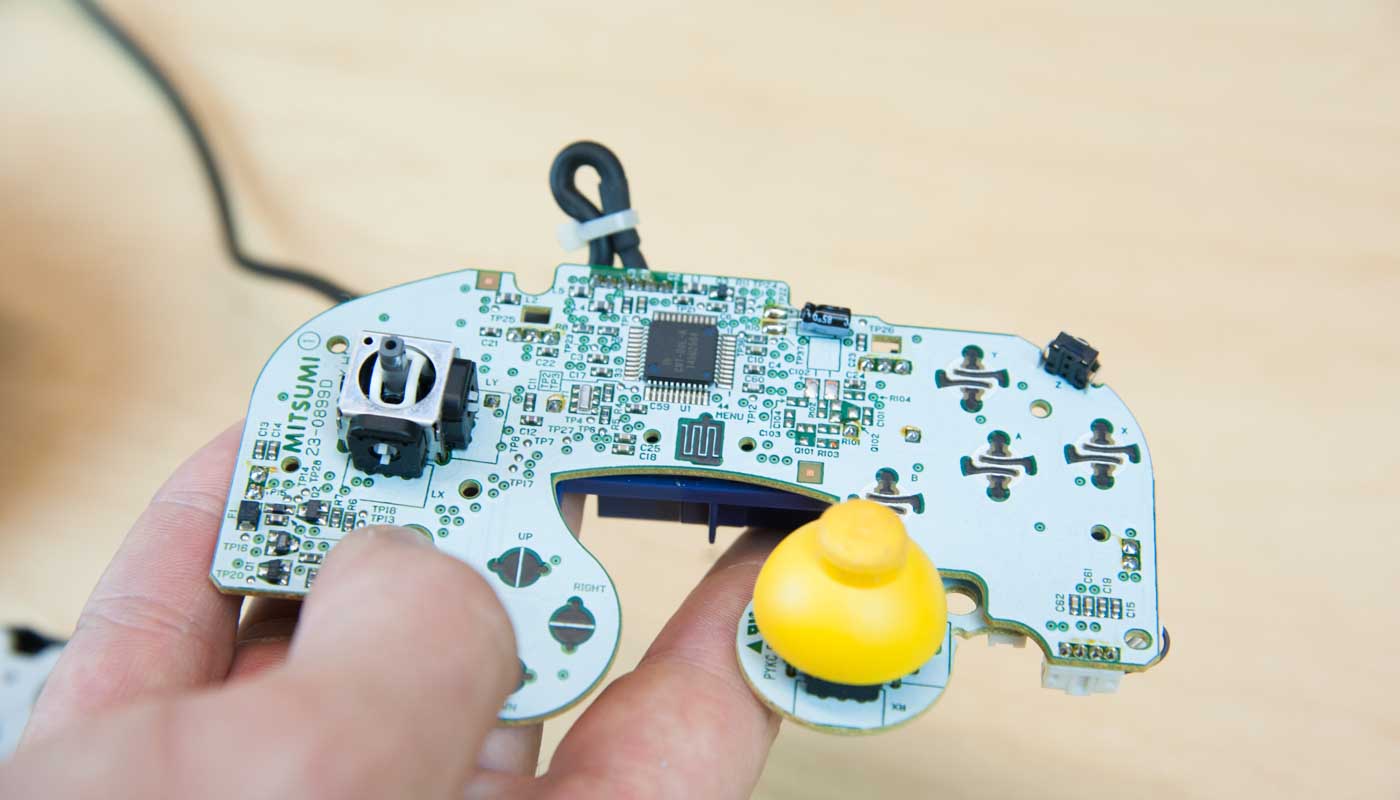
There’s also a lot more complexity going on, and this is our first 2-sided board. Here’s what we see:
- Multiple breakout boards
- 145U2584 chip
- 6.3V 7uF capacitor
(+ we love open source and the incredibly smart hackers out there. Check out this article for more info on the hacking the PCB.)
Additionally, the joysticks are now using potentiometers to directly measure the movement of the stick by the change in resistance, vs. the N64 optical joystick, which had old-school gears and encoder wheels.
Wiimote
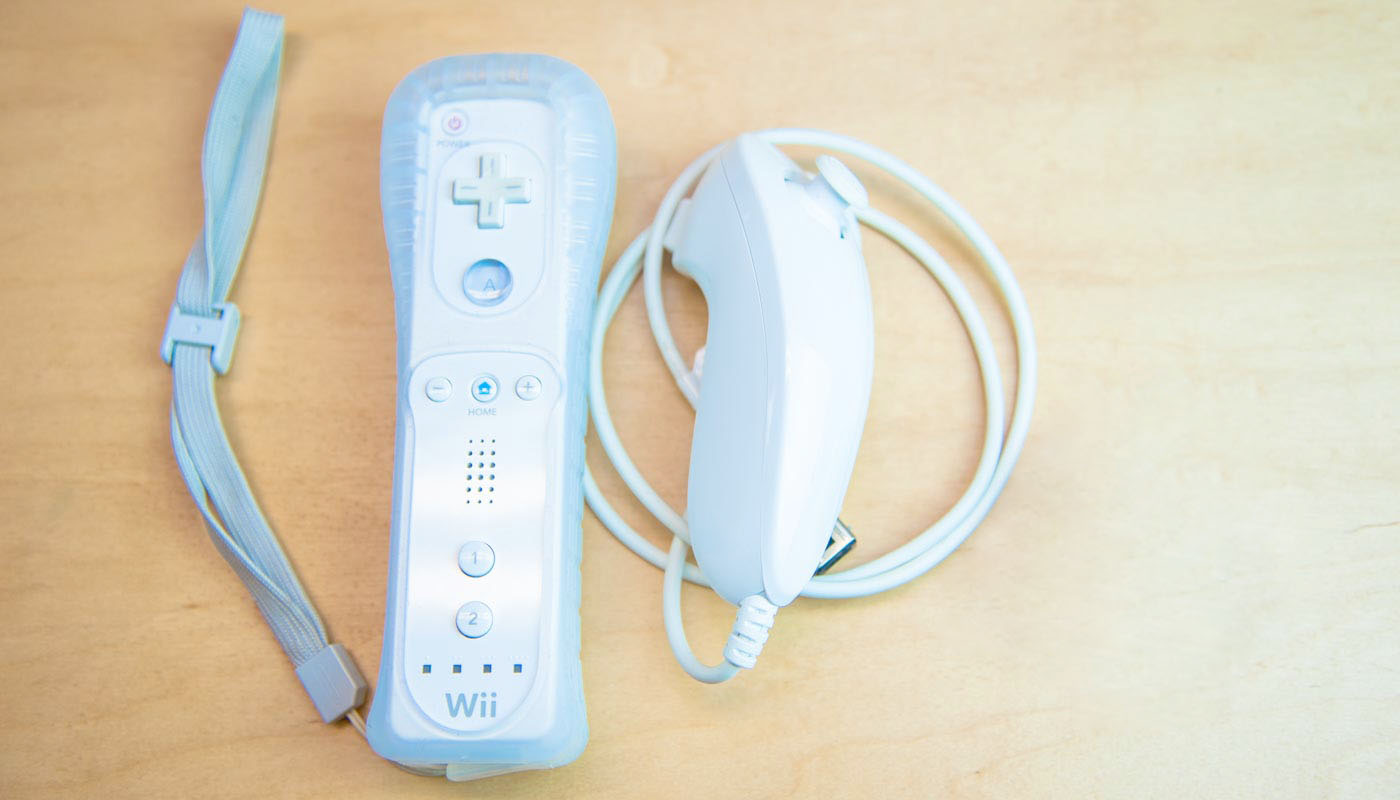
The Wiimote! Forever tied to hilarious and unfortunate images of this thing jammed into walls and television screens after a rousing game of Wii bowling.
With the Wii remote controller comes a major shift in design and usability, packed with tech that’s starting to look much closer to what we see in consumer electronics today.
Looking inside the main controller, the ratio of wall thickness to boss thickness is finally starting to resemble the norm for consumer electronics — a much sleeker design.

Inside, we find:
- a small speaker
- ADXL330 accelerometer
- a small vibrating motor for haptic feedback
- an IR sensor
- BCM2042 Broadcom Bluetooth chip
- proprietary connectors
- massive 4V 3300uF capacitor
Why, oh why, does a remote this small need a capacitor so large, you ask? One theory is that the capacitor acts as a small power supply in case the AA batteries compress the springs enough to temporarily disconnect the batteries from the system, while engaged in a vigorous Wii golf match, for example.
The second part of the Wiimote is the unique standalone nunchuk. We think the coolest part here is the strain relief mechanism, showing the best strain relief design we’ve seen so far. When you pull on the wire, the force is actually applied to the plastic housing, vs. the cables and connectors. Really great design here.
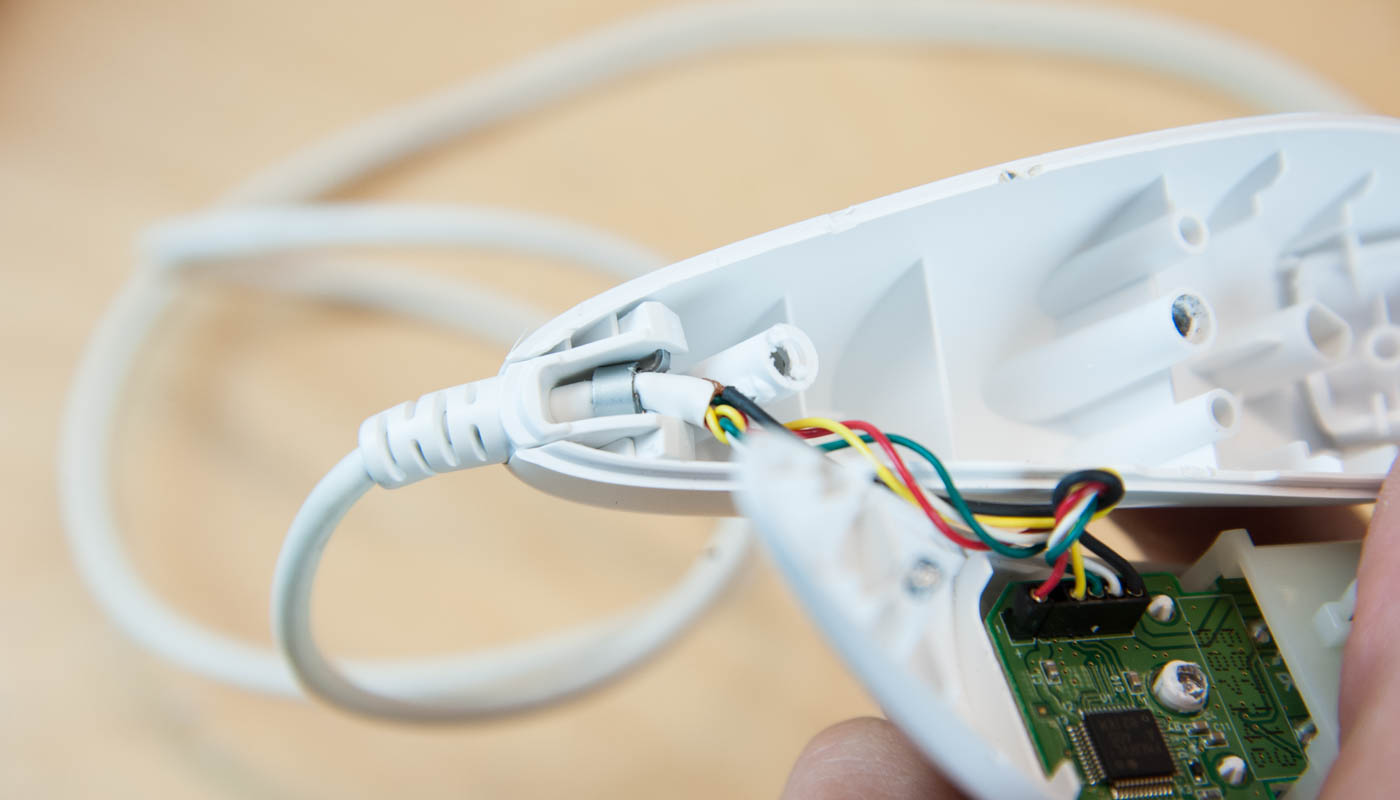
Also, the joystick is once again getting even smaller. The ever-shrinking joystick!
That’s it for the Wiimote. Next up, the most modern controller of them all: the Wii U gamepad.
Wii U Gamepad
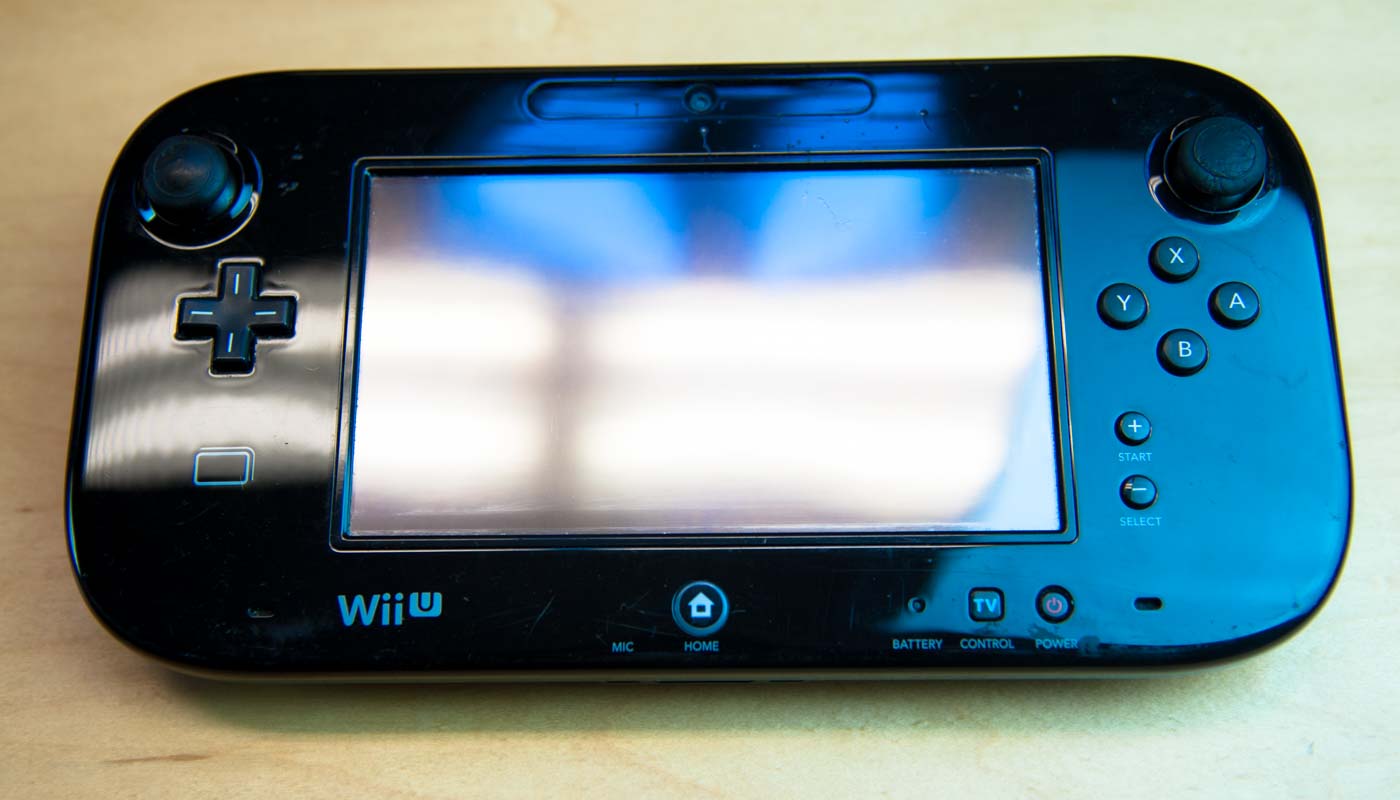
Here we are, at the end of rainbow road, with the latest Wii U gamepad and a major shift in design once again. Interesting to note that we started with a boxy design (NES), and now we’ve come full circle (but bigger and with rounded corners + a touchscreen, of course).
The jump in complexity is also massive — you can tell by the sheer number of components captured above that there’s a lot going on in this very large television-like controller.
Side note: we’re still not entirely sold on the value this little screen adds to the gaming experience…more features does not always = a better product.
As we open up the controller, we see the screws are covered with stickers, instead of rubber pads. This is common for handheld products, whereas tabletop products will generally use rubber pads to hide screws.
Opening up the controller, we find a ton of connectors, which is a significantly more expensive option over soldering, but much easier for assembly. The trade-off here is BOM (Bill of Materials) vs. ease of assembly.
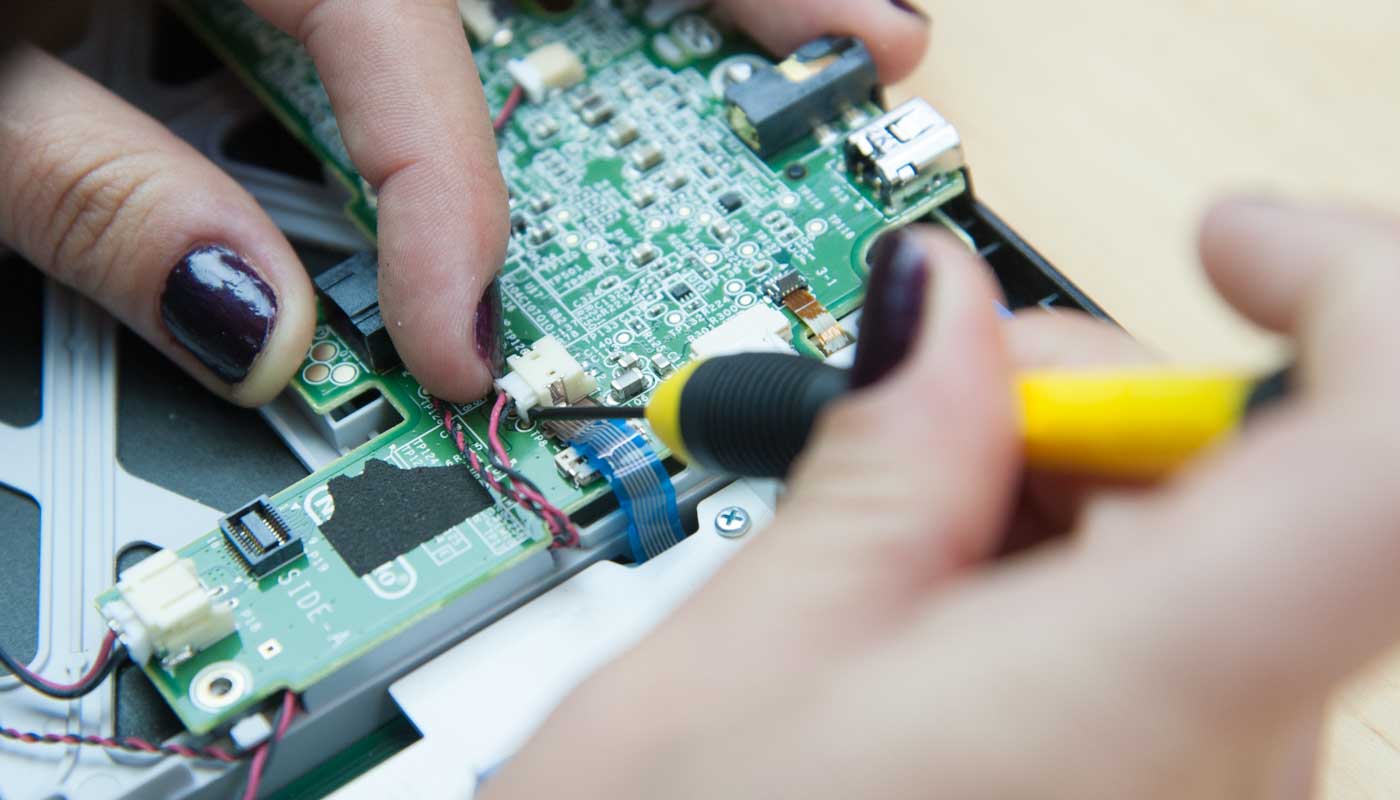
The main PCB is, of course, by far the most complex we’ve seen yet, with a lot of components:
- STMicroelectronics UIC-WUP MCE GH226
- STMicroelectronics MSA3D 01F
- Texas Instruments TSC 2046I Low Voltage I/O Touch Screen Controller
- InvenSense ITG-3280 Gyroscope
- Micron 25Q256A 256 Mb Serial Flash
- DRC-WUP 811309J31 1217LU603
- Texas Instruments AIC3012 Audio Converter
- Texas Instruments 1010007
Oh, how far we’ve come since the humble NES.
On this smaller board, we see 3 dome switches, which sit beneath the bottom row buttons (tv, home, power). Dome switches don’t last as long or feel as nice as conductive rubber pads, but they’re less expensive, and since these buttons aren’t used for gameplay and therefore aren’t pressed as often, it’s a good alternative. The controller also has 2 pretty low cost speakers and 2 custom Wi-Fi antennas with an off-the-shelf wireless chip.
In previous controller generations, Nintendo used rigid PCBs for conductive pads, but now the tech has advanced, so to save room they can use flex boards, instead.
The joystick is our favorite mechanism throughout this teardown. The joystick is, once again, even smaller and now it has a new action as well; you can push down on the z axis as well as left, right, up, down in the x and y axes. This new action actually just combines the old joystick switch with a new tact switch — yay for modular design!
So there you have it. We’ve made our way from the very first NES through the Wii U and found a lot of neat mechanisms along the way.
If you enjoyed this teardown and want to hang out with us again for the next one, be sure to subscribe here to get the next edition in your inbox.
And if you’re building something cool yourself, you can learn more about our hardware development platform here.
Until next time!


