Tracking

Finishing Services

Vapor Smoothing

At a glance

Applicable Materials

Colors

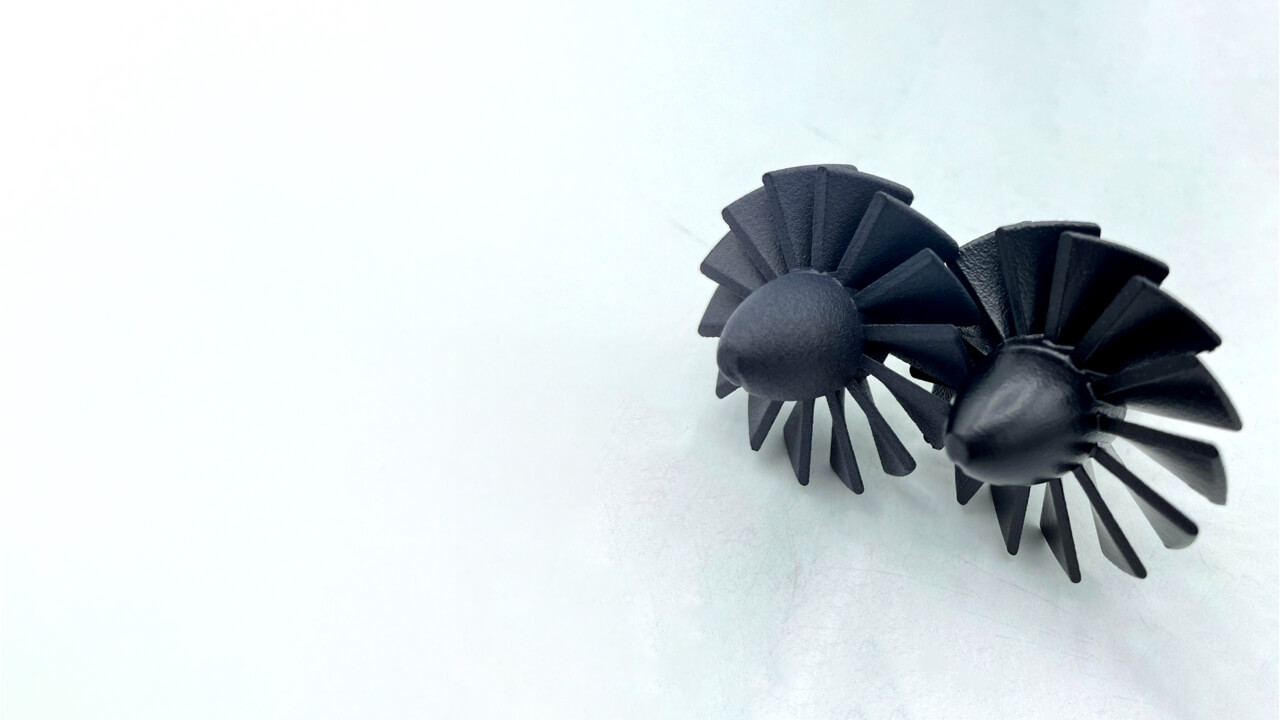
While vapor smoothing itself does not apply a color to the part, it makes the colors of the part more vibrant — so black dyed parts become a deeper, glossier black. Note that gray (raw) MJF parts will turn a near-black if vapor smoothed, as the gray surface melts into the black interior of the part during the process

Applications

Enhanced cosmetic appearance, improved mechanical properties

Texture

Smooth and glossy

About the Process

Vapor smoothing is a finishing process for 3D printed parts that uses a vaporized solvent to smooth the surface of a printed part without adding or removing material. The process is a controlled chemical melt that reduces the variation of peaks and valleys found on the surface of any printed part. It is used to reduce or remove visual layer lines and natural imperfections that occur during printing, leaving a smooth, glossy finish.

Along with improved cosmetic qualities, vapor smoothing seals the part’s surface and improves the mechanical properties of the part by filling in microfractures and other potential points of failure if the part is put under stress. 

Design considerations

  • Parts with uniform wall thicknesses will generally smooth more evenly
  • Radiused corners generally produce better results than sharp corners 
  • Wall thicknesses less than 1.5mm do not processes as uniformly
  • Parts usually need to be hung in the smoothing chamber, so expect hook marks — though we use existing holes and try to mitigate hook marks as much as possible

YOU MIGHT ALSO BE INTERESTED IN

The Economics of Injection Molding vs. 3D Printing

Learn how to compare the cost of 3D printing vs injection molding from Fictiv. This article includes a cost analysis and case study.

Learn More

The Ultimate Guide to Compression Molding

Dive into compression molding, a process that revolutionizes part production by utilizing heat, pressure, and precision engineering. Learn how this method creates parts by carefully measuring materials, filling molds, and applying controlled pressure to shape them.In this guide you’ll learn:

Learn More