Tracking

3D Printing Services

Stereolithography (SLA)

At a glance

Lifecycle

Short production runs, Prototyping

Lead Time

As fast as 3 days

Resolution

0.1 mm

3D Printing Materials

Accura 25

Accura 60

Accura AMX Rigid black

Accura ClearVue

Accura Xtreme Grey or White 200

Somos Evolve

Somos PerFORM

Somos Waterclear

Somos Watershed

Accura 25

Accura 25 is a durable and flexible SLA 3D printing material. It’s ideal for snap-fit part designs, as a master pattern for urethane casting, and conceptual modeling. Accura 25 can be used for functional prototyping or end-use parts and has excellent resolution, dimensional accuracy, and can be primed and painted after printing.
Process:
SLA 3D printing
Colors:
White
Resolution:
0.1 mm
Max Print Size:
635 x 736 x 533 mm

Design Recommendations

Max Part Size [x, y, z]

10 x 10 x 10 inches (380 x 380 x 255 mm)

Gaps for Mating Parts

0.5 mm between parts that need to be assembled

Tolerance

± 0.1mm

Min Wall Thickness

1.0 mm for production, 1.5 mm for consistent measurement or mechanical properties

Min Hole Diameter

0.5mm

Note that any surface in contact with support will have small nubs in the final product as a result of support removal. To optimize the overall surface smoothness of the part, avoid extra overhangs, steep slopes, or large flat planes that may add more structural support.

Cost Saving Tip

Parts can be designed hollow to reduce material usage. Make sure to design a drainage hole that’s at least 4mm in diameter to allow removal of trapped resin. Surrounding walls should be at least 2mm thick to ensure a successful print.

About the Process

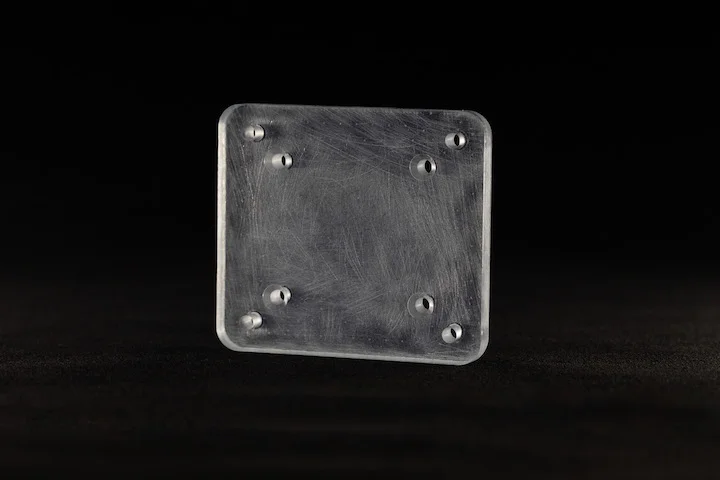
Stereolithography, or SLA, is a 3D printing technology known for achieving highly detailed and functionally accurate parts. The technology utilizes a mirror that is programmed to direct an ultraviolet laser to draw and cure a part’s cross-section onto a vat of photopolymer resin. After each layer, the build platform lowers and a recouter blade wipes over a new layer of material on the top of the tank.

Once the part is complete, it is removed from the build chamber, cleaned of support and excess resin (typically using isopropyl alcohol), and then placed in a UV oven for further curing. This ensures the part reaches its optimal physical properties.

YOU MIGHT ALSO BE INTERESTED IN

The Ultimate Guide to 3D Printing Materials and Applications

Whether you’re a seasoned design engineer or new to the field, understanding the critical importance of material selection in your projects is paramount. Incorrect choices can not only jeopardize the success of your project but also pose significant risks, including financial losses and safety concerns. In this guide, you will learn:

Learn More

3D Printing vs Injection Molding

3D printing and injection molding are each used to produce plastic parts. However, these processes are not mutually exclusive because some projects that begin with 3D printing end with injection molding.  3D printing is typically used for early-stage prototypes, evolving designs, and part geometries that can’t be produced with other methods. Because this form of […]

Learn More