We are intrigued by how friendly-looking the PlayStation VR Aim game controller, designed for playing First Person Shooter (FPS) games on the PlayStation VR system, is. Stylistically, it certainly matches the futuristic looking PlayStation VR headset. There are plenty of FPS controllers out there that look like real machine guns, so we appreciate that the designers didn’t try to go old-school hyper-masculine here.

For this teardown we’re going to focus in on the major mechanical systems of the product:
1. Front Grip Assembly
2. Rear Grip Assembly
3. Light Tracking Module
Now let’s take a look at what makes this tick…

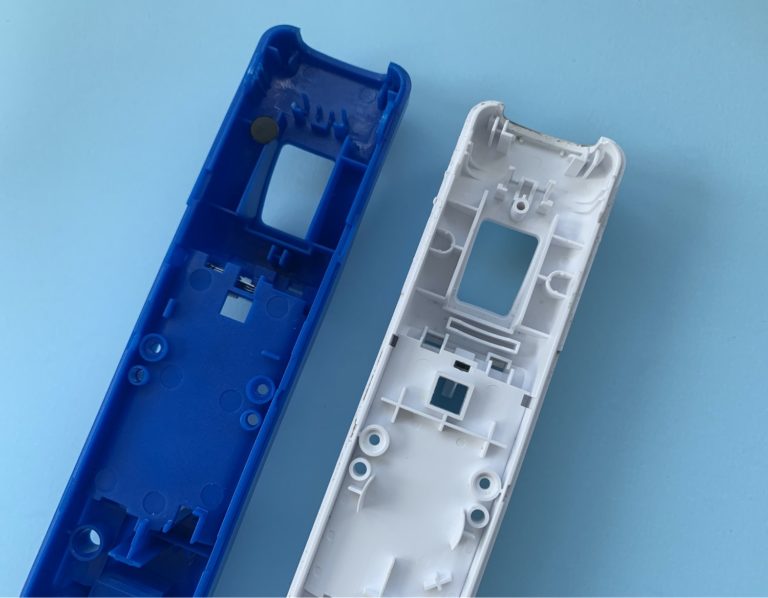
Front Grip Assembly


The front grip assembly contains a vibration motor, front joystick, and lots of buttons: L1, L2, share, options, and directional buttons.

Playstation advertises “Immersive vibration feedback”, so we had lofty expectations of seeing fancy linear actuators à la Nintendo Switch. We found regular eccentric mass motors, instead.

The L1 and L2 buttons feel quite different: L1 has a soft but distinct click, while L2 feels more like a continuous trigger. Looking at the button tops closely, this makes sense. The L1 button top travels straight up and down and relies on elastomer keypad for spring back, while the L2 button is hinged and incorporates a torsion spring.

L1 and L2 switches are conductive pills that connect traces on an FPC when pressed. This is not surprising for heavy-use buttons.

Directional buttons use elastomer keypads with conductive pills, appropriate for heavy-usage buttons. A traditional rotary potentiometer joystick is used. These take up a lot of z-space, but that’s not a concern for this device.

Share and Option buttons are metal dome switches because they are less-frequently used. The button tops press onto an intermediate bracket’s cantilever arms, which in turn press the switches.
Rear Grip Assembly


The rear grip assembly contains another vibration motor, rear joystick, and even more buttons: pad, PS, “R1”, and the four signature action buttons.

The joystick “cover” bracket achieves multiple purposes. Not only does it constrain the joystick button top, it also has four integrated cantilever arms to provide spring-back for the button tops.

Action buttons are placed around the rear joystick, which uses the same joystick switches as the front grip.

Metal dome switches are found under the four action buttons.

R1, pad, and PS buttons all have integrated spring-back features. This is a great way to reduce the number of unique components as well as save on assembly time and cost.

The trigger is the only glossy plastic part in the whole device.

The trigger also uses an elastomer keypad and relies on torsion spring for spring-back.

On our unit, the trigger piece has a very sharp area where the sprue is removed. It’s well hidden though… you wouldn’t see this unless it was torn down.
Light Tracking Module


The light tracking subassembly is comprised of the main PCBA, LED PCBA, and light sphere.

The light sphere is made of soft silicone, which was not apparent from the marketing material. However, it’s a very good choice, as it’s hard to bash this into something and break it.

When the light is on, the sphere is surprisingly diffuse, albeit dim. The distance between the LED and the exit surface really helps.

A rigid transparent dome (either acrylic or polycarbonate) protects the actual LED PCBA within the sphere.

The battery connects to the main PCBA. It’s a 1000 mAh Li-ion battery pack with a rigid enclosure, surprisingly rugged for a non-removable battery.
Main Takeaways
While not a complex product, we can appreciate Playstation VR Aim’s organized assembly.
As with other game controllers we’ve torn down in the past, Aim uses elastomer keypads for heavily-used buttons and metal dome switches and pushbutton switches for infrequently used buttons. A lot of button tops are cantilevered for spring-back, reducing the number of unique parts in the BOM, and simplifying assembly.
Additionally, it seems that the light tracking feature is just a single LED; The magic lies in the separately sold Playstation camera, not this accessory.