Time to read: 4 min
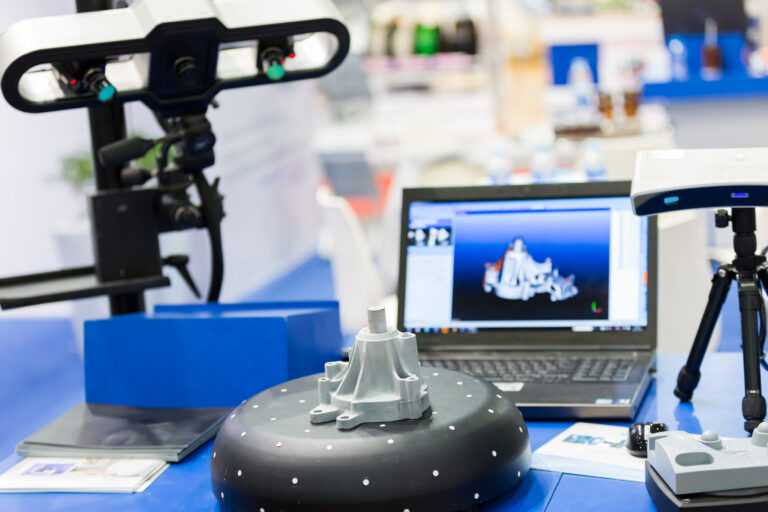
Understanding Design for Manufacturing (DFM) is critical to a successful build, even at the 3D printing stage. The right design paired with the wrong 3D printed material will lead to underwhelming results. There are several 3D printing materials from which to choose that each utilize a unique build process, but PLA is a common choice, due to its widespread popularity as a material for hobbyist printers and relatively cheap production price.
The following are guidelines to follow when designing a part to be printed in PLA, prototyping with PLA, or deciding whether PLA is the right material for your design.
When to Use PLA
PLA (Poly Lactic Acid) is a biodegradable material made of cornstarch that is great for early stage prototyping on simple geometry parts. It works well for quick form checks but shouldn’t be used when you need a high resolution print. The melting temperature on PLA is around 130 degrees Fahrenheit, so its use in hot environments, or for mechanical functionality, is limited.
PLA is one of two common Fused Deposition Modeling (FDM) printing technology materials—the other being ABS. The primary difference between the two is that PLA uses a rigid support system, while ABS uses a soluble support system. This means that structures (like overhangs) that need to be supported while printing in PLA are going to be rigid and need to be removed by hand (usually with pliers) after printing. This leads to a rough surface and usually results in a fractured part if a wall or feature is too thin.
DFM for PLA
As mentioned, DFM also applies at the 3D printing stage—although it’s much less strenuous and rigid than DFM for machining or injection molding. Before you hit “Checkout” after getting your instant quote from Fictiv’s awesome platform, keep these rules in mind:
Rule 1 – 45 Degree Design
FDM printing can self support up to a 45-degree angle. After the angle surpasses 45 degrees, PLA will add rigid support in order to prevent drooping during the print. You’ll want to avoid this because not only does support material add cost, but it creates a rough surface finish after it’s removed.

Also, it’s important to note that with any slopes or curves on PLA, you should expect visible stepping on the surface. Due to the material’s low resolution, it’s unable to capture gradient surfaces.

Rule 2 – 1.5mm Minimum Wall Thickness (and Ribbing!)
Wall thicknesses are critical in PLA because the low resolution print will often fail if it does not have a strong supporting layer. For this reason, Fictiv recommends at least 1.5mm, but preferably more.
Additionally, because PLA uses a process of melting plastic and then cooling it layer by layer, there is always a risk of warping. To minimize chances of warping, tall or long walls should be supported or have a ribbing structure to provide rigidity. This also applies columns or pins.

Rule 3 – 0.4mm Offset for Interlocking Parts
An offset is necessary for any interlocking part. You never want to design a one-inch peg for a one-inch hole. For PLA specifically, we recommend a total 0.4mm offset. For a cylinder, this is a 0.2mm gap all the way around, or 0.2mm gap on each side of a square.

Rule 4 – Engraved > Embossed
It’s often necessary to brand or label your product. While PLA isn’t the best at capturing small details, there is a best practice for achieving this need—engrave, don’t emboss. The main reason for this is embossing is typically very thin, and that leads to poor support layers as the design builds up.
For embossing, it’s best to dig into the design about 0.2mm and use at least a 16 point boldface font to ensure that label clearly prints.
Rule 5 – Brass inserts > Threading
With a low resolution material, designing in threading is never a great idea, unless you have high thread pitch. For most cases, you’re going to be much better off using a heated brass insert. Because PLA has a low melting temperature, a simple soldering iron will help slide an insert right into a designed through-hole with relative ease.
As a design tip, you can find the heated brass insert you need at McMaster-Carr to get the dimensions. Design the hole to the smallest “Tapered Hole Diameter,” and design the walls around the insert to be at least 2mm thick. Don’t forget, the longer the column, the thicker you should make the walls!

Main Takeaways
Prototyping with PLA can be great when you start the product development lifecycle, but as with any manufacturing process, it’s important to understand the the build process design requirements. While it may be the cheapest option of the 3D printing materials available, by choosing it over a better-suited option, you risk a print failure, and more importantly, learnings from your prototype. On the other hand, if it does fit your needs, or you design to these guidelines for your first prototype, it can lead to huge cost savings before you move into higher quality printing options.
As always, Fictiv is here to help! We know that prototyping and manufacturing gets complex, which is why we have awesome engineers available to help answer your questions about design for manufacturing. Get more information from our Capabilities Guide, create an account to upload a part, and then chat live with an engineer right on your screen.