Time to read: 5 min
In manufacturing, quality control is engineered and measured. Before production launch, you need proof that your design can be built repeatedly as intended. That data comes from a verification process called First Article Inspection (FAI).
During product development, engineers put considerable effort into ensuring the design is near perfect—from dialing in dimensions and tolerances to functional prototype testing. But even an ideal design can falter in production if the manufacturing partner can’t reproduce it correctly. First Article Inspection (FAI) verifies that your supplier can meet the specifications and reveals any variation across a production run before full‑scale manufacturing begins.
This guide explains what FAI is, why it matters, how it’s performed, which inspection tools are used, and how to interpret the results. Whether you’re producing precision CNC parts, injection-molded housings, or aerospace components, mastering FAI ensures your first part—and every one after it—meets specification.
What Is First Article Inspection (FAI)?
First Article Inspection (FAI) is a formal verification process that demonstrates that a manufacturing process can consistently produce parts that meet all design, drawing, and specification requirements.
The “first article” is the first production-intent sample made with standard tooling, materials, and processes. FAI validates not just a single part, but the repeatability of the process behind it.
FAI provides data-driven evidence that:
- The manufacturing process is capable and stable
- The part conforms to engineering requirements
- Documentation and traceability are complete and auditable
When FAI Is Required:
- Manufacturing a new part or assembly
- Making a design revision that changes fit, form, or function
- Changing materials, tooling, or processes
- Moving to a new supplier or production location
- After process suspension or restart
Why FAI Matters in Manufacturing
1. Risk Reduction
FAI catches dimensional, material, or process errors before large-scale production, saving time and cost in the long run.
2. Regulatory Compliance
Industries such as aerospace, defense, medical, and automotive require FAIs under standards such as PPAP or AS9102 (aerospace) to validate process control.
3. Quality Assurance and Repeatability
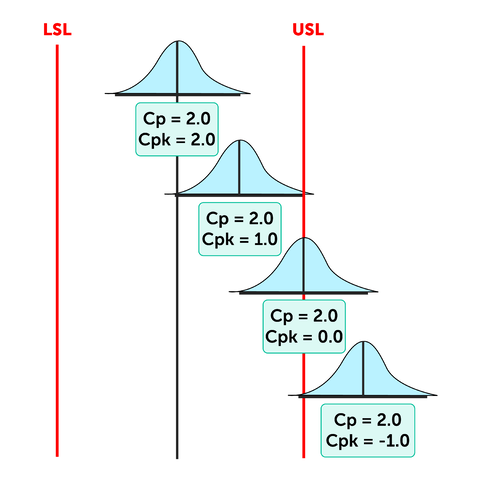
FAI confirms that the same setup can repeatedly produce parts within tolerance limits, establishing process capability metrics such as Cp and Cpk for lean or six sigma processes.
4. Customer Confidence
An approved FAI report demonstrates control, consistency, and compliance—boosting trust between OEMs and suppliers.
Key Elements of a First Article Inspection (FAI)
A complete FAI consists of four primary components.
1. Engineering Drawings and Specifications
All inspection data traces back to the official 2D drawing for the CAD model, including revision level, GD&T callouts, and material specifications.
2. Inspection Plan
The plan identifies:
- All measurable characteristics
- Critical dimensions and tolerances
- Test methods and sampling strategies
- Measurement instruments and calibration requirements
3. Measurement Tools and Equipment
To ensure accurate, repeatable data, inspectors use a combination of precision instruments:
| Tool / Equipment | Purpose |
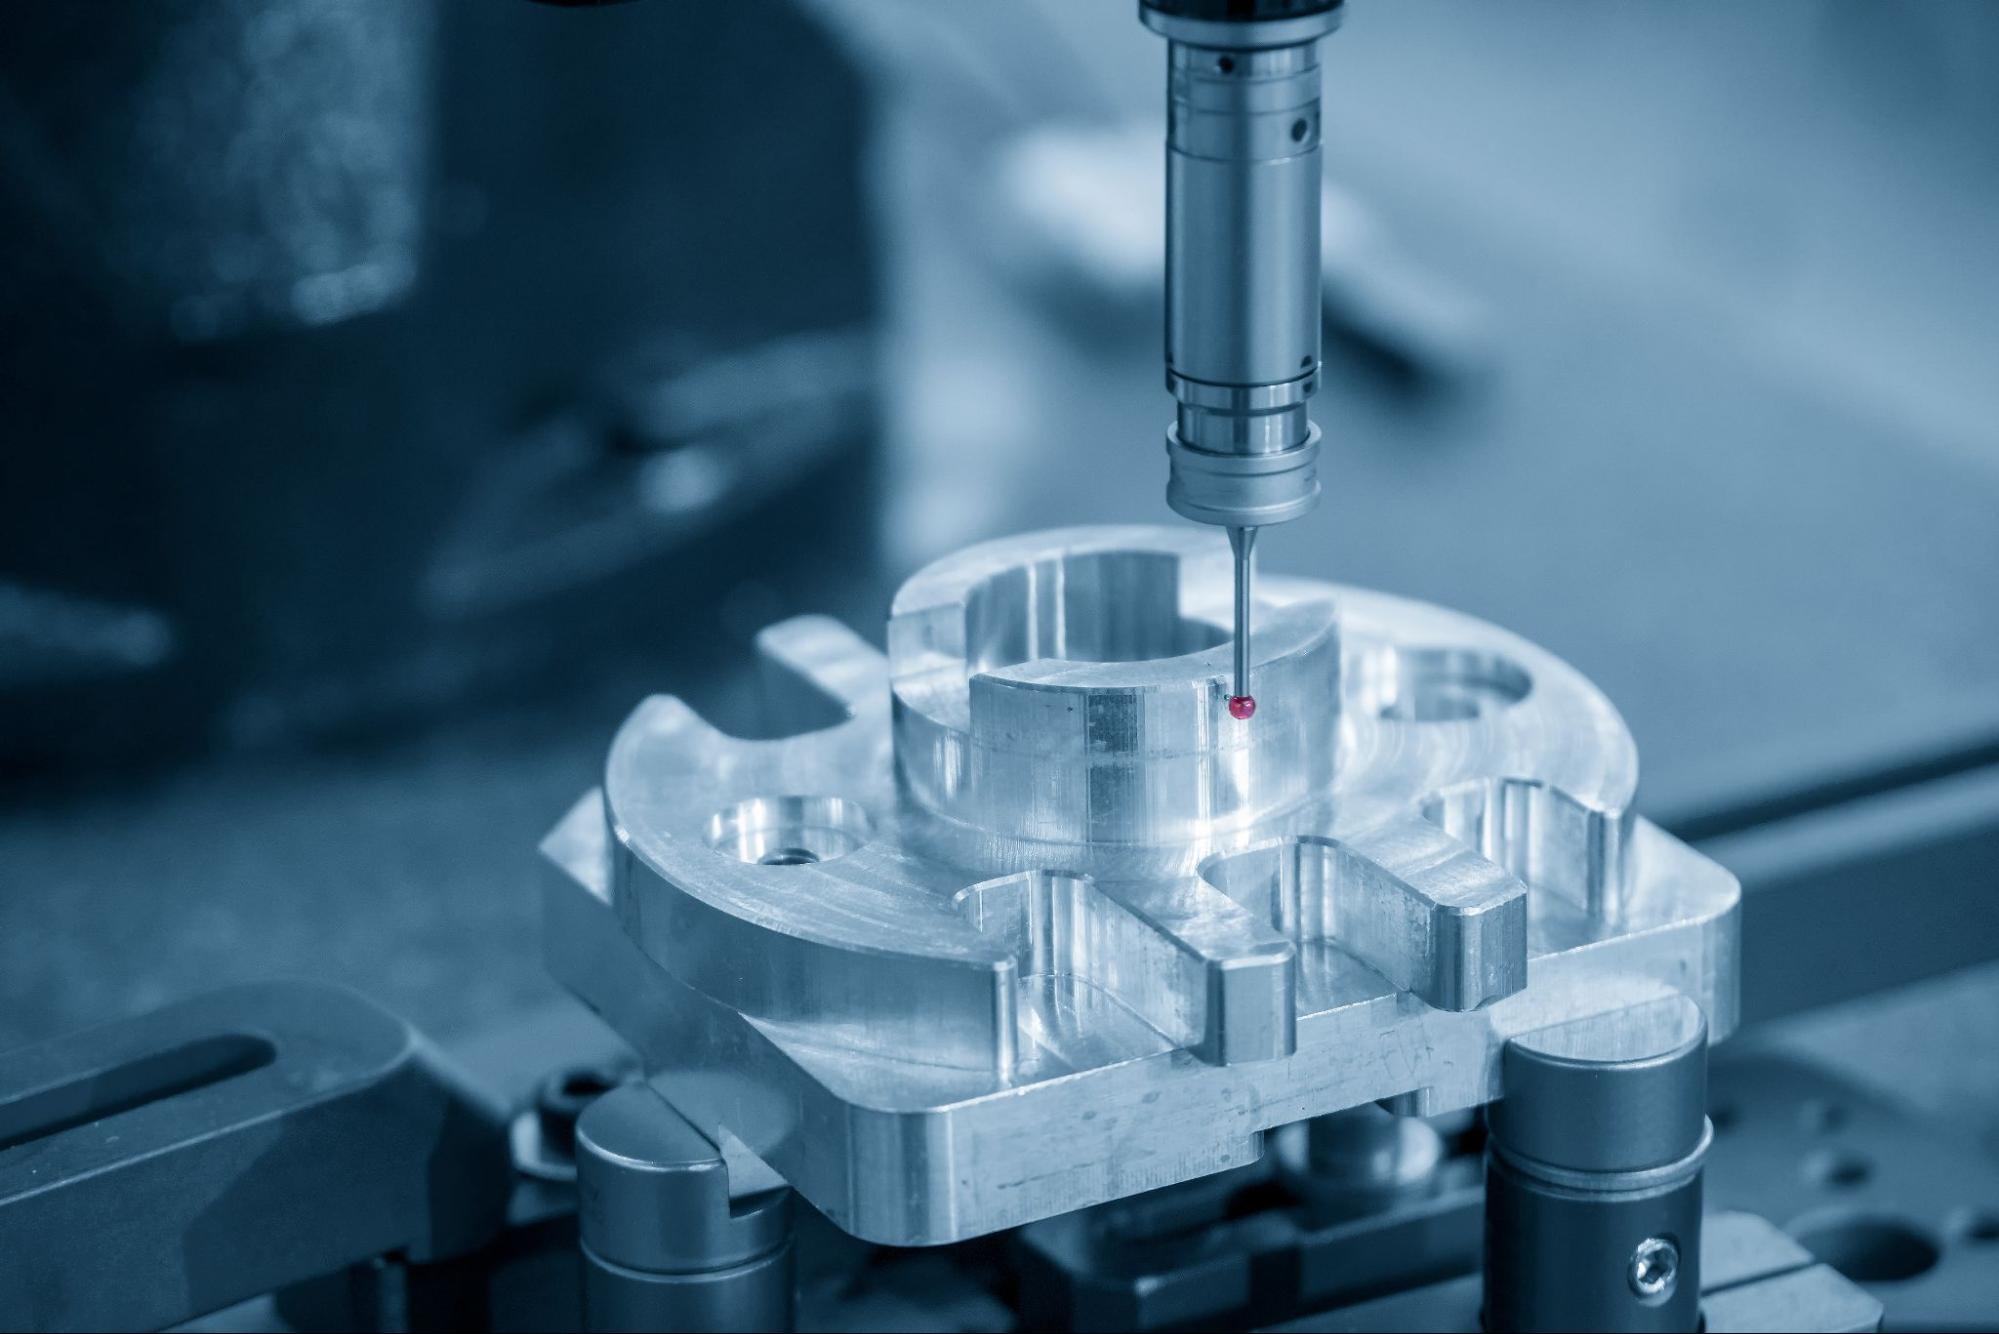
| CMM (Coordinate Measuring Machine) | Automated 3D measurement of complex geometries |
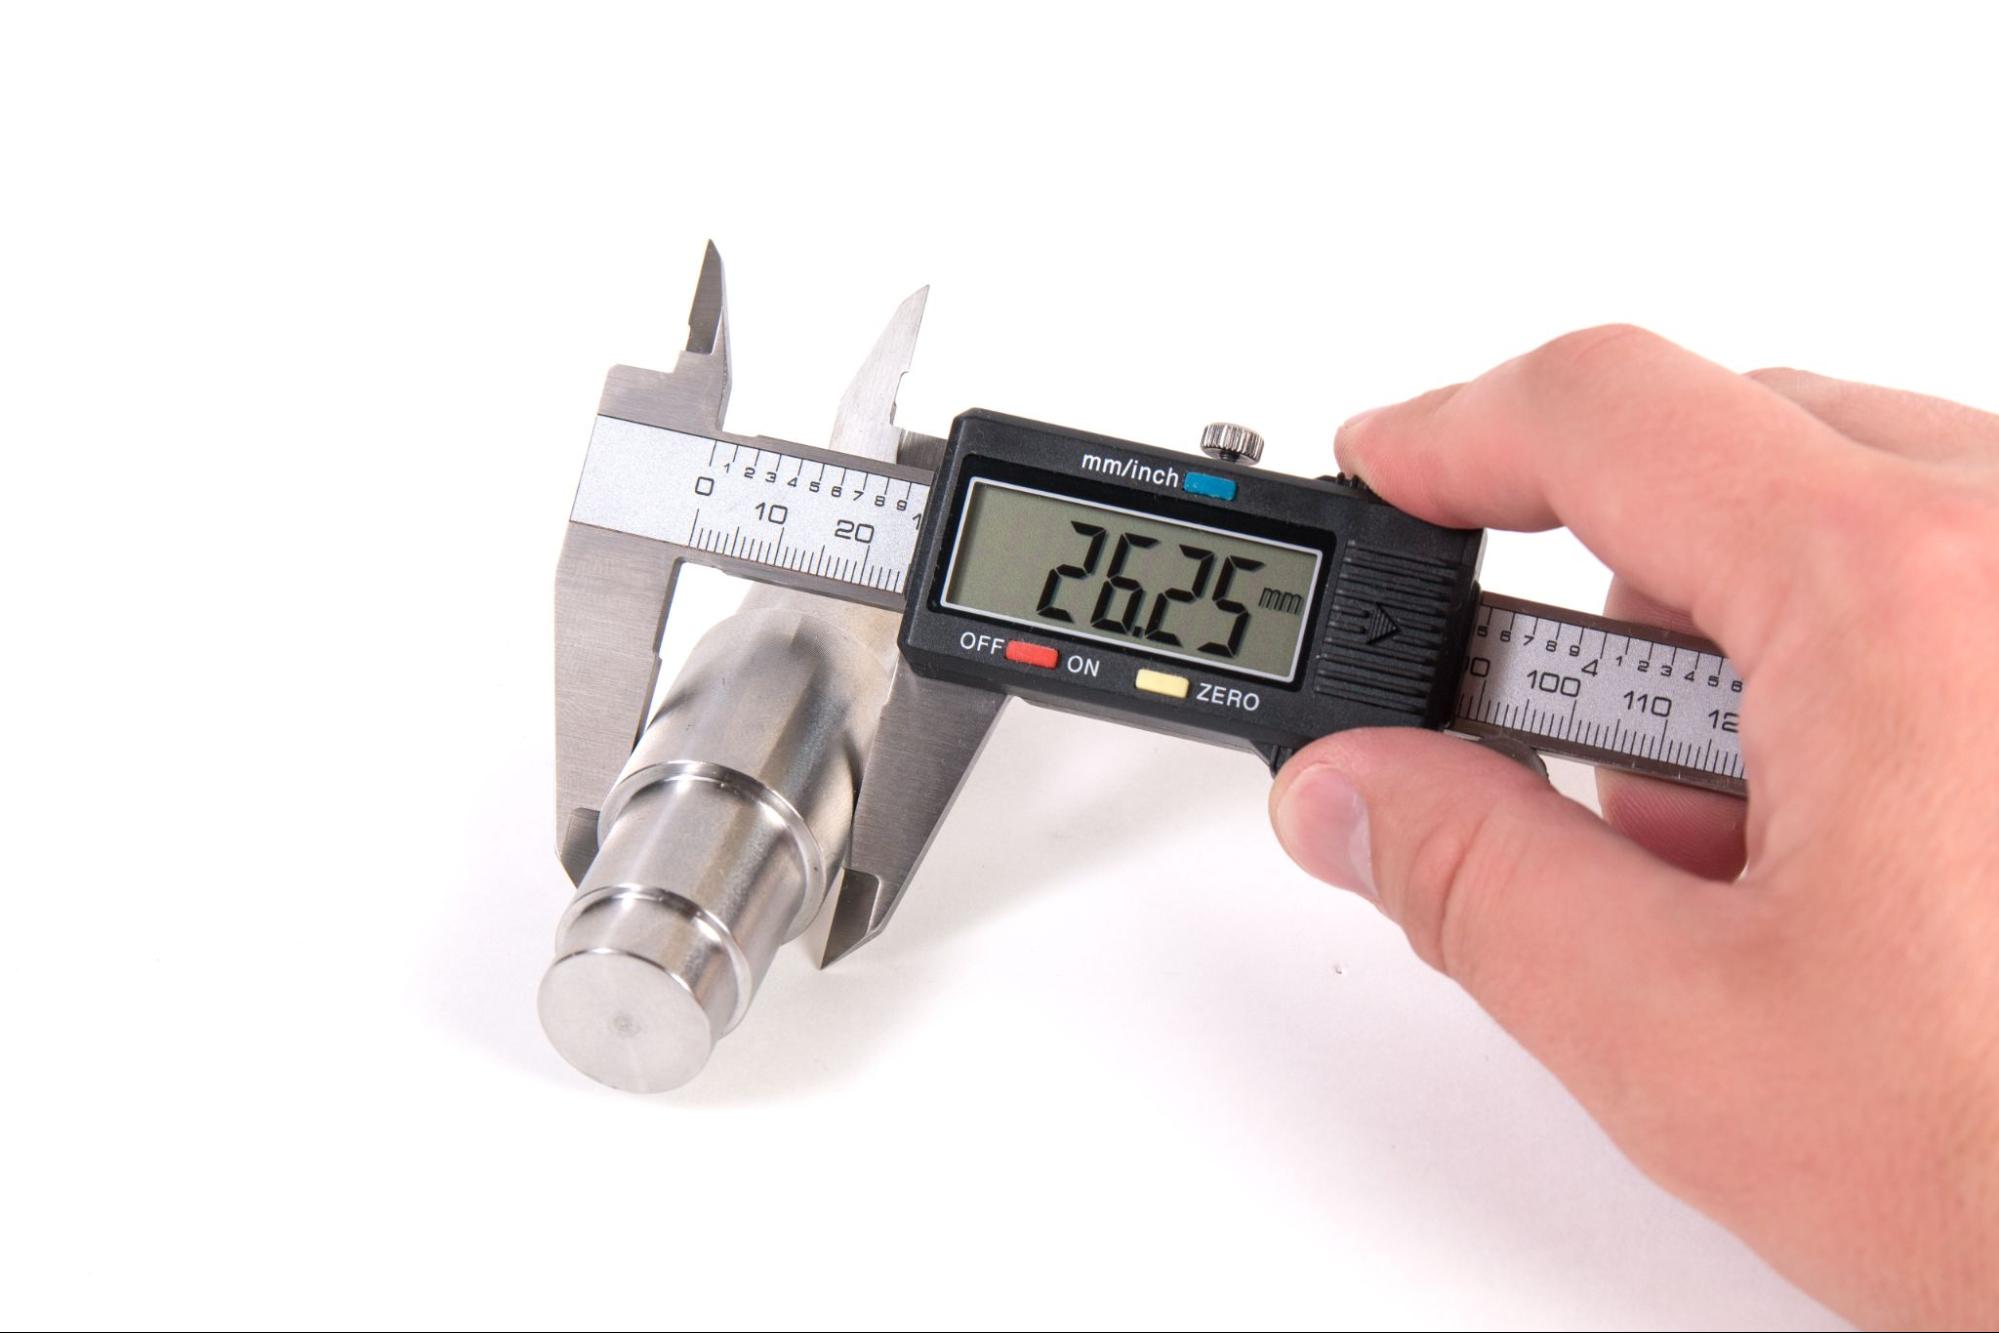
| Calipers & Micrometers | Linear and diameter checks for machined or molded parts |
| Height & Depth Gauges | Measuring features relative to datums |
| Go/No-Go Gauges | Functional verification for holes, threads, or features |
| Optical Comparator / Vision System | Profile inspection and 2D feature validation |
| Surface Finish Tester | Evaluates Ra and Rz surface roughness values |
| Hardness Tester / Spectrometer | Confirms material properties and composition |
4. FAI Report (FAIR)
The FAI report is documentation that captures all measurements, inspection results, and material certifications, and is typically formatted in accordance with AS9102.
The FAI Process Step-by-Step
Step 1: Preparation
Collect all up-to-date drawings, CAD models, and specifications. Establish part traceability with lot numbers, material certifications, and process documentation.
Step 2: Manufacture the First Article
Produce one or more parts using standard production equipment, materials, and process parameters.
Step 3: Inspect and Measure
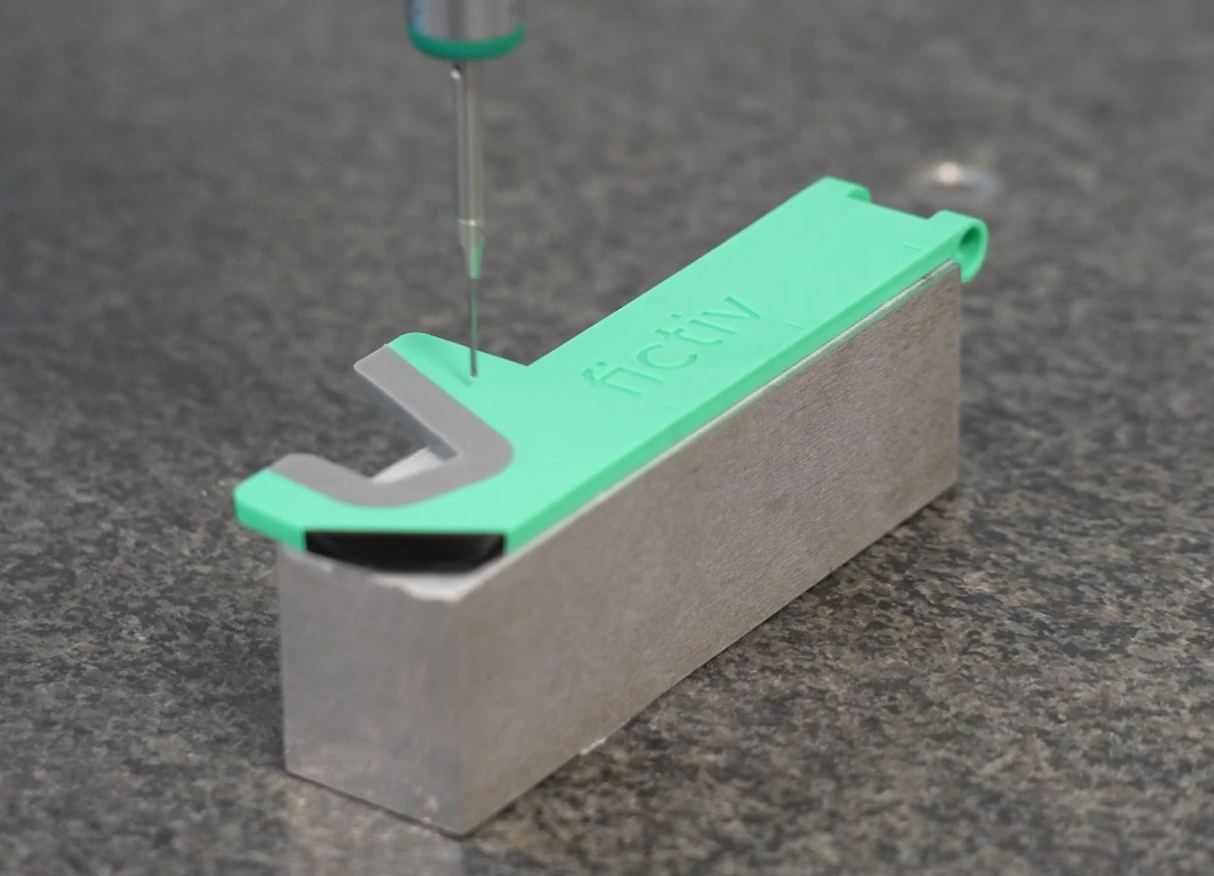
Perform dimensional inspection using calibrated tools. Record each value against the nominal dimension and tolerance. For complex parts, generate CMM reports and include screenshots or dimensional maps.
Step 4: Review Material and Process Certifications
Attach material test reports, plating certificates, heat-treatment results, or special process certifications.
Step 5: Document Results
Populate the FAI report with all inspection data. Highlight any non-conformances and their corrective actions.
Step 6: Approval and Sign-Off
- Supplier QA approval
- Customer review
- Archival in the quality management system (QMS)
The FAI Report Explained and How to Read It
The AS9102 First Article Inspection Report (FAIR) is divided into three standard forms:
| Form | Purpose |
| Form 1 – Part Number Accountability | Lists part number, drawing revision, and serial or lot numbers |
| Form 2 – Product Accountability | Lists material specs, processes, special treatments, and certifications |
| Form 3 – Characteristic Accountability | Records all measured dimensions and inspection results |
Additional attachments may include:
- CMM data files and screenshots
- Material certifications
- Process certifications (e.g., anodizing, plating, heat treatment)
- Photos of inspected features
Together, these documents provide a complete, traceable record showing that the part meets all specified requirements and your manufacturing partner has command of their process.
When to Repeat an FAI
FAIs aren’t just one-and-done. Repeat or partial FAIs are required when:
- A design change modifies key dimensions or tolerances
- Tooling or equipment changes occur
- A new supplier or facility is introduced
- Manufacturing process parameters are altered
- Production resumes after a long lapse
Repeating FAI ensures continued conformance even as production conditions evolve.
Common FAI Mistakes and How to Avoid Them
| Mistake | Result | Prevention |
| Using outdated drawings | Wrong inspection data | Verify the current revision against the QMS before inspection |
| Incomplete measurement coverage | Non-conformance during audit | Use a numbered balloon drawing to map every feature |
| Uncalibrated tools | Invalid measurements | Verify calibration certificates before inspection |
| Ignoring geometric tolerances | Missed true-position or runout errors | Train inspectors in GD&T interpretation |
| Poor documentation | Audit failure | Use standardized digital templates and version control |
Avoiding these pitfalls helps ensure both compliance and credibility with customers.
Digital and Automated FAI (Industry 4.0)
Digital FAI streamlines inspection through automation and connectivity through:
- CMM Integration: Automated data export populates AS9102 forms directly.
- Digital FAIRs: Paperless documentation improves traceability and reduces manual entry.
- Real-Time Dashboards: Track inspection progress and approval workflows.
- AI-Assisted Analytics: Identify recurring deviations and predict process drift.
- Cloud Storage: Secure, searchable archives for compliance audits.
The result is faster approval cycles, fewer errors, and complete visibility throughout the manufacturing process.
FAI Across Industries
| Industry | Standard / Application |
| Aerospace & Defense | AS9102 compliance is required for all new and revised parts |
| Automotive | Integrated with PPAP (Production Part Approval Process) |
| Medical Devices | Supports FDA and ISO 13485 verification requirements |
| Consumer Electronics | Ensures assembly precision and component reliability |
| Industrial Equipment | Confirms tolerance stack-up and fit validation before scale-up |
No matter the industry, FAI confirms that manufacturing output matches design intent before ramping up production.
How Fictiv Simplifies Quality Control with FAI
At Fictiv, every part we manufacture undergoes rigorous quality management. It’s built into every stage of the manufacturing workflow. Our digital platform ensures your first article reflects the true capability of the production process.
Fictiv’s Capabilities Include:
- Rapid First Article Production via CNC machining, injection molding, and 3D printing
- Advanced Measurement Systems, including CMM, vision inspection, and surface analysis
- Comprehensive FAI Reporting with dimensional data, certificates of conformance, and FAIR documentation
- Digital Traceability through online order tracking and inspection record storage
- Scalable Quality from prototype validation through full-scale production
Whether you’re validating a prototype or scaling to thousands of parts, Fictiv ensures your first article meets every specification the first time.
FAI FAQs
What is FAI in manufacturing?
A First Article Inspection verifies that a manufacturing process can produce parts meeting all design and specification requirements before full production.
What tools are used for FAI?
Common tools include CMMs, calipers, micrometers, optical comparators, and surface finish testers for dimensional validation.
When is FAI required?
When producing a new part, changing design revisions, materials, suppliers, or manufacturing locations.
What is an FAI report?
An AS9102-formatted document that lists part details, material certifications, and all measured inspection data.
Key Takeaways for FAI
First Article Inspection is the foundation of manufacturing confidence. It verifies that your design can be produced accurately, your process is capable, and your documentation is complete.
By applying structured FAI methodology—backed by modern digital tools—engineers and manufacturers can reduce risk, shorten lead times, and ensure quality from the very first part.
Partner with Fictiv to streamline your FAI process and accelerate your path from design to production with precision, compliance, and reliability.


