Time to read: 10 min
In manufacturing, quality isn’t a subjective ideal or a marketing claim—it’s a measurable requirement with real consequences. Undetected defects can trigger recalls, regulatory action, production delays, or long-term brand damage. As products become more complex and supply chains more distributed, preventing those failures has become increasingly difficult.
Quality control in manufacturing refers to the set of inspection, measurement, and testing processes used to ensure that manufactured parts and products consistently meet design specifications, regulatory standards, and performance requirements. Rather than relying on assumptions or trust, quality control provides objective verification that each part conforms to engineering intent.
This becomes especially critical in modern, globally distributed manufacturing environments. When parts are produced across multiple facilities and supplier networks, consistency can no longer be assumed. Quality control establishes a common standard for acceptance, ensuring that parts manufactured in different locations are held to the same measurable criteria.
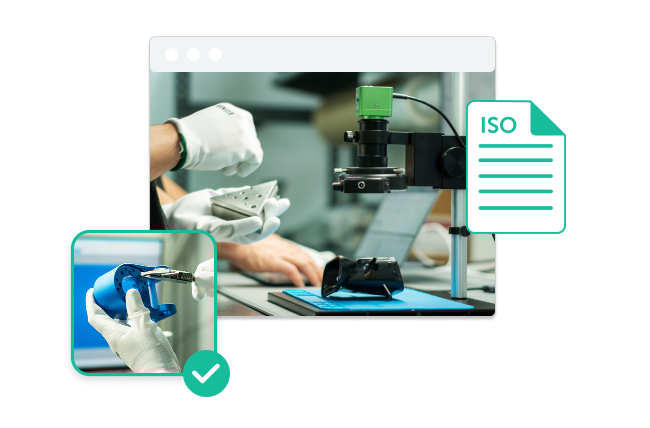
What is Quality Control in Manufacturing? (Definition and Examples)
At its core, quality control in manufacturing is a system of routine technical activities used to measure and control the quality of inventory, processes, or finished products. Emphasizing this reassures the audience of the reliability of their manufacturing systems.
Quality Control vs. Quality Assurance vs. Quality Management
To understand QC, one must clearly distinguish it from related disciplines and how standards like ISO 9001 and AS9100 underpin a culture of excellence and quality assurance.
- Quality Management (QM): The overarching philosophy and set of high-level policies (e.g., ISO 9001 adherence) that govern an organization’s approach to excellence. It defines the goals and establishes the culture of quality.
- Quality Assurance (QA): The process-oriented, proactive side of quality that focuses on preventing defects by designing robust, repeatable, and capable processes. It is the “blueprint” for a quality system and encompasses activities like document control, training, and process audits. QA asks: “Is this process capable of making a good part consistently?”
- Quality Control (QC): The product-oriented, reactive (measurement-focused) side of quality. It focuses on identifying defects through measurement, testing, and inspection. QC asks: “Is this specific batch or part compliant with specifications?”

Key Differences Between Quality Assurance and Quality Control
While often used interchangeably, Quality Assurance (QA) and Quality Control (QC) serve distinct roles. QA is a proactive, process-oriented discipline aiming to prevent defects by establishing robust systems, such as Design for Manufacturing (DFM) reviews, standardized personnel training, and rigorous process audits.
Conversely, QC is a reactive, measurement-oriented discipline focused on identifying defects in the actual units produced. In practice, QA designs the “safety net” through process management, while QC monitors output to ensure no nonconforming parts slip through. This creates a continuous feedback loop in which QC data informs QA process improvements.
Comparison of QC, QA, and QM
| Discipline | Primary Focus | Role in Manufacturing | Typical Activities |
| Quality Management (QM) | Strategy & culture | Defines the organization’s overall quality philosophy, governance, and objectives | Quality policies, ISO 9001 compliance, leadership commitment, continuous improvement frameworks |
| Quality Assurance (QA) | Process prevention | Designs and maintains capable, repeatable manufacturing processes to prevent defects | APQP, DFMEA, document control, training, process audits, SOPs |
| Quality Control (QC) | Product verification | Measures and inspects parts to verify compliance with engineering specifications | Dimensional inspection, visual inspection, SPC, FAI, validation testing |
The Quality Control Process (Step by Step)
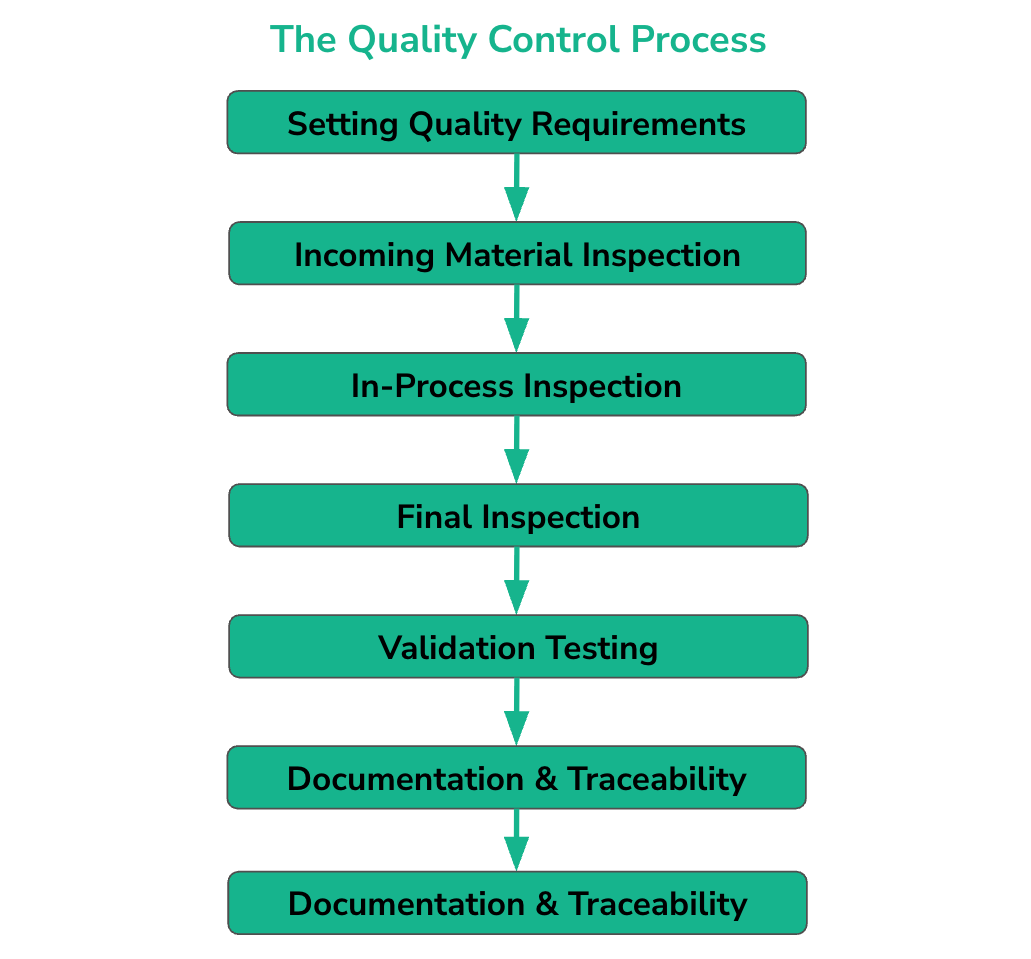
A robust QC process follows a seven-step sequence to ensure that no substandard part proceeds through the manufacturing process.
Step 1: Setting Quality Requirements
The first step is to translate engineering drawings into clear, measurable quality criteria. Engineers must define exact specifications: dimensional tolerances (often utilizing Geometric Dimensioning and Tolerancing, also known as GD&T), acceptable surface finishes, material grades, and a list of Critical to Quality (CTQ) features. This phase ensures both the manufacturer and the customer share a clear standard for what constitutes a “good” part.
Step 2: Incoming Material Inspection
Quality begins with verified inputs. Whether using a specific steel alloy or a specialized thermoplastic resin, raw materials must be verified. This involves reviewing Certificates of Analysis (COA) to confirm chemical composition and physical properties, and often includes independent testing or visual inspection for damage or contamination before the material enters the production flow. Failure here inevitably leads to defective finished goods.
Step 3: In-Process Inspection (During Manufacturing)
Rather than waiting for the entire run to finish, inspectors check parts at key stages during production. This allows for real-time monitoring of process stability. For example, after the first setup on a CNC machine, an operator performs a First Piece Inspection (FPI). This step is crucial for detecting subtle process drift from factors such as tool wear or thermal expansion, enabling immediate corrective action before a large quantity of scrap is produced.
Step 4: Final Inspection
The finished product undergoes a comprehensive final battery of tests. This includes dimensional verification (checking all defined CTQ features), surface finish checks (using profilometers or visual standards), and mandatory cosmetic checks. This stage confirms that the aggregated processes have resulted in a part that meets all engineering specifications.
Step 5: Validation Testing
Beyond simple dimensional checks, validation ensures the product will perform its intended function in its intended environment. Validation differs from verification by confirming real-world performance, not just dimensional compliance. This might involve:
- Stress Testing: Pushing the part to its mechanical limits.
- Thermal Cycling: Testing performance across extreme temperature ranges.
- Life Cycle Testing: Operating the product for a simulated lifespan to identify fatigue failure points. Validation is the final confirmation that the part is fit for use.
Step 6: Documentation & Traceability
Every measurement, test result, and inspection action must be rigorously recorded. Documentation—including Certificates of Conformance (COC), inspection reports, and calibration logs—creates an audit trail.
Traceability is the ability to look at a failed part in the field and trace it back to the specific batch of raw material, the particular machine, the operator, and the exact process settings used to create it. This is nonnegotiable in highly regulated industries like aerospace and medical devices.
Step 7: Feedback Loops & Continuous Improvement
The data gathered during QC is the most valuable asset. If inspection data consistently show that a specific dimension is running near the upper or lower edge of the tolerance zone, that is a red flag for process instability. This data must be fed back to the QA, design, and production teams to adjust the tooling, modify the design, or refine the process settings.
How QC Fits into the Product Life Cycle
QC is not a final checkpoint or one-time task. Instead, it should be integrated throughout the product’s journey in the following steps:
- Design & Prototyping: QC verifies the initial designs are manufacturable (Design for Manufacturability, DFM) and meet preliminary functional and dimensional requirements.
- Production: QC activities, such as in-process checks and statistical sampling, monitor consistency across hundreds or thousands of units to ensure the design is repeatable at scale.
- Post-Production & Deployment: QC activities, like final inspection and functional testing, validate performance and durability before the product reaches the end-user.
Upstream risk analysis tools, such as design failure modes and effects analysis (DFMEA), help identify potential failure modes early, allowing production quality controlto focus on verifying only the most critical features.
Tools and Methods for Manufacturing Quality
Engineers use a standardized tool kit and Six Sigma methodology to quantify quality and determine when a process is out of control. Listed below are some of the commonly used manufacturing quality control tools and methods:
- APQP (Advanced Product Quality Planning): A structured, cross-functional framework used to plan and validate quality from design through production.
- SPC (Statistical Process Control): Uses control charts to monitor process stability over time to detect variations in parts before defects occur.
- Capability Analysis (Cpk): Measures a process’s actual ability to produce output within tolerances. A Cpk ≥ 1.33 is a standard industry benchmark. For safety-critical industries, a Cpk ≥ 1.67 or 2.0 may be required.
- Visual Inspection: A systematic examination of parts to identify surface defects, cosmetic issues, contamination, or assembly errors.
- Dimensional Inspection: The measurement of part features to verify compliance with engineering drawings and GD&T requirements.
- FAI (First Article Inspection): A complete verification (often per AS9102) of the first part produced to ensure the setup and tooling are correct.
- PPAP (Production Part Approval Process): A rigorous 18-element framework used in automotive to prove a supplier can meet production rates reliably.
- Gauge R&R: A study evaluating the Repeatability (equipment) and Reproducibility (operator) of a measurement system.
- CAPA (Corrective and Preventive Action): A formal process to investigate the root cause of nonconformances and prevent their recurrence.
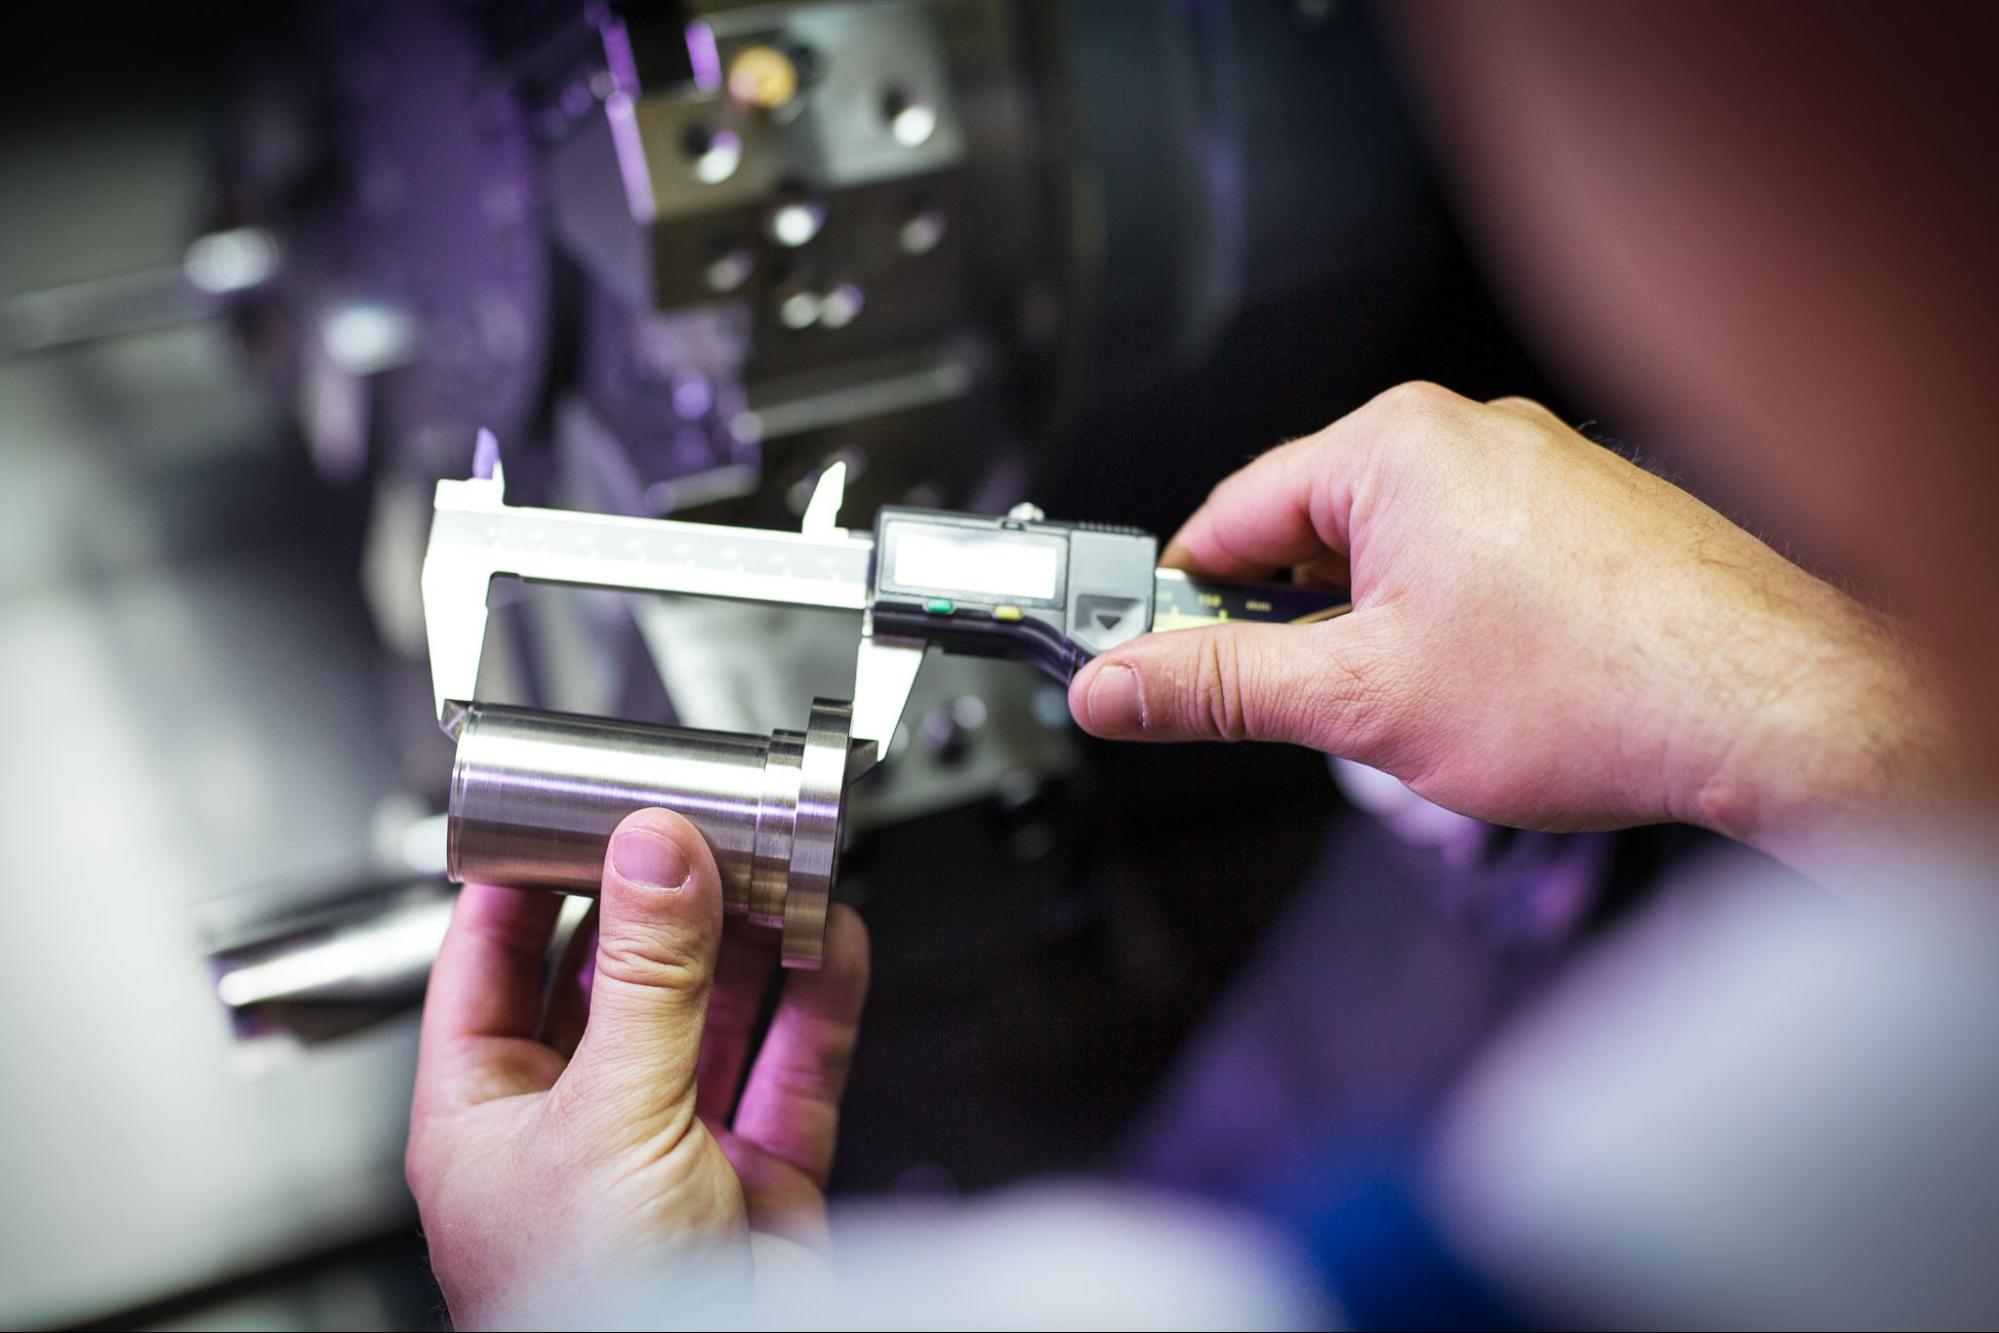
Comparison of Different QC Tools
The table below summarizes common quality control tools and their typical use in manufacturing.
| Tool | Purpose | Primary Use Case |
| SPC Charts | Monitor process drift | Mass production |
| FAI | Verify tool/process setup | Start of a new run |
| Gauge R&R | Validate measurement accuracy | Before trusting data |
| AQL Sampling | Statistical batch testing | Final inspection of lots |
| Audit/CAPA | Solve systemic failures | After a major defect |
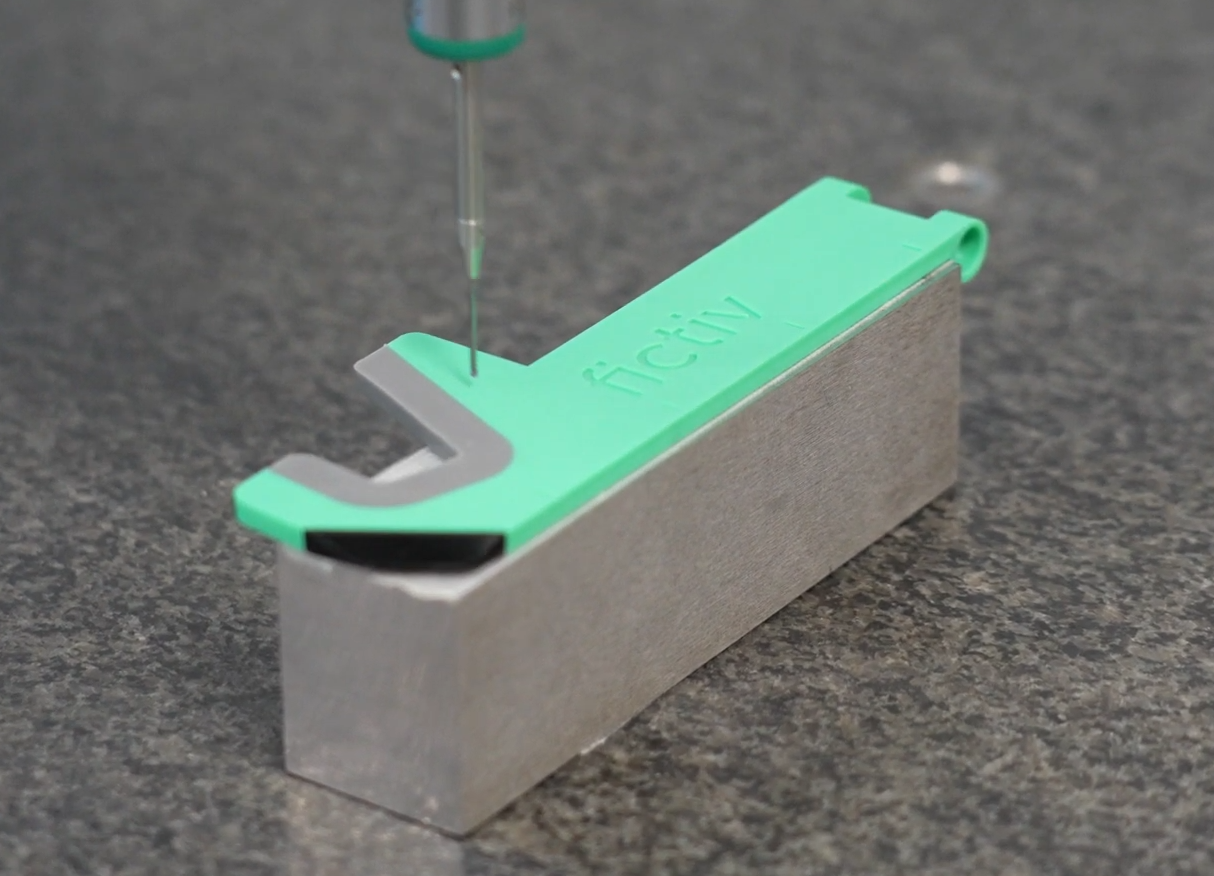
Quality Control by Manufacturing Process
Quality challenges vary significantly depending on the manufacturing technology being used. Listed below are some quality control measures for various manufacturing processes:
CNC Machining Quality Control
- GD&T Interpretation: Utilizing CMMs (Coordinate Measuring Machines) to verify complex geometric tolerances like circularity, parallelism, and true position.
- Tool Wear Management: Implementing tool-life monitoring systems to replace inserts before the part exceeds tolerance limits.
- Surface Metrology: Using profilometers to ensure the specified Ra (roughness average) is maintained, which is critical for sealing surfaces.
Injection Molding Quality Control
- Common Defects: QC must monitor for warpage, sink marks, flash, and short shots.
- Cycle Consistency: Variation in cooling times or injection pressure can lead to dimensional shifts between cavities.
- Multi-Cavity Balance: Performing cavity-to-cavity studies to ensure pressure and temperature are uniform across the entire mold.
Sheet Metal Fabrication Quality Control
- Bend Tolerances: Accounting for material “spring-back” after a bend.
- Flatness Control: Ensuring large panels don’t warp during welding, laser cutting, or the creation of adjacent features.
- Stamping Precision: Using SPC to monitor die wear, as a dull die can lead to burrs and dimensional inaccuracy.
Assembly & Hardware Integration Quality Control
- Torque Validation: Ensuring fasteners are tightened to specification to prevent vibration failure.
- Functional Tests: Verifying that moving parts or electronic components operate as expected.

Quality Standards in Manufacturing
Adherence to international standards provides a universal language for quality. The table below presents common quality standards across various manufacturing industries.
| Standard | Industry | Key Requirements Summary |
| ISO 9001 | General | Standardized Quality Management Systems (QMS). |
| AS9100 | Aerospace | Strict traceability and risk management requirements. |
| IATF 16949 | Automotive | Focuses on defect prevention and reducing variation in the supply chain. |
| ISO 13485 | Medical | Strict compliance with regulatory requirements and safety. |
| RoHS/REACH | Environmental | Restrictions on hazardous substances in materials and equipment. |
Common Manufacturing Quality Issues & How to Prevent Them
Even with the most robust quality assurance and quality control practices in place, defects are always a possibility. Common quality issues, their root causes, and how to prevent them are described below.
| Issue | (Common) Root Cause | (Common) Prevention Strategy |
| Dimensional Variation | Machine wear or thermal expansion | Regular calibration and SPC monitoring |
| Cosmetic Defects | Poor handling or mold contamination | Improved packaging and cleanroom protocols |
| Supplier Inconsistency | Lack of standardized SOPs | Rigorous supplier audits and Fictiv-style digital QC |
| Documentation Gaps | Manual data entry errors | Digital inspection workflows and automated reporting |
| Process Instability | Operator inconsistency or environmental factors | Standardized work instructions and automated controls |
| Incorrect Measurement | Poorly chosen or uncalibrated tools | Gauge R&R studies, mandatory NIST-traceable calibration |
How to Implement Supplier Quality Management
In an era of high-velocity hardware development, your quality is only as good as your weakest supplier. Effective management requires moving beyond transactional relationships to a system of rigorous, data-driven oversight.
Qualifying Suppliers
Ensuring supplier qualification is the first line of defense. It involves a multistage audit that assesses not only the supplier’s output but also their process capability. A comprehensive qualification audit includes:
- Equipment Verification: Ensuring the shop possesses the necessary metrology (CMM, optical comparators) to measure the required tolerances.
- QMS Maturity: Verifying that certifications such as ISO 9001 or AS9100 are active and that the supplier adheres to their documented SOPs.
- Financial and Operational Health: Assessing whether the supplier can manage volume spikes and whether its workforce is adequately trained.
Incoming Inspection Strategy
Once parts arrive, an incoming inspection strategy helps ensure parts comply with specifications. Incorporating an inspection strategy may look like the following:
- Skip-Lot Inspection: For historically perfect suppliers, only every 5th or 10th lot may be checked.
- 100% Inspection: For critical medical or aerospace components where the “cost of failure” is life-threatening.
- AQL Sampling: Using statistical standards like ANSI/ASQ Z1.4 to verify only a representative sample, as a means of ensuring the whole batch meets the “Acceptance Quality Limit.”
Supplier Quality Scorecards and Audit Criteria
Performance must be quantified using objective Key Performance Indicators (KPIs). Supplier scorecards typically track:
- Quality Rate: Measured in PPM (Parts Per Million) or percentage of nonconforming parts.
- On-Time Delivery (OTD): Essential for maintaining lean inventory levels.
- Corrective Action Responsiveness: How quickly and effectively a supplier closes a CAPA (Corrective and Preventive Action) request.
- Technical Support: The supplier’s ability to provide DFM feedback or resolve engineering queries.

How Distributed Manufacturing Affects QC
The rise of distributed manufacturing, where parts are sourced from a global network of specialized shops, presents a “standardization gap.” Traditional QC often fails here because different regions may interpret cosmetic standards or tolerances differently. To combat this, companies must implement centralized quality standards. Distributed manufacturing requires a move away from “trusting the local shop” to “trusting the shared digital workflow,” ensuring that a part made in Vietnam is identical to one made in Ohio.
Importance of Digital Traceability
Digital traceability is the ability to track a part’s history through a “digital thread” that connects raw material logs, heat lot numbers, machine operator IDs, and final inspection data in a single cloud-based record.
- Recall Mitigation: If a batch of raw material is found to be defective, digital traceability allows an engineer to identify exactly which serial numbers are affected in minutes rather than weeks.
- Root Cause Analysis: Access to digital manufacturing logs allows for data-driven troubleshooting, significantly reducing the “Cost of Poor Quality” (COPQ).
How Fictiv Ensures Quality Across Its Global Manufacturing Network
Fictiv has revolutionized QC by digitizing the entire process, providing the transparency of an in-house shop with the scale of a global network. As detailed in Fictiv’s Quality Assurance, the approach is multilayered:
- Vetted Network: Only the top percentage of manufacturing partners make it through Fictiv’s onboarding audits.
- Digital Inspection Workflows: Fictiv uses standardized digital checklists to ensure that an inspector in the US and an inspector in overseas hubs are looking for the exact same criteria.
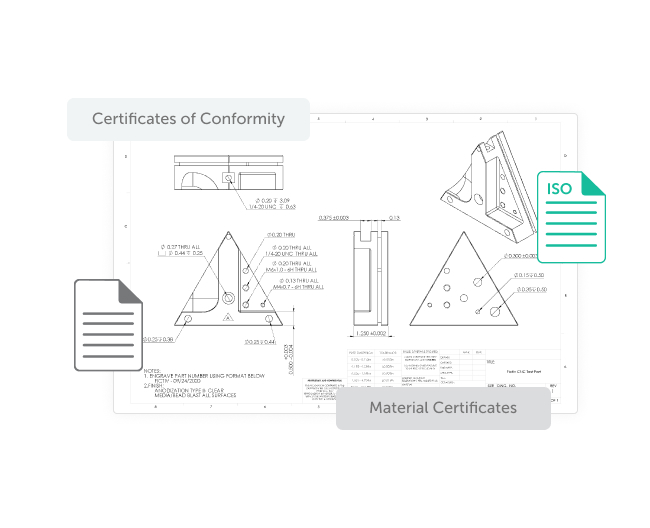
- Automated Documentation: Customers receive high-quality documentation—including COAs, COCs, and complete dimensional inspection reports—without having to follow up with the factory.
- CMM and Advanced Metrology: Fictiv provides access to high-end inspection equipment often unavailable to smaller shops, ensuring even the most complex aerospace or medical parts are verified.
- The Fictiv Guarantee: Because Fictiv manages the network, they take responsibility for part quality, providing peace of mind for enterprise-grade production.
Building Quality into Every Stage of Manufacturing
Quality control in manufacturing is not an “add-on” or optional feature. It is a strategic differentiator. By integrating robust QC processes—from early DFM feedback to final CMM inspections—companies can reduce waste, speed up time-to-market, remain competitive, and build lasting customer trust. In the transition to modern supply chain models, the combination of digital traceability and human expertise is the only way to ensure reliable production at scale.
Need reliable, inspection-ready parts? Fictiv provides enterprise-grade quality control in manufacturing across CNC machining, injection molding, sheet metal, and 3D printing, paired with fast DFM insights and digital traceability.

